Overlook Tower is the seventh Red Streamer level in our Paper Mario: The Origami King Walkthrough. Our complete level guide also includes collectibles.
Just looking for collectibles? Check out our Overlook Tower collectibles page for simple lists and locations for every collectible:
| Overlook Tower Collectibles Guide | |||
| Toads | Holes | Treasures | Blocks |
Now that you lowered the tower at the top of Overlook Mountain, entering the inside of the tower is a thing you can, and should, do. Patch up the giant hole on the bottom floor using most of your full confetti bag, then hit the button on the elevator to rescue the Blue Toad. Before entering the elevator, there are quite a few Toads to collect here on the first floor:
- There’s a Toad stuck in the postcard rack on the left. Use your hammer to get it spinning, then hit the Toad to rescue it.
- Jump up the brown shelves on the right side and hit the Toad posing as a flag on the wall.
- Knock over the bucket of rolled up Toads on the right side of the room.
- Pointed Blue Toads can be found on the right side of the room near the yellow box.
With Operation Rescue Toads of the First Floor complete, enter the elevator and head for the fourth floor. After getting attacked by, um, colored pencils, shove them out of the elevator using your hammer, then watch as you fall back down to the first floor. With the elevator out of service, patch up the hole on the left and use the stairs to get to the second floor.
Now on the second floor, enter the small door on the left to find the stairs. Giant hole but no confetti. After speaking to the cowardly chef, hit the hidden block on the back wall so you can reach the Blue Toad on the right.
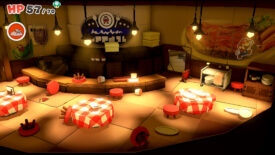
Head back into the previous room and enter the restaurant. There’s some spaghetti you can eat on the third table that will heal you up. Open up that tempting cabinet to reveal a Blue Toad, then head into the kitchen.
In the next room, hit the trash can to reveal a crumpled Toad, then hit the pan of “eggs” to uncover a Yellow Toad. If you didn’t heal already, the pot with the yellow face releases a 100 Health Heart if you smack it. Open the freezer and hit the shaking box to release a bunch of Mini Goombas. These nasty things will crawl all over the kitchen. Some are on the floor while other require a bit more to take out:
- Under the trash lid.
- Jump inside the pot with the blue face.
- On the shelves above, hit the drawers on the left to make a step to reach it. Plus there’s a Toad inside! Another Toad on the scale.
- One has wings and flies from wall to wall.
And they made it into the restaurant too. Some of the more noteworthy ones:
- Push the cart to the right to reach the one in the right corner.
- One under a moving clipboard.
- On top of the plate in the big sign on the back wall.
With everything cleaned up, return and talk to the chef who will give you a full Confetti Bag. Use it all to plug up the last hole and to gain access to the third floor via the stairs.
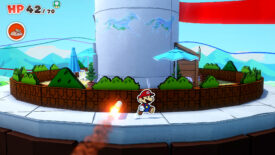
The third floor is an outdoor area, neat! Try opening the door and colored pencil missiles will start coming your way. Not neat! Walk in the direction they are firing from and jump to best avoid them. Wait until the missiles start locking on, then walk over to the cracked portion of the wall to let the missile open up a new path for you.
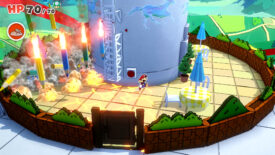
Since the elevator doesn’t work, hit the red button to bring down the ladder on the side of the tower. Of course, it starts moving at the speed of smell so you’ll have to keep moving while avoiding the barrage of missiles falling from above. Don’t try to hide in the shop stall like I did, it doesn’t work! Once the missiles pass, climb the ladder up to the fourth floor.
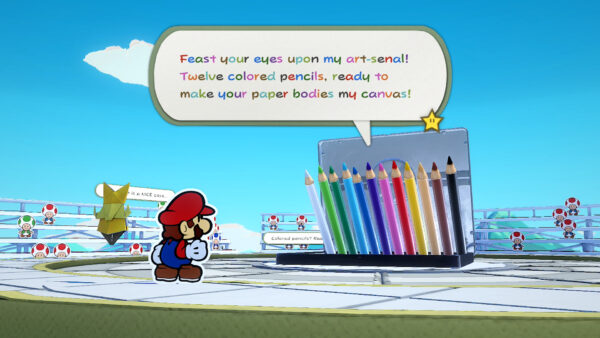
Get ready for a boss battle! Heal up, save at the Save Block, and take a moment to rescue the Blue Toad stuck as a pencil on the elevator wall. Climb up the steps and try to jump and hit the end of the red streamer to no avail. And there you have it folks, the Missile Maestro. Time to fight Colored Pencils!
A few things to note with this boss fight. The magic circle appears right from the start but it needs to be powered on. Luckily there’s an On switch in the arena that you’ll have to run over. If you pass over one of the targeted locations, you’ll get him by a single colored pencil.
Attacking the Colored Pencils from the front will do you no good. Attack from the back with your hammer so you can close the lid. You can also use the magic circle and your 1,000-Fold Arms from the back to shut the lid. Doing so will cause the missiles inside to explode, leaving Colored Pencils dazed and confused.
In the next turn, attack from the front with some Boots. Now that the missiles are gone, you can do a lot of damage. After your attack, Colored Pencils will snap back with an attack. Continue to repeat this process.
After depleting over half its health, Colored Pencils will whip out its Rainbow Roll attack. All the missiles spin together in unison and you won’t be able to close the lid with Rainbow Roll attack active. Attacking the missiles with Boots won’t do damage and will only cause a few missiles to drop off. The actual attack sends missiles at you in groups of three or two if you took a few off in your jump attack.
The solution? Get the magic circle situated in front of Colored Pencils and make sure to pass the On switch as you make your way there. Use your 1,000-Fold Arms to put a halt to the spinning Rainbow Roll, then use the missiles to stab the poor box until its health is completely gone.
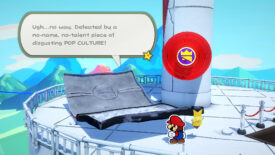
Defeating Colored Pencils will release a magic circle that can be used to slam into the seal Olly placed on the red streamer. Hit it enough to burst the entire streamer into confetti. You also get your Confetti Bag capacity increased!
With all that settled, your next mission is to get to the end of the blue streamer. Before you leave, hit the rightmost end of the telescope on the right to find the last Toad of the area. Walk all the way down through the tower and return to Overlook Mountain.
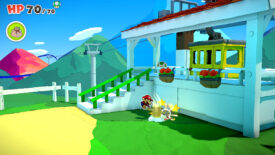
A couple of things opened up now that the streamer is gone. The mountain tramway is accessible and you’ll find your last hole and Toad there. Jump underneath the right flower box to release a crumpled Toad. This tramway is where you go to get to Autumn Mountain but let’s put a pin in that.
Go back to Overlook Tower to see the elevator operational once again. Speak to the chef in his kitchen and he’ll give you a collectible treasure. Go up to the third floor and speak with the Blue Toad at the coffee stand to get a second treasure.
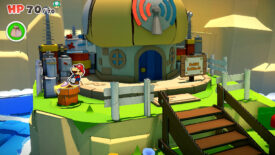
Return to Picnic Road and head to that yellow Toad House. It’s actually the Sensor Lab now that you can see it without the red steamer. Yank off the tape on the orange pipe for quick access to Toad Town. Take the path on the right to get to a chest, then head inside and save the head researcher to find complete your search for Toads in this area.
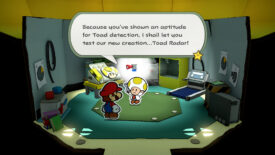
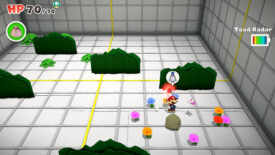
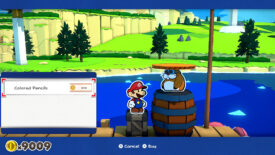
The Sensor Lab provides you a chance to test out the Toad Radar, a tool that lets you better seek out hidden Toads. Agree to run through a test and you’ll earn the Toad Radar to use in the other areas. Do take note, it runs on batteries and you’ll have to recharge it at this station for a considerable coin. A number of updates in Toad Town as well. Additional Toads populate the area. The Monty Mole on the pier will now sell collectible treasures of bosses you’ve defeated. The Battle Lab now allows you to replay boss fights.
Once you’re ready to move, head back to Overlook Mountain and speak to the Toad at the tram station to get to Autumn Mountain.
Use the links below to jump to different sections of our guide.
| Paper Mario: The Origami King (Guide Hub) |
|||
| Walkthrough | |||
| Toad Locations | Not Bottomless Holes | ||
| Treasures & Trophies | Question Blocks | ||
| Accessories List | Heart Locations | ||
| Boss Guide | Unlockables & Secrets |
||


