
Defeat every boss with style in our detailed Paper Mario: The Origami King boss guide featuring the best strategies and tips for every situation.
It’s not a Paper Mario game without an army of cool bosses with unique battles and fighting styles. The Paper Mario: The Origami King bosses are no different and each one makes use of the boss specific battle ring system in different ways.
ADVERTISEMENT
As a refresher, bosses take the center of the ring in boss battles while Mario uses the rings to line up arrows and other enhancements to reach the center to attack. Passing though treasure chests add additional status effects like increased attack power onto the arena while letters provide additional tips and advice on the boss. “On” panels must be passed before magic circles can be used.
Because this page will dive deeper into spoiler territory the longer it gets, we’ll leave the names of most of the bosses off the links at the top of the page. Headers of each section will have the names of every boss, however.
Earth Vellumental Boss Battle

With the Earth Vellumental specifically, you’ll first have to attack its front flipper leg things as you don’t have a choice during the tutorial. Don’t use Boots to attack the shell, make sure to switch to the Hammer to deal damage!


Once you’re free to select any path you like, line up the rings so that you can attack the tail. It’s the main weak spot of the boss. Hit it with a Hammer and the Earth Vellumental will retreat into its shell. This will also cause a magic circle to appear in the arena!


Line up the magic circle so that it is closest to the boss. Don’t forget, you can still slide panels in addition to rotating the rings. Once you reach the magic circle, activate the 1,000 Fold Arms and flip the giant turtle on its back. Start slamming your fists onto its backside to completely annihilate its health. You did it! The beast is done for!
Colored Pencils Boss Battle

A few things to note with this boss fight. The magic circle appears right from the start but it needs to be powered on. Luckily there’s an On switch in the arena that you’ll have to run over. If you pass over one of the targeted locations, you’ll get him by a single colored pencil.


Attacking the Colored Pencils from the front will do you no good. Attack from the back with your hammer so you can close the lid. You can also use the magic circle and your 1,000-Fold Arms from the back to shut the lid. Doing so will cause the missiles inside to explode, leaving Colored Pencils dazed and confused.

In the next turn, attack from the front with some Boots. Now that the missiles are gone, you can do a lot of damage. After your attack, Colored Pencils will snap back with an attack. Continue to repeat this process.

After depleting over half its health, Colored Pencils will whip out its Rainbow Roll attack. All the missiles spin together in unison and you won’t be able to close the lid with Rainbow Roll attack active. Attacking the missiles with Boots won’t do damage and will only cause a few missiles to drop off. The actual attack sends missiles at you in groups of three or two if you took a few off in your jump attack.


The solution? Get the magic circle situated in front of Colored Pencils and make sure to pass the On switch as you make your way there. Use your 1,000-Fold Arms to put a halt to the spinning Rainbow Roll, then use the missiles to stab the poor box until its health is completely gone.
Water Vellumental Boss Battle


This boss is a bit different from the last as the Water Vellumental can summon mini water spouts that will wipe away and deactivate panels from the row it occupies once you initiate your turn. Your first attack should be a jump attack to bring it down and force it to stop flying. Once on the ground, use a hammer attack to deal a lot more damage.


Notice the Earth Vellumental circle? If the dragon is on the ground, use this to attack to not only deal a lot of damage, but to also protect yourself from the next attack.


Each turn the Water Vellumental will continue to soak in water for a big attack. Olivia will warn you the turn before the attack, so try and get the health bar of the boss past halfway before then! It’s really a massive attack and will likely take out half your health. Use the Earth Vellumental magic circle to avoid this attack!


The massive wave attack has a plus side since it’s a great opportunity to counterattack. If you can line it up correctly, use the 1000-Fold Arms to finish off the Water Vellumental.
Rubber Band Boss Battle

Rubber bands get thrown on the arena, some of which will wipe out already placed panels. Touching these bands will force you in the direction they are pointing at but for that one spot. You’ll continue moving in the direction you were heading previously. Any rubber bands left after the turn is over will return to Rubber Band and heal him a little bit so make sure to pass over as many as you can!


Rubber Band’s standard attack is Rubber Bind where it spins three rubber bands your way rodeo style. If you don’t block each attack, the rubber band will get stuck on your, allowing Rubber Band to do a second more powerful attack known as Trapped Snapback.


Your standard attacks like your Boots and Hammer actually do a lot of damage, the problem is the rubber bands that fall off will rejoin the main body and heal its health. As you plan your route, try to pass over as many rubber bands as you can. Try to avoid standard attacks as well.

When you get the chance, activate and use the magic circle to grab and pull onto a chunk of Rubber Band, then let go and have it smack itself for a powerful attack. The closer you are, the more rubber bands you can grab! The rubber bands lost from this attack do not return.


Once you reduce Rubber Band’s health to the bare (ha!) minimum, the seemingly weak boss will strike back with an attack that can do over 50 damage. Now go for the 1000-Fold Arms one more time but be careful as Rubber Band will sway from side to side and even attack while it dodges your grabs. Once it pauses, grab it, smash it on the floor a couple of times, then pull back and fling it against the wall.
Fire Vellumental Boss Battle


Normal jump attacks will burn right through your boots, so you’ll want to use Iron Boots to actually make progress. Hammers are no good for flying enemies. That said, when you attack like this, molten feathers will drop onto the arena. Touching these will hurt you but you can also move them out of the way by twisting and sliding the rings.


The move you really want to activate is the Water Vellumental’s attack, but the magic circle you need is missing. Aim Mario towards one of the chests to add additional panels onto the arena, including the magic circle you need. For the next turn, run over the On panel before hitting up the Water Vellumental magic circle.


This massive water attack will do a number on the Fire Vellumental and the molten feathers on the arena will be extinguished but not removed. While the fire beast is stuck on the ground, your jump and hammer attacks work but they are also weak. Using the 1000-Fold Arms will let you attack multiple times but it too is weak. Take note, the boss will be stuck on the ground for two turns.


Once the Fire Vellumental gets back up, it’ll bring back all its molten feathers, heal up, and release a powerful Flamethrower attack that’s more deadly the closer you are to the center of the arena. The idea here is that you need the Fire Vellumental to lose as many feathers onto the arena as possible so that its HP is low. Then use the Water Vellumnetal attack to extinguish it and finally the 1000-Fold Arms to finish it off before it can get its feathers back. So once the fire bird is down on the ground, use the first turn to get a few more jump attacks in, then use the second turn when its health is fairly low to finish it off with the 1000-Fold Arms.
Hole Punch Boss Battle


Hole Punch can, and will, punch holes into different panels of the stage. You’ll want to avoid these spaces, stepping over one will cause you to get stuck and end your turn. As for Hole Punch itself, the handle of its body is very tough and your jump and hammer attacks do nothing to it in its current state. Using the magic circles work but the On panel has been punched out.


So! You’ll want to make your way to the backside of Hole Punch and attack close up. Whip out your hammer and make sure the part you are attacking is called the Lid. The Handle is super sturdy and won’t do a thing for you. Hitting this bottom portion will release some of the previously punched out holes, specifically the highly desired On panel!


One of Hole Punch’s moves is a devastating attack that will punch a hole through Mario, cutting out a huge chunk of your max HP. To get it back, play one turn without your face and then it’ll reappear on the arena the following turn. Obviously you’ll have to run over it to get it back. When you do, you’ll get all your lost health back.


After dealing enough damage, Hole Punch will wind up and start storing its energy for one turn. During this time, the Lid is protected. Don’t bother with any other attack besides the Earth Vellumental. It’ll raise you up and away from the incoming attack, but there’s an added benefit! Hole Punch will ram into the raised platform and fall on its back! This will stop him from attacking for one turn.


If Hole Punch has more than half its health taken out and you get it on its back again, whip out a 1000-Fold Arms attack that does 5 damage each hit. This will finish him off with a wonderful finisher move where the entire Lid is ripped off.
Ice Vellumental Boss Battle

It’s a big ol’ ice polar bear. The Ice Vellumental will immediately cover itself in ice. This means your attacks will do nothing against it. During its turn to attack, the ice will be removed for just that moment, then return during your turn.


You need to get some fire on that ice to melt it away. There’s an ON panel hidden inside the chest so make sure to open that up and activate on your next turn. Your goal is to get to the red magic circle, the one that’ll turn you into the Fire Vellumental and melt all the ice away. Using a Fire Hammer will very mildly work but the attack output is so low that it’s not worth it.


Now that the ice is gone, try to line up another ON panel along with a normal magic circle where you can whip out your 1000-Fold Arms. This will let you get a ton of hits in plus it’ll be too dazed to attack during its turn. Sadly the ON panel will be gone the next turn so just stick to normal attacks.

When the Ice Vellumental uses its Cold Claw attack, an icy frost will be left on the arena. Stepping over these spots will freeze you and stop your movement. You won’t be able to block attacks in this form. Icicles drop onto the magic circle panels too! Touching these will freeze you too. You need to get those icicles off the red magic circles. To do so, slide the row they’re on past the center of the arena and get them on the other side to remove the ice. The frozen tiles can become a pain as they gather up on the arena so try not to waste turns!

Melt the ice block again and repeat the same 1000-Fold Arms move again to bring down the Ice Vellumental’s health once more. Oh boy, another new move. Ice Maze will mix up and twist all the panels. Take a moment to look at the path before the maze starts to turn and try to memorize the best route to the magic circle.


And now it’s powering up and building energy for the next attack. No ice shield this time so you really need to activate the ON panel and use the normal magic circle one last time. Don’t and the polar bear will unleash its Ice Age attack dealing over 50 damage. If you fail, the next turn it will also build power for a powerful attack. This process will repeat until you defeat it!
Tape Boss Battle

Things to note as you start this battle. The arena looks very barren because most of the panels are hiding inside the treasure chest. Make sure to pass it on your first turn to open up your attack options! Any panels you use will immediately be returned to the chest.


Trying to jump and use your boots on the tape dispenser will only give Tape an opportunity to attack you during your own turn. Avoid the boots, double stick tape is no good! Instead, you’ll want to use your hammer to destroy the purple tape dispenser. You’ll want to attack it from all sides to completely destroy it. This will take more than one turn!


Using the Fire Vellumental magic circle will slightly damage the entire tape dispenser so it’s a good option to use. The normal 1000-Fold Arms can also be used but it’s not as effective. Depending on how weak the entire tape dispenser is, you may be able to destroy the entire thing in one blow even if you’re not attacking a particular side.


Once you’ve destroyed the purple tape dispenser, the fight becomes a battle against just Tape, no shields or other protective measures! But it does get a new sharp tool added to shear pieces of tape. To celebrate its new mechanic, Tape will stick panels together with pieces of tape. Panels that are taped together can’t be separated so you’ll often move or slide two rings at the same time. You also can’t slide tape through the center of the arena.

You can get rid of the tape on the panels! Just fire up the Fire Vellumental magic circle and burn them to a crisp. You can try to play the next several turns without removing the tape but it gets pretty limited once more tape is added over time. It also deals some damage to Tape which is always nice.


Your new focus should be to get your hands on the 1000-Fold Arms so you can lift Tape up, prop it upside down on its new metal part, grab onto the tape, and yank your heart away. Does a ton of damage! It’s possible to use your hammer to attack but the damage output is pitiful. Boots are definitely still a no go.
When Tape starts to spin while you’re planning your turn, you won’t be able to grab Tape using your 1000-Fold Arms. Tape will also attack twice so be extra sure you guard against these attacks. As far as I can tell, you can’t stop this attack so act fast! Once still, activate the 1000-Fold Arms for one final attack!
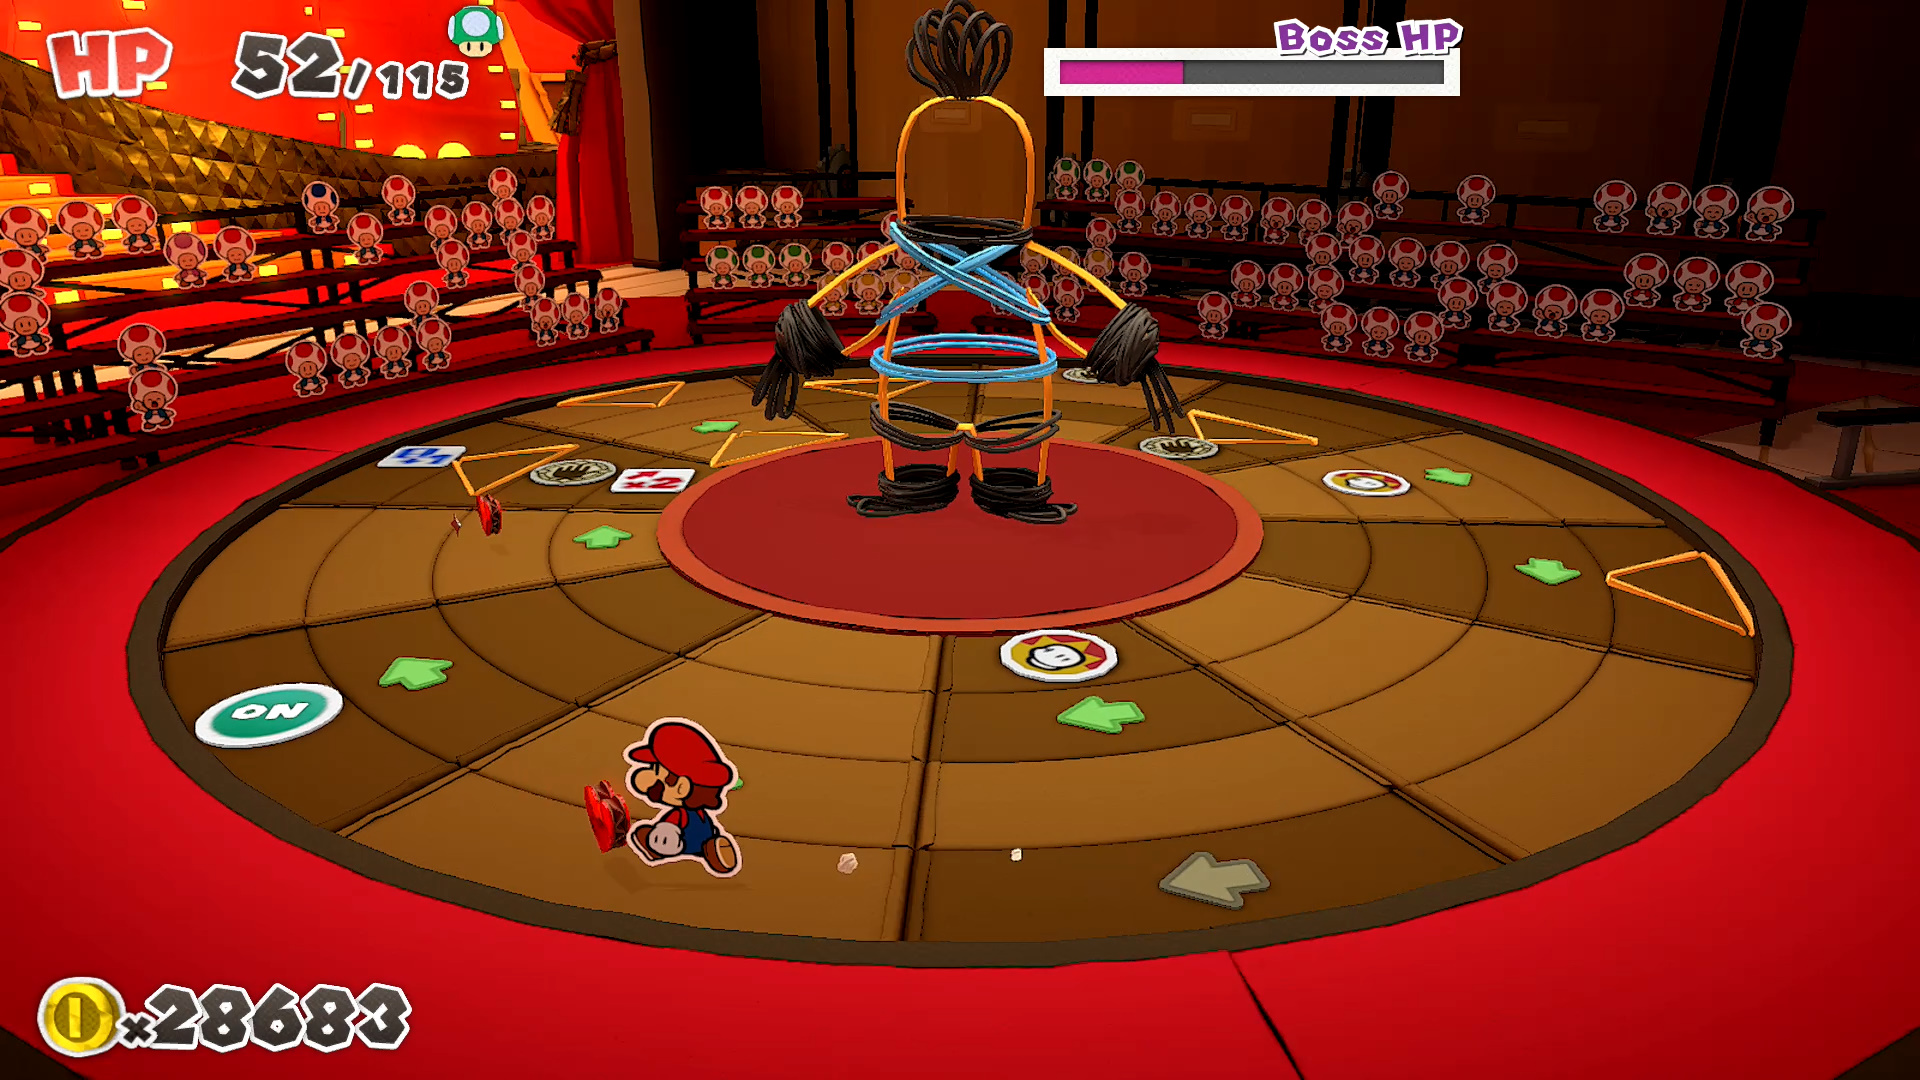
Sumo Boss Bro Boss Battle

Right from the start, a group of four Sumo Bros will grab some of the panels and head for the center of the ring. The two remaining Sumo Bros will strike some of the panels with lightning, forcing you to make paths around the electrified panels. Touching one will stop your movement. For now we’ll have to focus on taking the little ones out and leave the Boss Sumo Bro alone for now.

To fight them, line up a battle panel in front of the Sumo Bro you want to take out. They have spiky heads so you’ll want to avoid jumping on them unless you have Iron Boots handy. Hammer attacks work great but you can actually do more damage with Iron Boots.

Your goal is to get the On panel back onto the arena. Once you have it, use your next turn to activate it, then use the Earth Vellumental to wipe out any enemy currently on the ground. This will also bring back all your panels!

Because of this, the remaining two Sum Bros along with menacing Boss Sumo Bro will jump down from their ivory clouds and meet you at your level. The Boss Sumo Bro will start charging up a powerful attack. Your mission is to get back the Fire Vellumental from one of the smaller enemies.


Let Boss Sumo Bros attack, then use your next turn to activate the On panel as well as the Fire Vellumental magic circle. This will wipe them all out, including the Boss Sumo Bro, in one swift hit!
Handaconda Boss Battle


Handaconda. That’s it’s name. Magic circles won’t work right now! Even though they are activated, Olivia is captured and you won’t be able to use her powers. Avoid the magic circle panels! You’ll have to rely on the battle panels instead.

The distance of where you attack from is important! Selecting a path to a battle panel on the innermost ring will cause Handaconda to flick it off the arena. Using a battle panel on the two outermost rings will allow you to attack with a jump attack but Handaconda will have the time to counter it. The ideal ring to use is the second innermost ring. That means not the one closest to Handaconda but the one second closest. Make sure the battle panel is placed on this ring and use a hammer attack to deal damage. Jump attacks will still be countered!


Deal enough damage to set Olivia free! Magic circles are back on the table! Er, until they’re changed into signs for rock, paper, and scissors. The game changes here and you’ll have to pick one of the three panels at random. You can get a hint of the move Handaconda will use by watching its movements while you set your path during your turn. Don’t rely on this too heavily as Handaconda won’t stay committed to a move forever and may change to another hand if you take too long.


If you lose, Handaconda will attack. If you tie, Handaconda’s hand will grow and deal additional damage. Not that it matters in the end but rock beats scissor, scissor beats paper, and paper beats rock.

If you win, you’ll be able to use your 1,000-Fold Arms to do a series of bash attacks. Take note, the closer you are to Handaconda, the more damage you do. On the flipside, you’ll have less reaction time when it comes to blocking attacks. You should be able to finish Handaconda with two solid 1,000-Fold Arm attacks.
Scissors Boss Battle


To make it a fair fight, according to the boss itself, a sheath if placed on the blades of Scissors. If you attack the sheath, Scissors will take that as a direct challenge and… well, it won’t end nicely for you.


When Scissors is standing upright with its blades towards the ground, use jump attacks to only hit the actual scissors, the green part. Do not use your hammer! If he flips over and has his blades in the air, use hammer attacks to attack the green section again. No jumping!

Whatever you do, don’t activate the magic circle to use your 1,000-Fold Arms. This will attack both parts of Scissors and destroy the sheath. Once that irreversible moment happens, Scissors will remove all the magic circles in the arena and prepare his ultimate attack. Getting hit by this attack is an instant kill, but it’s possible to avoid it by jumping at the exact moment you are about to get sliced. If you jump too early, you still get a chance to jump one more time during the right moment! Either way, you’ll have to fight Scissors in this manner eventually. If you successfully avoid destroying the sheath, Scissors will remove it once you leave it at around half of its health. Now you’ll continue to fight Scissors but you’ll have to dodge the extremely powerful attack for every round you don’t defeat it.

Continue using your attacks to bring its health down and make sure you’re passing over the chests to bring back the magic circles and On panels. Once Scissors has a little past a third of its health left, activate an Ice Vellumental magic circle to freeze and damage it.


In the next turn it’ll still be frozen, giving you the perfect opportunity to use the 1,000-Fold Arms via a magic circle. Lift the chunk of ice to smash, leaving Scissors dazed and allowing you to smash all its health away.
Stapler Boss Battle


The silent Stapler is a formidable foe as it’s the reason so many of our beloved characters (re: Toads) were folded in the first place. Including Bowser! The fight begins with Stapler setting 30 staples into its mouth. Your goal is to deal damage but to also remove as many staples as possible so that you force it to reload.


While using your hammer deals more damage, this particular attack will only remove one staple. Using a jump attack can eliminate four staples in one turn. Again, you want to try and remove as many staples as possible so that his charged up attack is less powerful! If you attack up close, Stapler will attempt to do a double attack where it tries to pin you to the arena. If you fail to block one or both of these attacks, you’ll get stapled to the arena and Stapler will get to attack with an even more powerful move.


Stapler will start to charge up an attack early in the fight. Once the attack is unleashed, Stapler will hit Mario up to 16 times in rapid succession, each hit dealing 6-8 damage depending on how well you block it. Of course, if you have any of the guard accessories activated, the damage numbers won’t be as high.


Once Stapler is out of staples, it’ll extend its “mouth” as it prepares to reload after your turn. Now is the time to do some heavy damage as it is a lot more vulnerable! You can always try to go for the double damage panel but activating an On panel and using the 1,000-Fold Arms at a magic circle will let you really smack Stapler around.


Once your turn is up, Stapler will reload with a new set of red staples. These do more damage! If you manage to clear out this set too, Stapler will return with golden staples that, you guessed it, do even more damage.
For a quick breakdown of how to force Stapler to reload within two turns:
- First turn: Pass a blue double attack panel and use a Boots attack to take out 8 staples.
- First boss attack: 2 staples will be used.
- Second turn: Use a boots attack to take out 4 staples. Use a double attack panel to be on the safe side.
- Second boss attack: 16 staples are used in this attack!


Continue repeating this process until you deplete all of Stapler’s health. Be sure to make use of the double attack panel to take out eight staples in one turn and use the double damage panel when using the 1,000-Fold Arms attack while Stapler is reloading. For the final attack, Mario will snap Stapler in two. Yikes.
King Olly Boss Battle
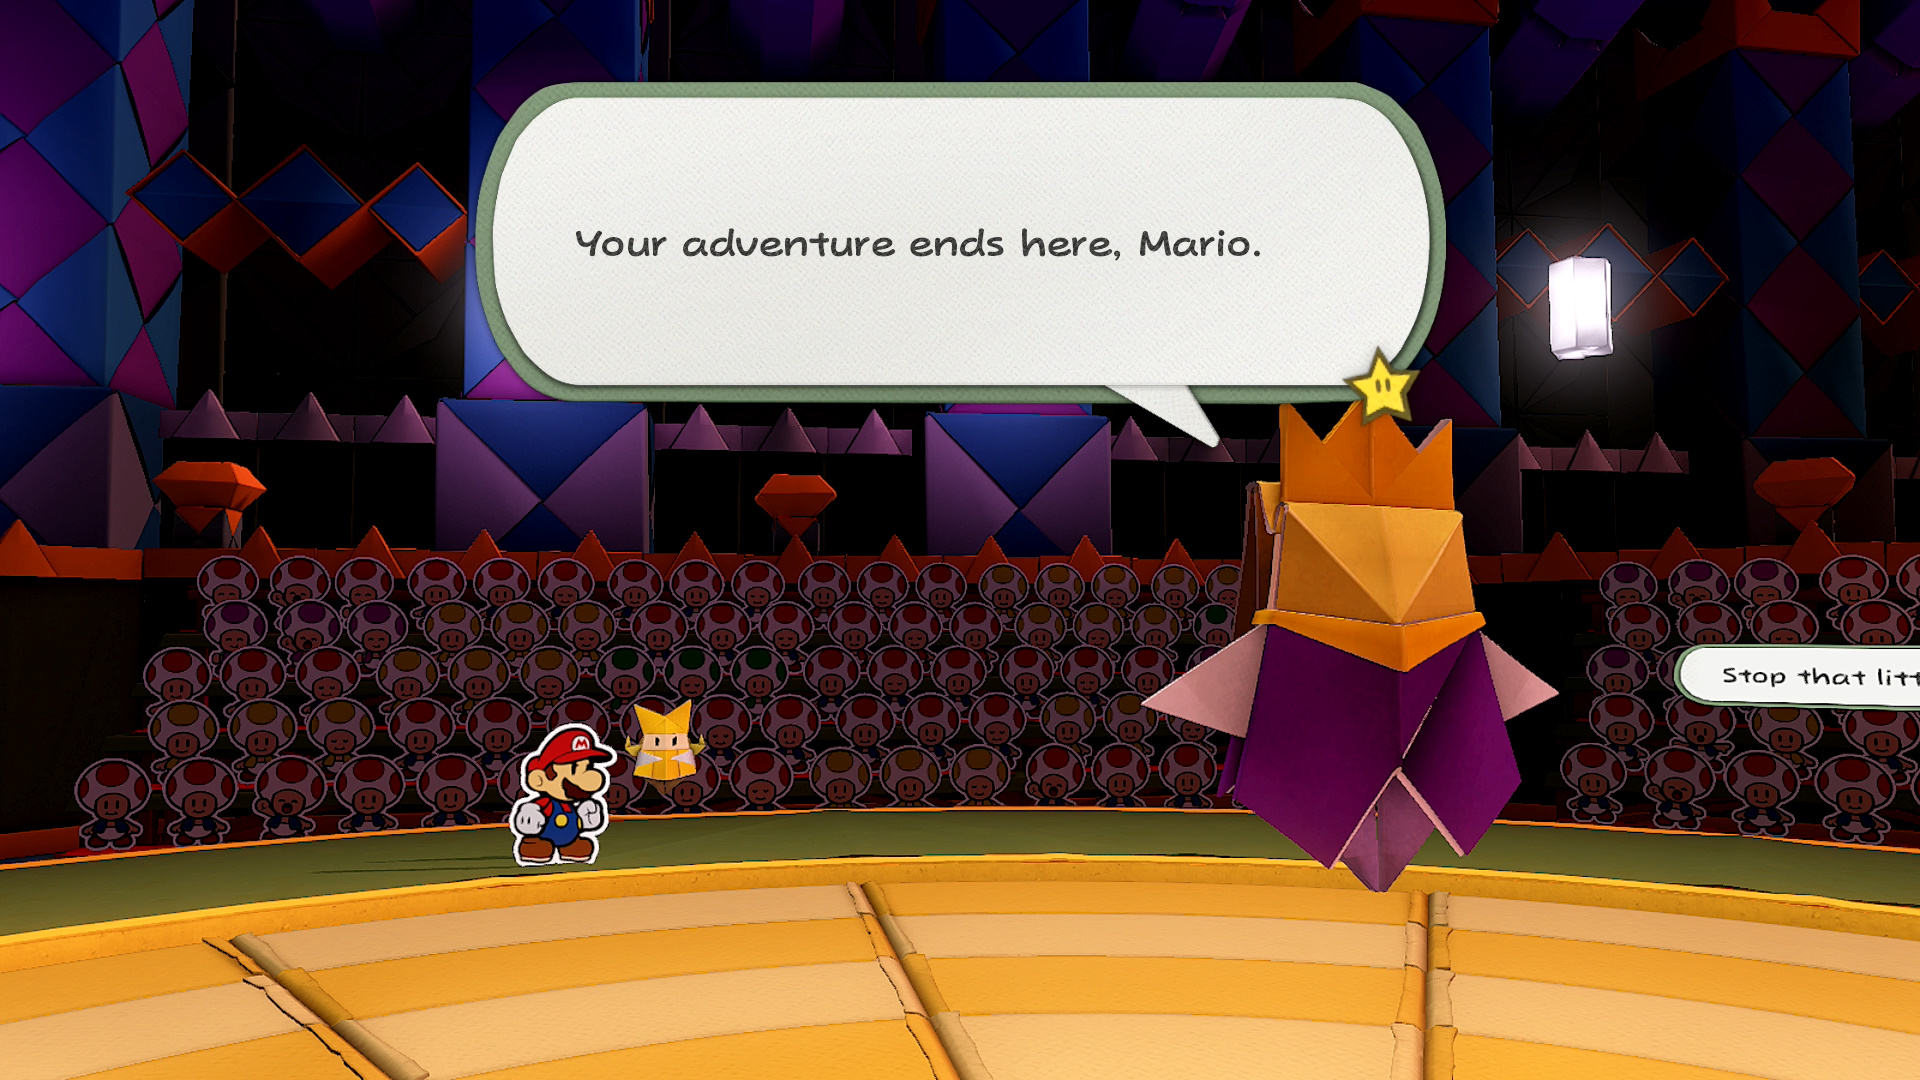

Final boss time! Looks like Olly has the power to use the Vellumentals too. For this battle the magic circles will let you pick any of the four Vellumental attacks and these will be your primary focus while fighting. Although Olly’s version of the Vellumnetals are very similar to the originals, you shouldn’t focus on attacking with boots or hammers. Once quick thing to note. If you take too long to attack, Olly will slowly start to heal. Think quick!
For quick guide, here are the weaknesses to each Vellumental:
- Earth Vellumental – weak to Ice.
- Water Vellumental – weak to Earth.
- Fire Vellumental – weak to Water.
- Ice Vellumental – weak to Fire.


If Olly transforms into the Earth Vellumental, do not go for the legs or the tail like you did in the original boss fight. Just focus on freezing him and stopping his ground raising attack! Once frozen, activate the 1,000-Fold Arms attack to flip him and attack like you did with Scissors.


If Olly transforms into the Water Vellumental, he’ll immediately go into the charging attack mode. Waterspouts also appear in the arena but unlike the original battle, these will circle the center so you’ll have to press A to confirm your path when the waterspouts are not lined up with your panels. Because his next attack is the massive wave, you need to make your way to the magic circle and use the Earth Vellumental to save yourself from the attack. In the next turn, activate the 1,000-Fold Arms to force him into the next Vellumental.


If Olly transforms into the Fire Vellumental, a ton of flaming feathers will hit the arena. Make your way over to the Vellumental magic circle and douse both the feathers and Olly with the Water Vellumental attack. Once Olly is stuck to the ground, whip out your 1,000-Fold Arms to deal some damage.
If Olly transforms into the Ice Vellumental, he’ll start things off with the Ice Maze attack that rotates the rings and leaves icy panels that will immediately stop your turn if you come in contact with it. Keep in mind Olly can restore health if you take too long so try to figure it out before you near the end of your timer! Get to the Vellumnetal magic circle and scorch Olly’s folded behind with some fire. Once melted, deploy a 1,000-Fold Arms attack.


Once you deplete his health, phase two of the final boss fight will begin. This battle is… very different. Olly will transform into a giant folded being and Olivia will transform Bowser into his own origami figure so both can battle it out! You’ll be helping Bowser fight by activating magic circles whenever he gets near one.


Get behind Bowser and start smashing the ground after you activate the magic circle. If you did it correctly, Olly will send origami ninja stars onto your side of the arena and you’ll have to jump to dodge them. Run towards them to make it easier to dodge. You can also jump on top of them to destroy them. The more you help Bowser, the faster the ninja stars become.
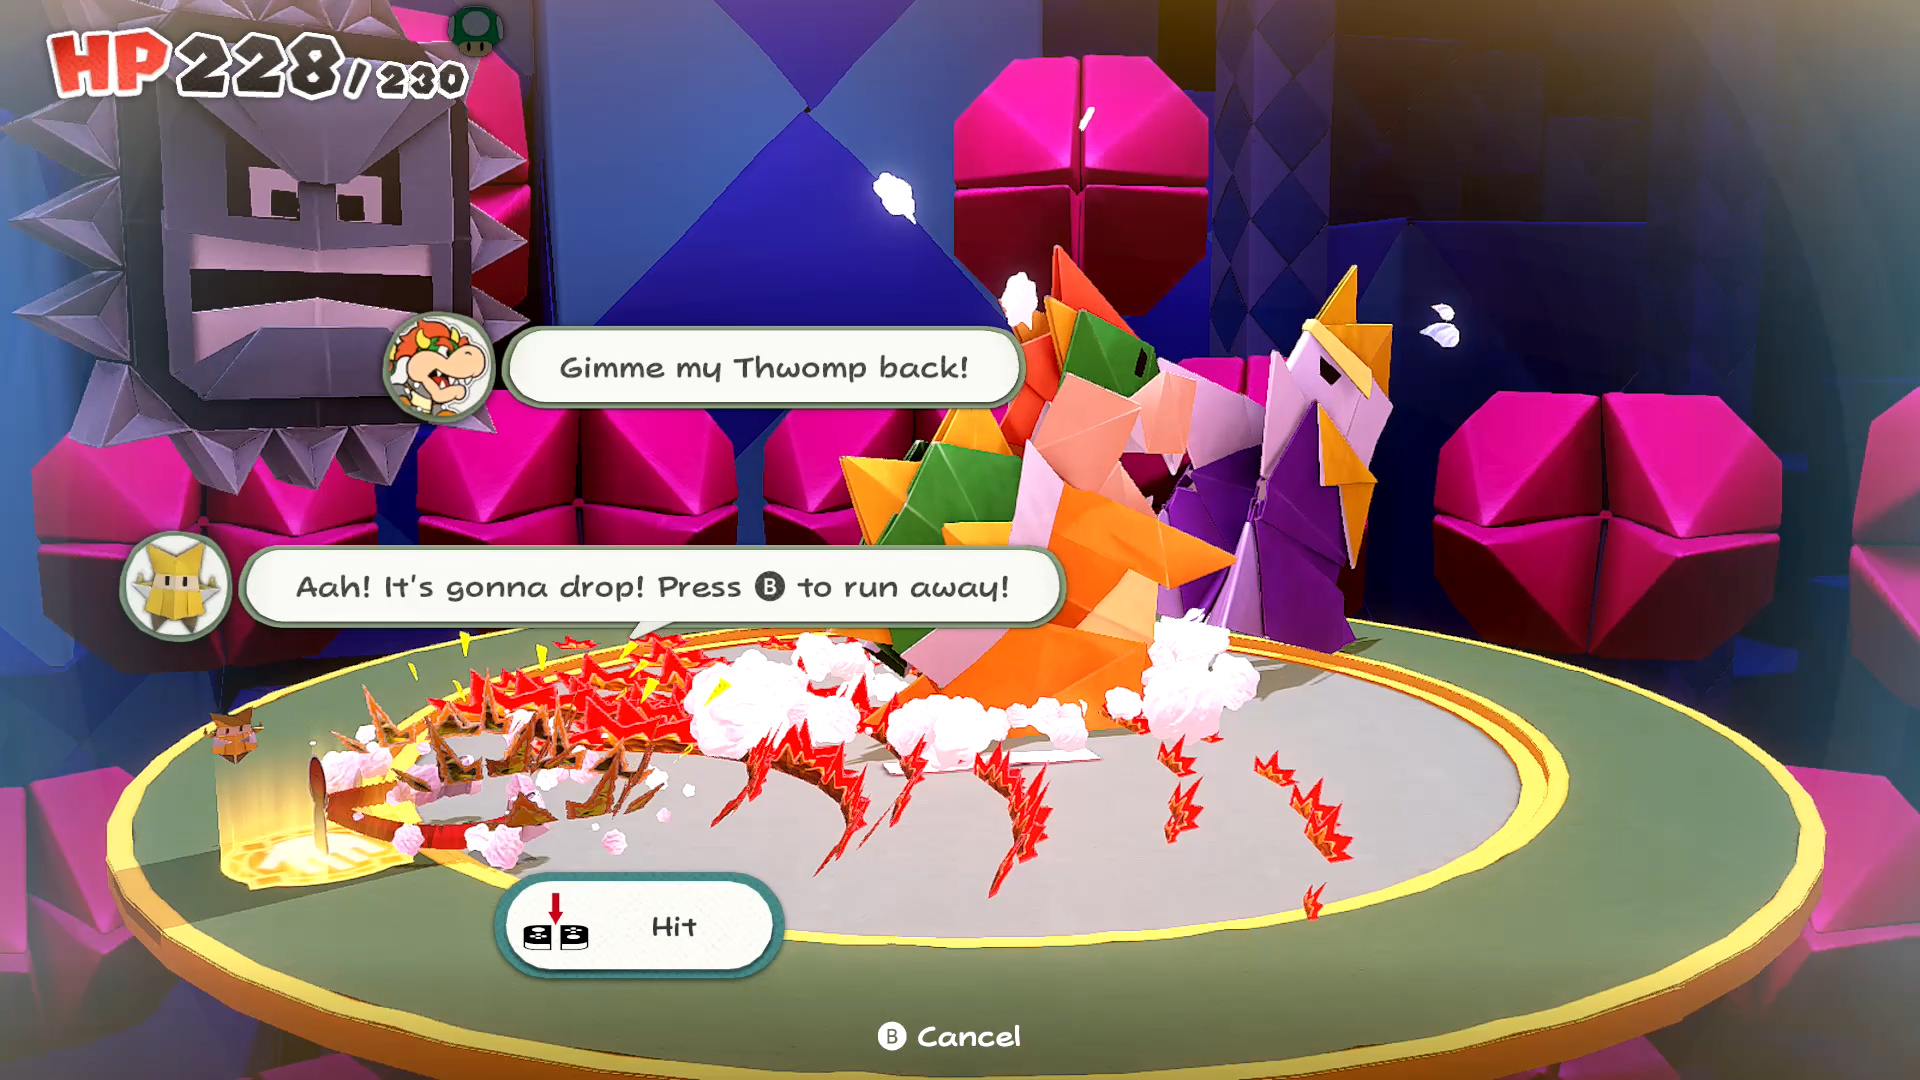
After the eighth time you help Bowser, a Thwomp will appear over your head. As soon as the text ends and you have control once again, immediately activate the magic circle and start slamming the ground. If you do it fast enough, the Thwomp will disappear. Fail and you’ll get a game over. Yeah, we don’t want that, so act fast!


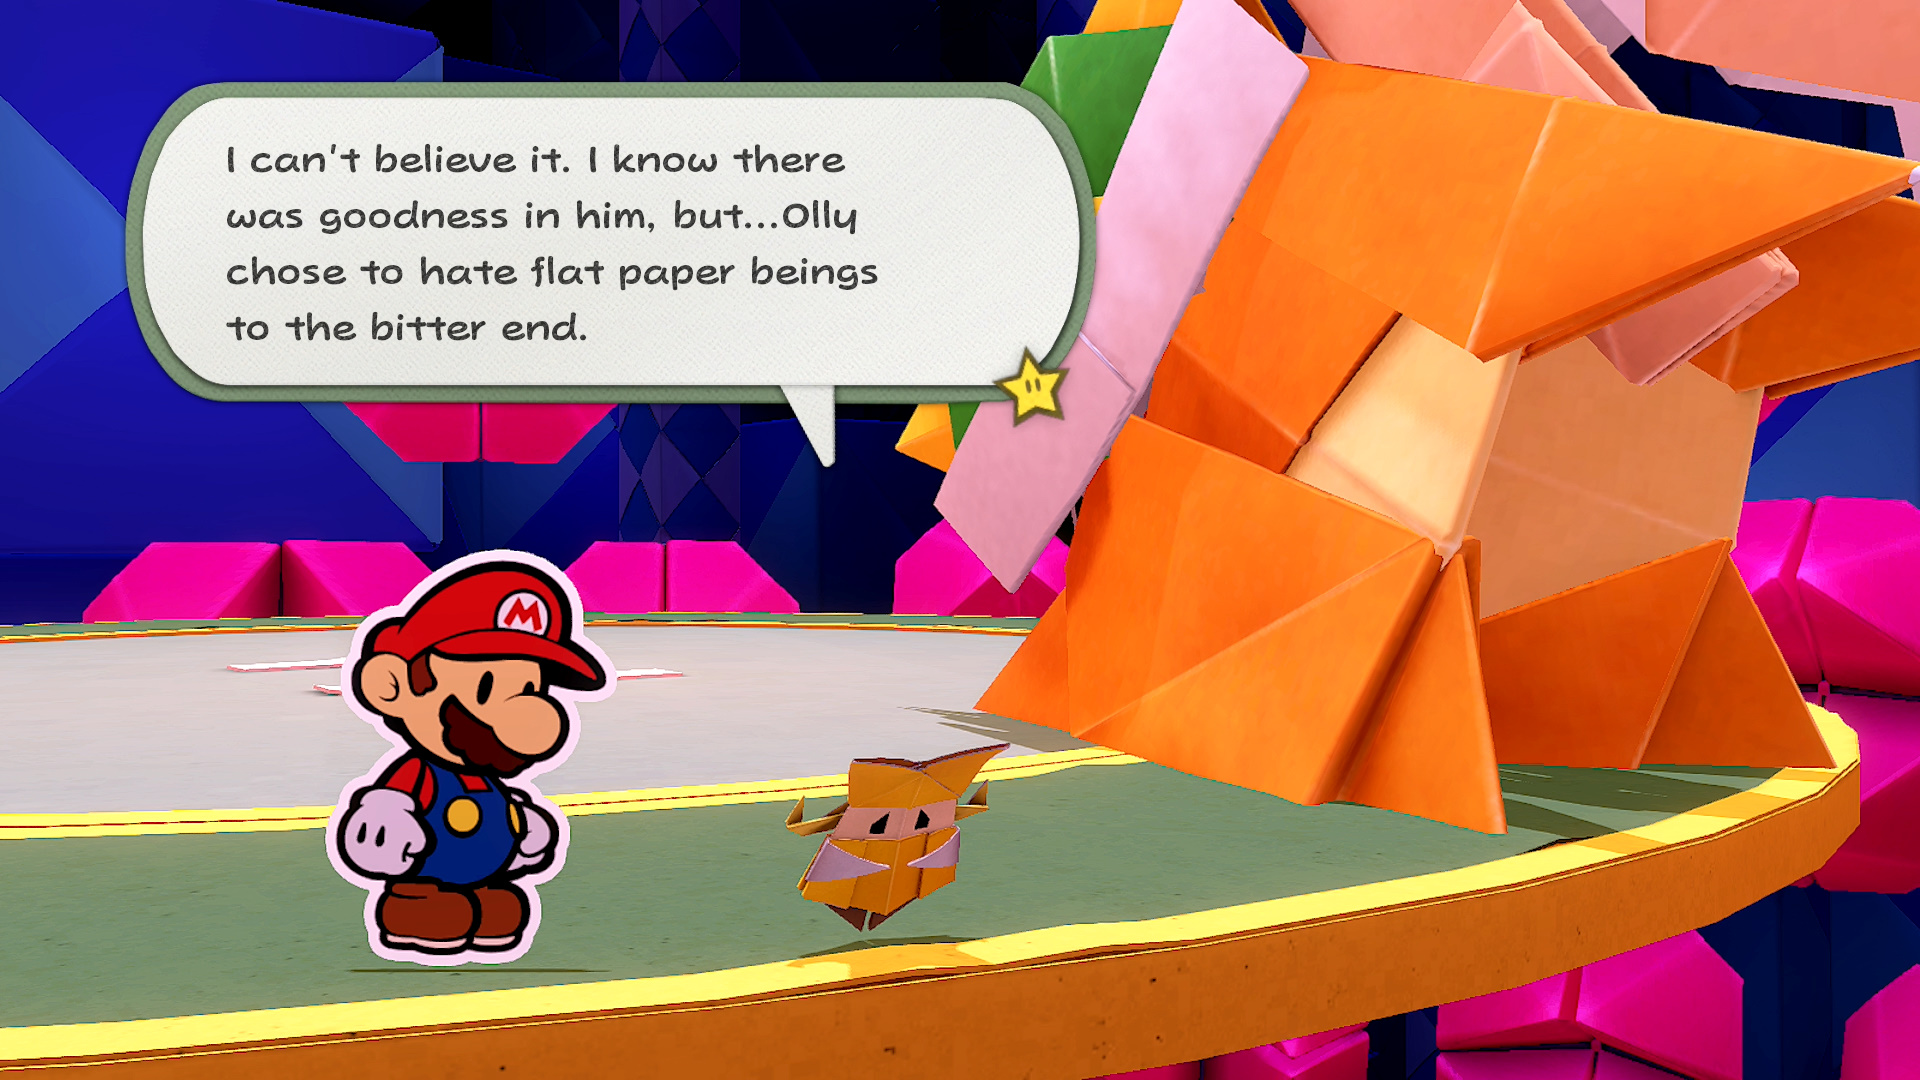
And now onto the final phase. Thanks Bowser! The victory is short lived as Olly returns in a massive form. With Bowser out of the picture and hope all but lost, Olivia will pull out a new technique, specifically the one the Origami Craftsman Toad gave her back on Mushroom Island. A new giant magic circle will appear on the arena.

Another thing that’s short lived. Olly will scramble the magic circle and you’ll have to put it back into place if you plan to use it. Once you regain control, start matching the colors together by sliding the groups of colors together. Slide the red section up to the other red sections and so on.


While you put the puzzle back together, a short five second timer appears. When this ends, Olly will attack and you’ll have to hit A the moment the action command appears on screen. Some attacks will require an additional action command. Doing so will allow you to dodge the attack. You’ll be able to get back to the puzzle after this. Once all the colors are grouped together, you should see images of Olivia with the colored groups. But we’re not done yet! Take note of the center to see the tips of each colored section and where each color belongs. Rotate the rings to put them into place. Green should be north, light blue should be east, red should be south, and blue should be west.


Now you can activate the giant magic circle! Do so and Olly will try to stop you with a consecutive series of action commands. Remember, don’t hit A until you see it appear on screen. Once you settle Olly down, use the 1,000-Fold Arms whack Olly a few times. Olivia will take charge from here and use that new technique by transforming into a giant origami hammer. Use Olivia to smash Olly down into the abyss below. You did it! You defeated Olly!
Use the links below to jump to different sections of our guide.
| Paper Mario: The Origami King (Guide Hub) |
|||
| Walkthrough | |||
| Toad Locations | Not Bottomless Holes | ||
| Treasures & Trophies | Question Blocks | ||
| Accessories List | Heart Locations | ||
| Boss Guide | Unlockables and Secrets |
||