
Earth Vellumental Temple is the sixth Red Streamer level in our Paper Mario: The Origami King Walkthrough. Our complete guide also includes collectibles.
Just looking for collectibles? Check out our Earth Vellumental Temple collectibles page for simple lists and locations for every collectible:
| Earth Vellumental Temple Collectibles Guide | |||
| Toads | Holes | Treasures | Blocks |


After collecting all the Shell Stones in Overlook Mountain and restoring the door to the temple, you’ve finally made it inside. Cough up 10 coins at each of the red boxes to get a quick display and info on what the Vellumental actually is. Hit the rock next to the second red box to reveal a Toad hidden as a bug. There’s also a sneaky hidden block floating in the air to the left of the red coin box.


Start listening to the third box before you realize a Toad managed to get stuck inside. Give it a hit of the hammer, then pull out and rescue the Toad. Listen to the rest of the historical account to learn that the claws of the Earth Vellumental are not its strongest attack. Hmmmmm. Walk down the steps beneath the lights and take note of the second to last one. Since it’s not lit, jump and touch it to drop a crumpled Toad.

At the end of the path, bust open the cracked rock to reveal three bug Toads. One goes underneath the stairs near the third red box while the other two stay near the divine image. The yellow one is the owner of the Accessories shop outside the temple!


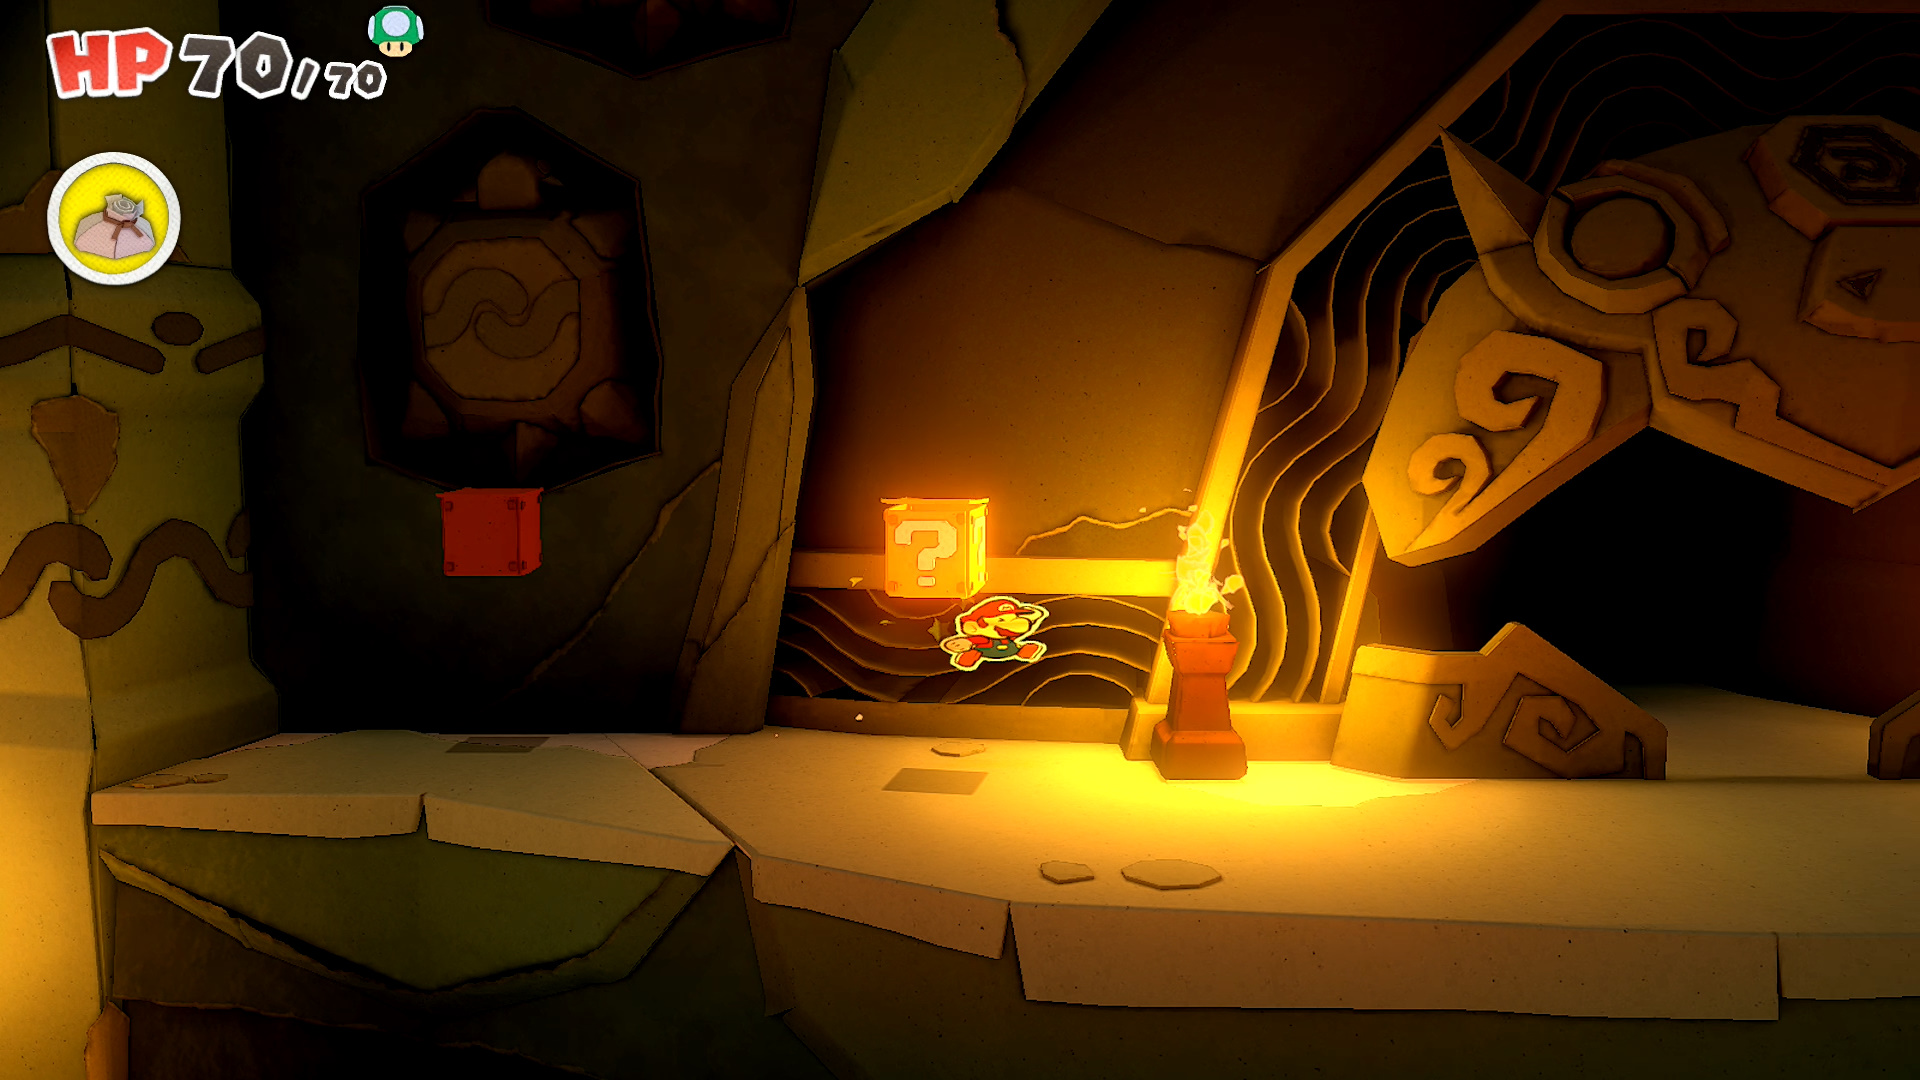
Use the last red box to inform you of a special weak spot on the tail of the beast. Interesting. Give the divine wall a few hits of your hammer to bring it down. Before you continue forward, there’s a hidden block floating in the air between the torch on the wall and the statue. Inside is a Mushroom.

Onward! Jump along the moving pillars while avoiding the spikes below. Try to jump from one pillar to another when the one you’re standing on is higher than the one you’re landing on.


Enter the small cave entrance to get ambushed by a folded Koopa Troopas. Try to jump on one of them before the battle to force one into its shell. During the battle, just focus on twisting the rings to make three lines of Koopa Troopas. Well timed jump attacks will take them all out, but you can also hop on a Koopa Troopa inside its shell to knock out all the others.


After defeating the folded Koopa Troopas, walk past the first torch and follow the path that resembles a long leg of the turtle formation. The chest is at the end. Hit the block containing a 100-Coin above the moving platform, then cross over when the two platforms briefly touch. The right platform moves all the way in, so be careful! There’s another hidden block along the leg of the turtle formation. Jump when you’re on the weird looking patch of dirt. Fire Flower inside.


Fill in the hole in the currently stationary pillar, but ignore the door above. We’ll come back, don’t worry! Jump over to the block to get Shiny Boots, then fill in the next hole to get the pillar moving. Drop down and enter the cave to the left to find a Green Toad getting tormented by a duo of Swoopers.


With the Toad rescued, return to the door we skipped. In the next room, avoid the pillars that push you over the edge. Well, if you’re trying to collect everything, you’ll want to get pushed to the lower level to get the two holes and collectible treasure.


There’s a hidden block floating in the air to the right of the last torch. Coin Bag inside. The next hidden block is a little ridiculous. That last hidden we just described? Yeah, there’s another hidden block on top of it. That means you have to go up the upper section, jump on top of the previous hidden block, then jump again to reveal a second one. Another Coin Bag inside.
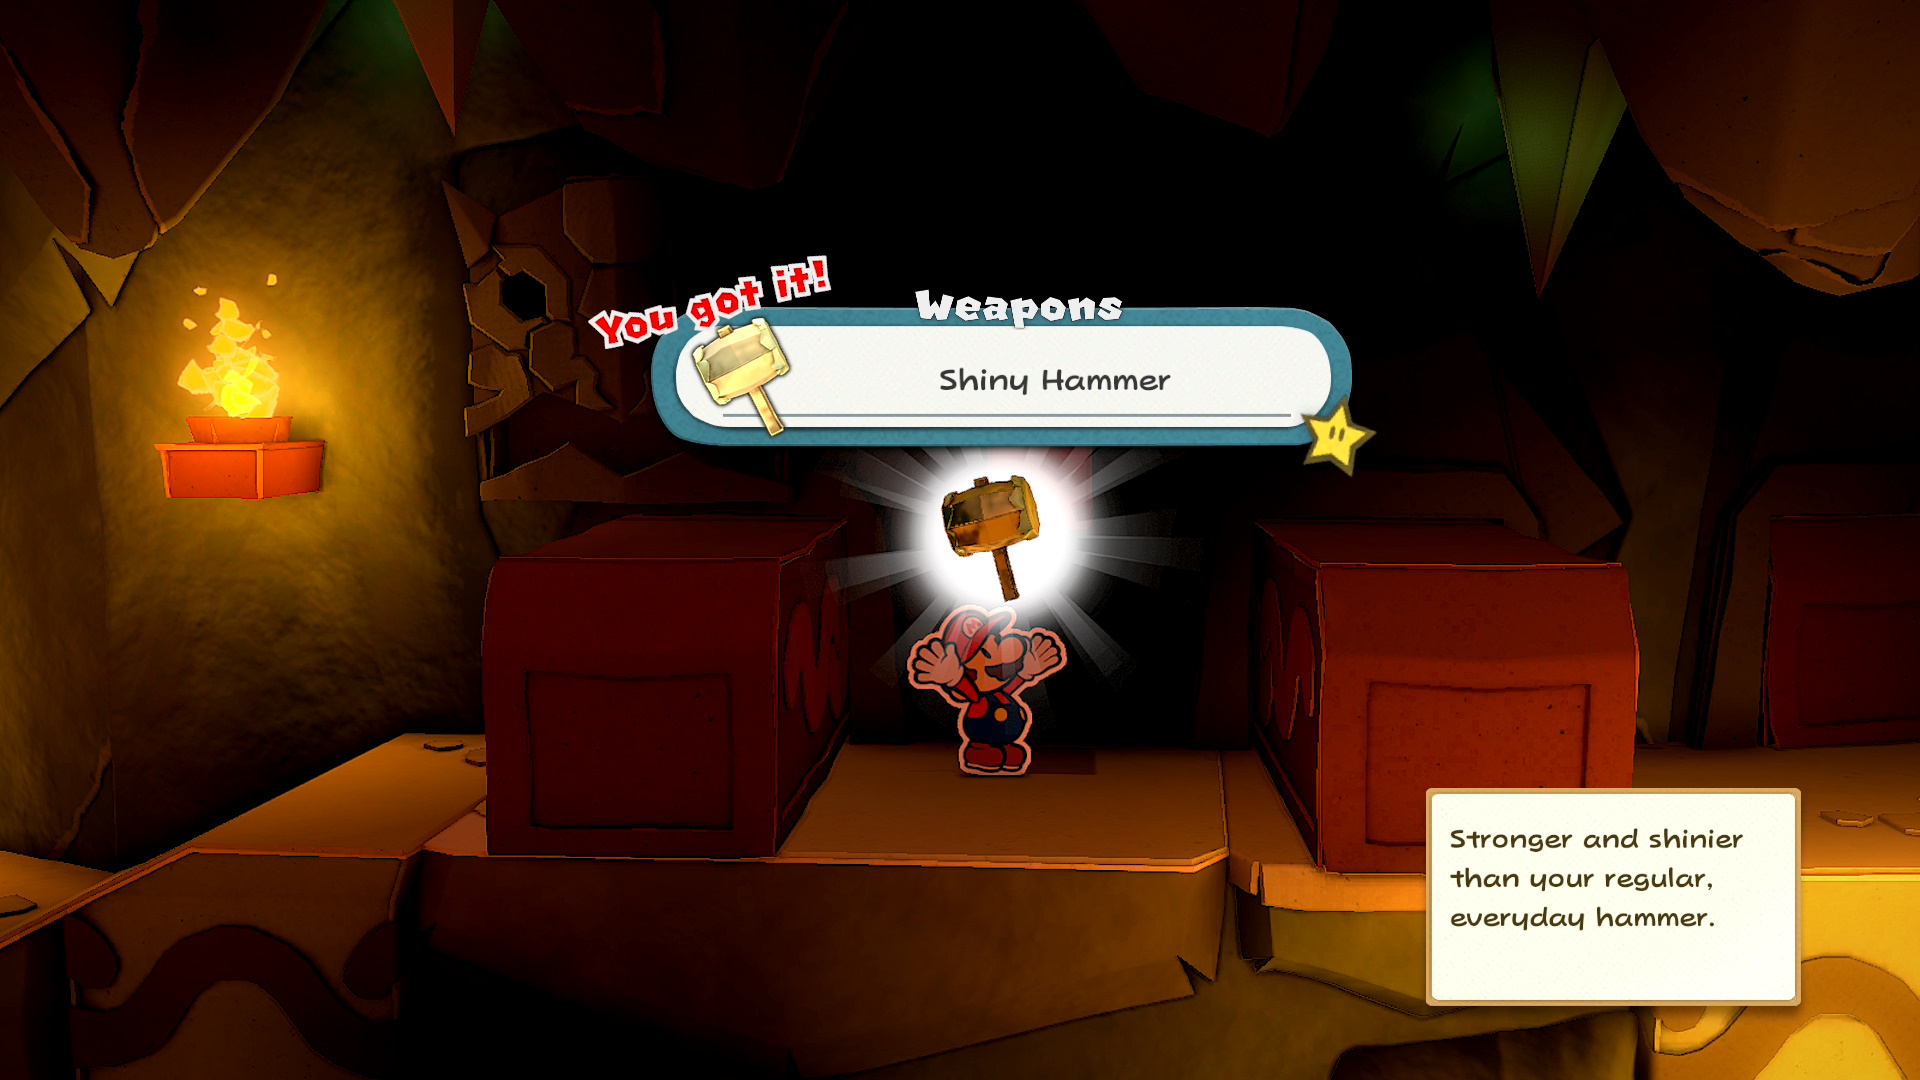

The first block has a Shiny Hammer inside. When you reach the three pillars that move at different times, wait until the pillar closest to you is about to move, then run across.

Reach the end of the path to find a hole. Typical. See the second to last outward moving pillar? There’s a little crevice on its right side you can slip into to bring you to the hallway behind the wall. Go up the steps, repair the large hole, get the block, and save at the Save Block.


Enter the next room and break down the cracked rock. Watch out for the Koopa Troopa inside, then make your way across the small fire bars up on the narrow path. Nice and slow is the way to go! Fill in the two holes you see along the way.


Wait for the two giant rotating fire bar stones to both have their blank sides line up in the center, allowing you to pass unharmed. Another hole to fill in front of the next fire bar stone. This time look for the empty pocket on the side of the stone. Enter it and ride all the way around until you have a clear path to the Save Block.


Make sure to save! Pass under the rotating fire bar stone by waiting for three fire bars to pass before moving. Once on the other side, break the rock and the entire stone will come crashing down! Run forward, take a moment to fill in the giant hole, then align yourself correctly so that the stone can roll over you while you enter one of the stone’s empty pockets. After it passes, the stone will create a path over the giant gap. And you’ll get a MAX UP Heart. This sweet item gives you an extra 20HP!

Enter the door to return to the main room. Peel off the tape to allow yourself to go up. To the left of the large entrance is a hidden block in the air holding the last collectible treasure. Between the statue in the wall and the torch is a second hidden block with a Coin Bag inside. Head through the big fearsome looking door and save at the Save Block on the other side. Must be a boss coming up! Walk up the steps and you’ll end up in the same cavern as the Earth Vellumental.
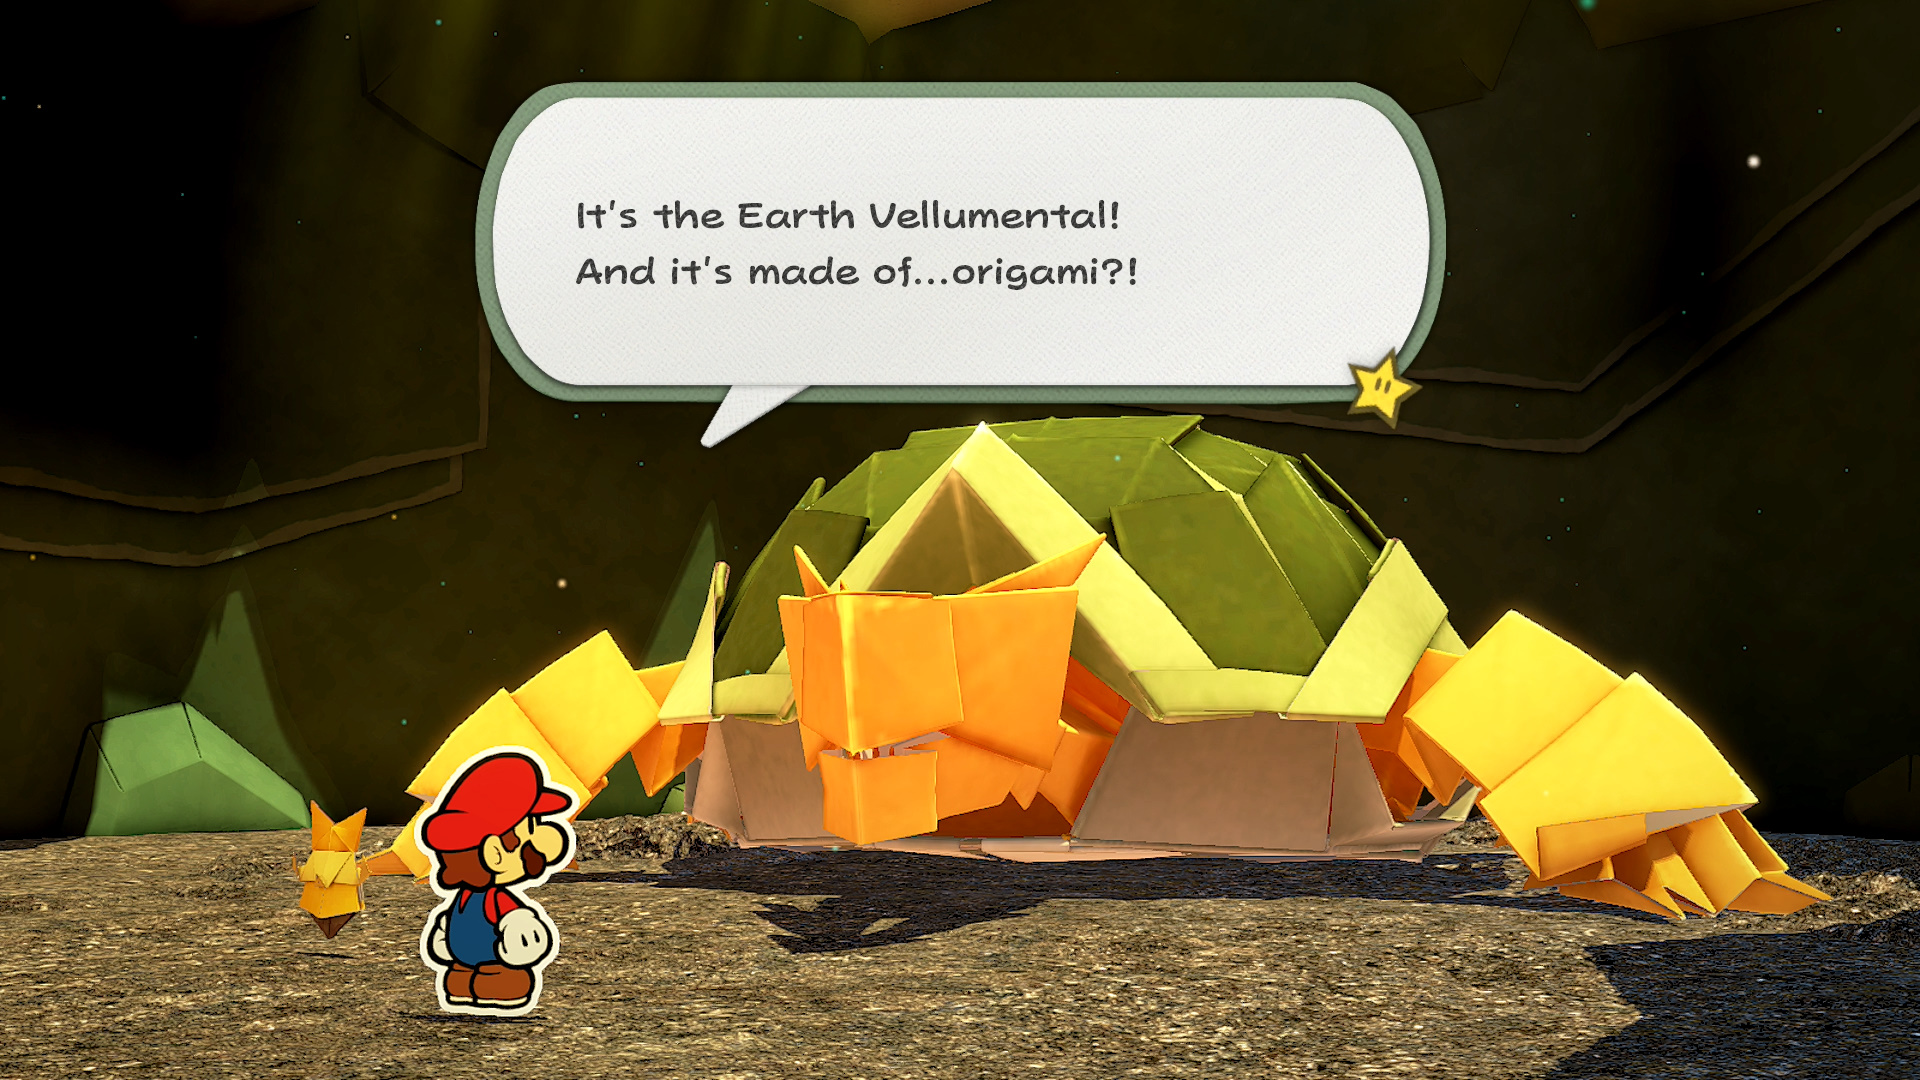

Once again, Olivia does a great job at walking you through the new boss battle mechanics but we have a quick rundown in case you didn’t catch something. Bosses take the center of the ring in boss battles while Mario uses the rings to line up arrows and other enhancements to reach the center to attack. Passing though treasure chests add additional status effects like increased attack power onto the arena while letters provide additional tips and advice on the boss. That’s the rough idea!

With the Earth Vellumental specifically, you’ll first have to attack its front flipper leg things as you don’t have a choice during the tutorial. Don’t use Boots to attack the shell, make sure to switch to the Hammer to deal damage!


Once you’re free to select any path you like, line up the rings so that you can attack the tail. It’s the main weak spot of the boss. Hit it with a Hammer and the Earth Vellumental will retreat into its shell. This will also cause a magic circle to appear in the arena!


Line up the magic circle so that it is closest to the boss. Don’t forget, you can still slide panels in addition to rotating the rings. Once you reach the magic circle, activate the 1,000 Fold Arms and flip the giant turtle on its back. Start slamming your fists onto its backside to completely annihilate its health. You did it! The beast is done for!


Defeating the Earth Vellumental will leave behind the Earth Bibliofold, an instruction manual for Olivia to be able to transform into the Earth Vellumental wherever there is a green magic circle. After a quick dance, the floor will rise and a warp pipe will be unearthed. Use it to return to the final red box at the start of the temple.
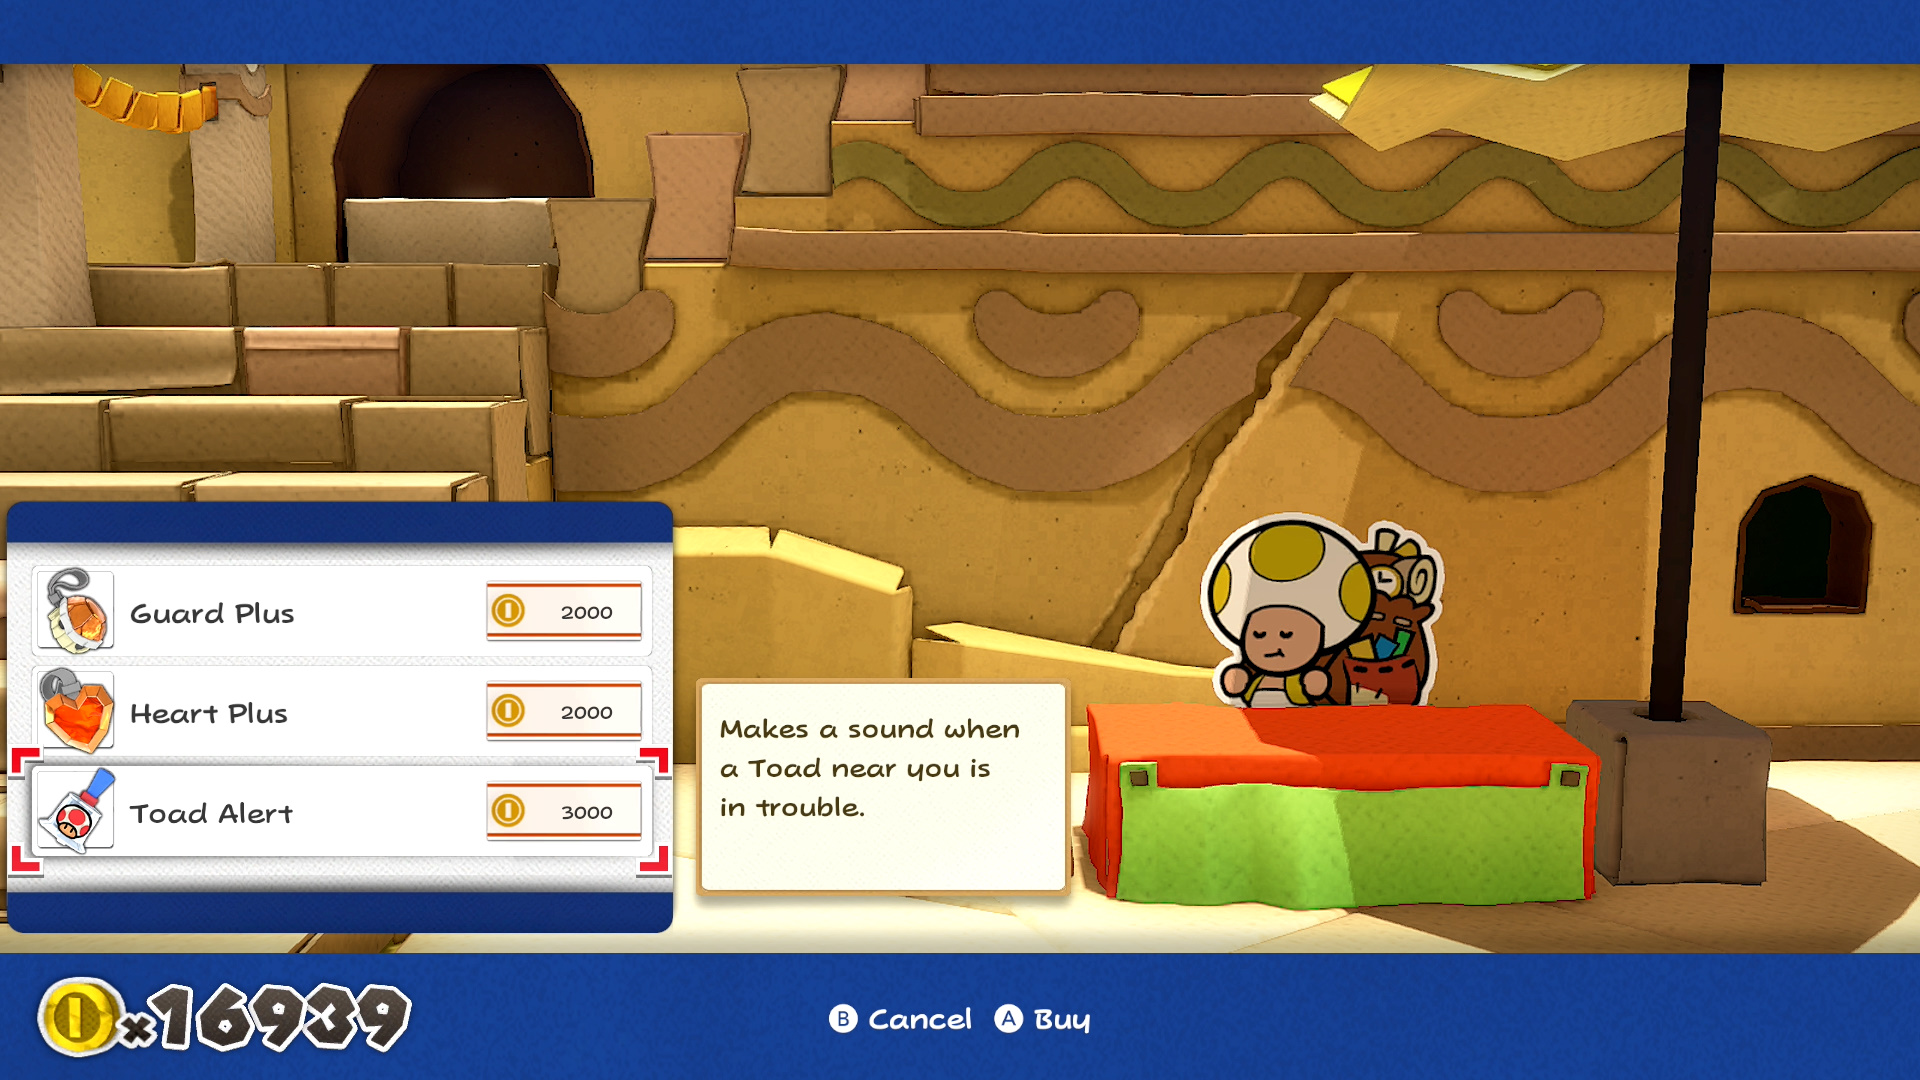
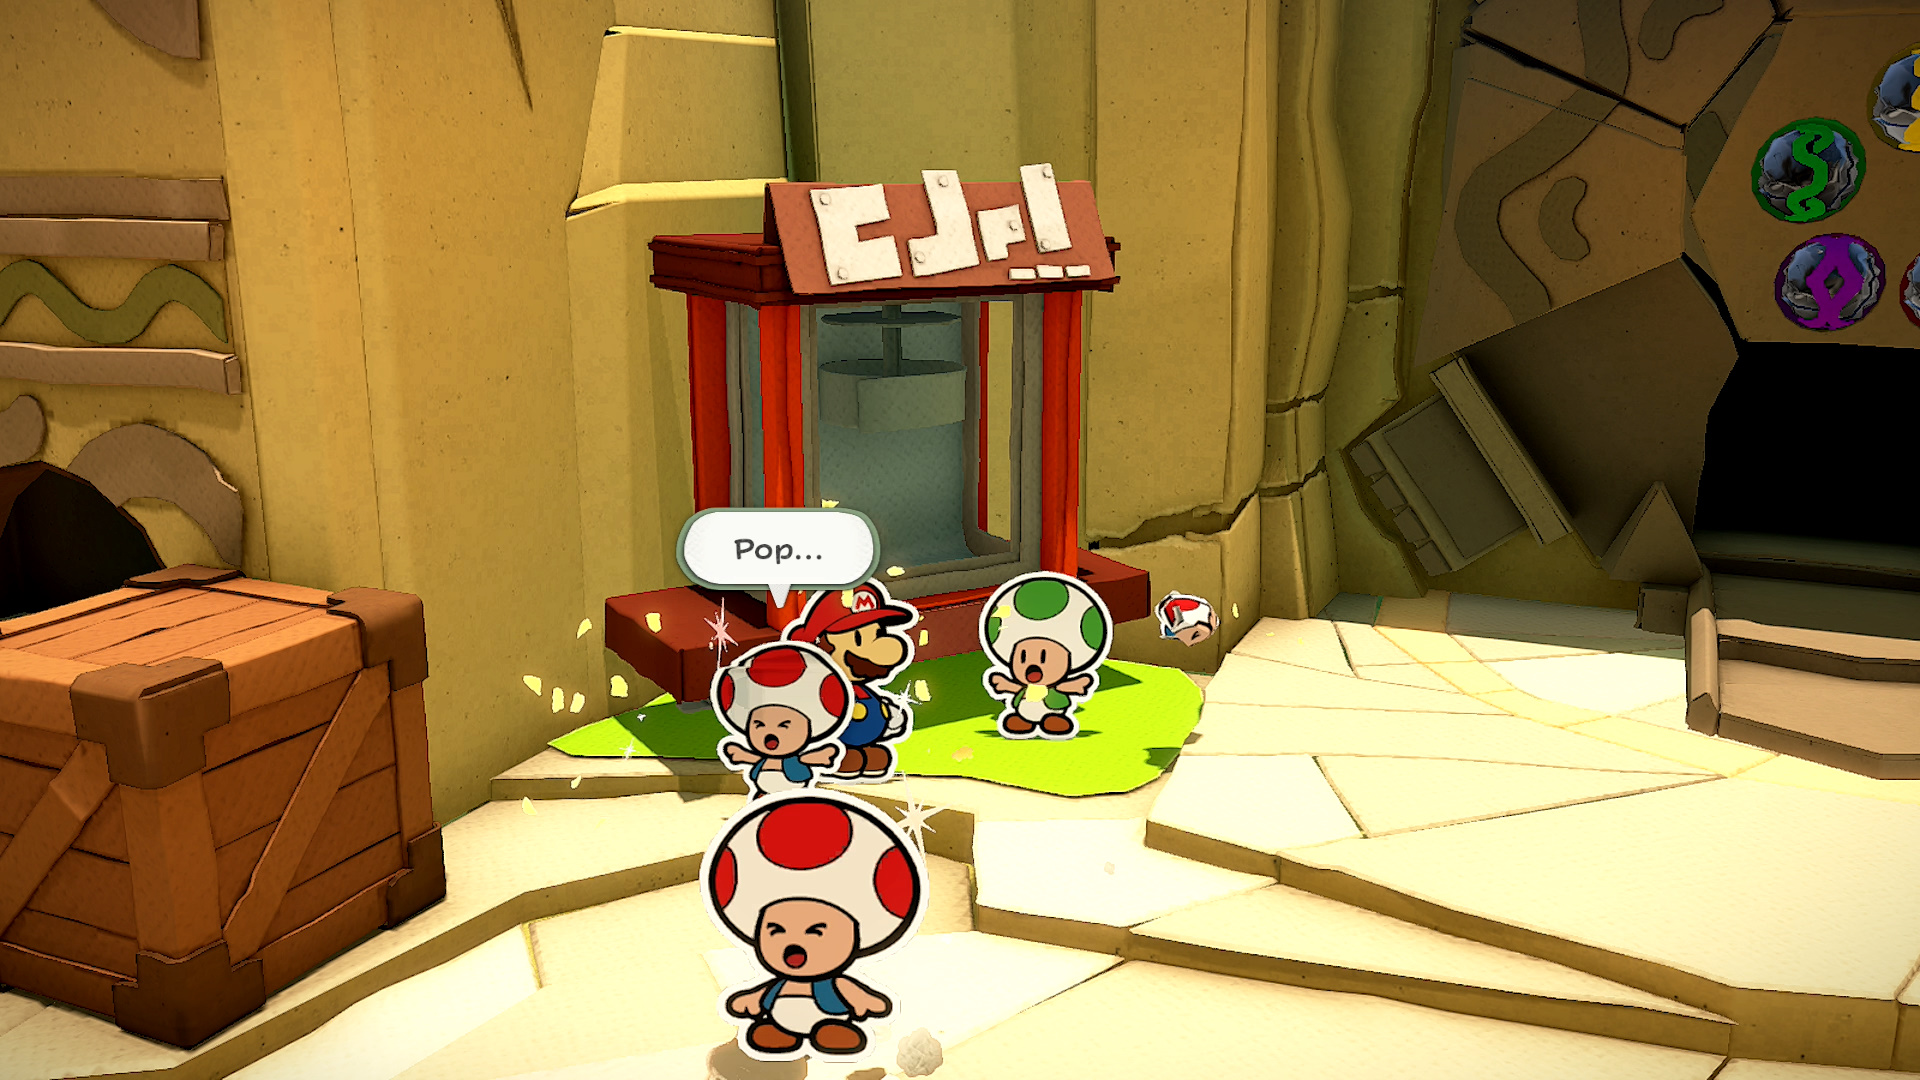
Exit the temple and there a few things to check out. There’s a new item shop on the right, a popcorn stall on the left, and a new fortune shop near the Accessories shop. Fortunes are given at random. Two collectibles can be purchased at the shop, there are four Toads in the popcorn machine, and a crumbled Toad can be found behind the fortune shop.

Return to Overlook Mountain and head for the top again. Things are mostly the same except for the Goomba you can fight that’s harassing the Toad near the red warp pipe. Once at the top, activate the green magic circle and bring down Overlook Tower!
Use the links below to jump to different sections of our guide.
| Paper Mario: The Origami King (Guide Hub) |
|||
| Walkthrough | |||
| Toad Locations | Not Bottomless Holes | ||
| Treasures & Trophies | Question Blocks | ||
| Accessories List | Heart Locations | ||
| Boss Guide | Unlockables & Secrets |
||