
Collect every Wonder Seed and Flower Coin in The Final-Final Test Badge Marathon, a tough-as-nails final level in our Super Mario Bros. Wonder walkthrough.
It’s the grand finale! You’ve collected every Wonder Seed up to this point, completed nearly every Special World level, including the challenging The Final Test Wonder Gauntlet, and now you’ve unlocked the true final level. So, what are we looking for? This level has a single Wonder Seed, three Wonder Flowers, and a golden flagpole.
ADVERTISEMENT
Yeah… This is the type of level you’ll want a more detailed walkthrough for. The level is divided into ten rooms, each with a different badge enabled that’ll give you a unique ability. There are only two checkpoints in this level, so you’ll need to complete several rooms in a row without failure. We’ll list collectibles after the zone tips.
Parachute Cap Zone
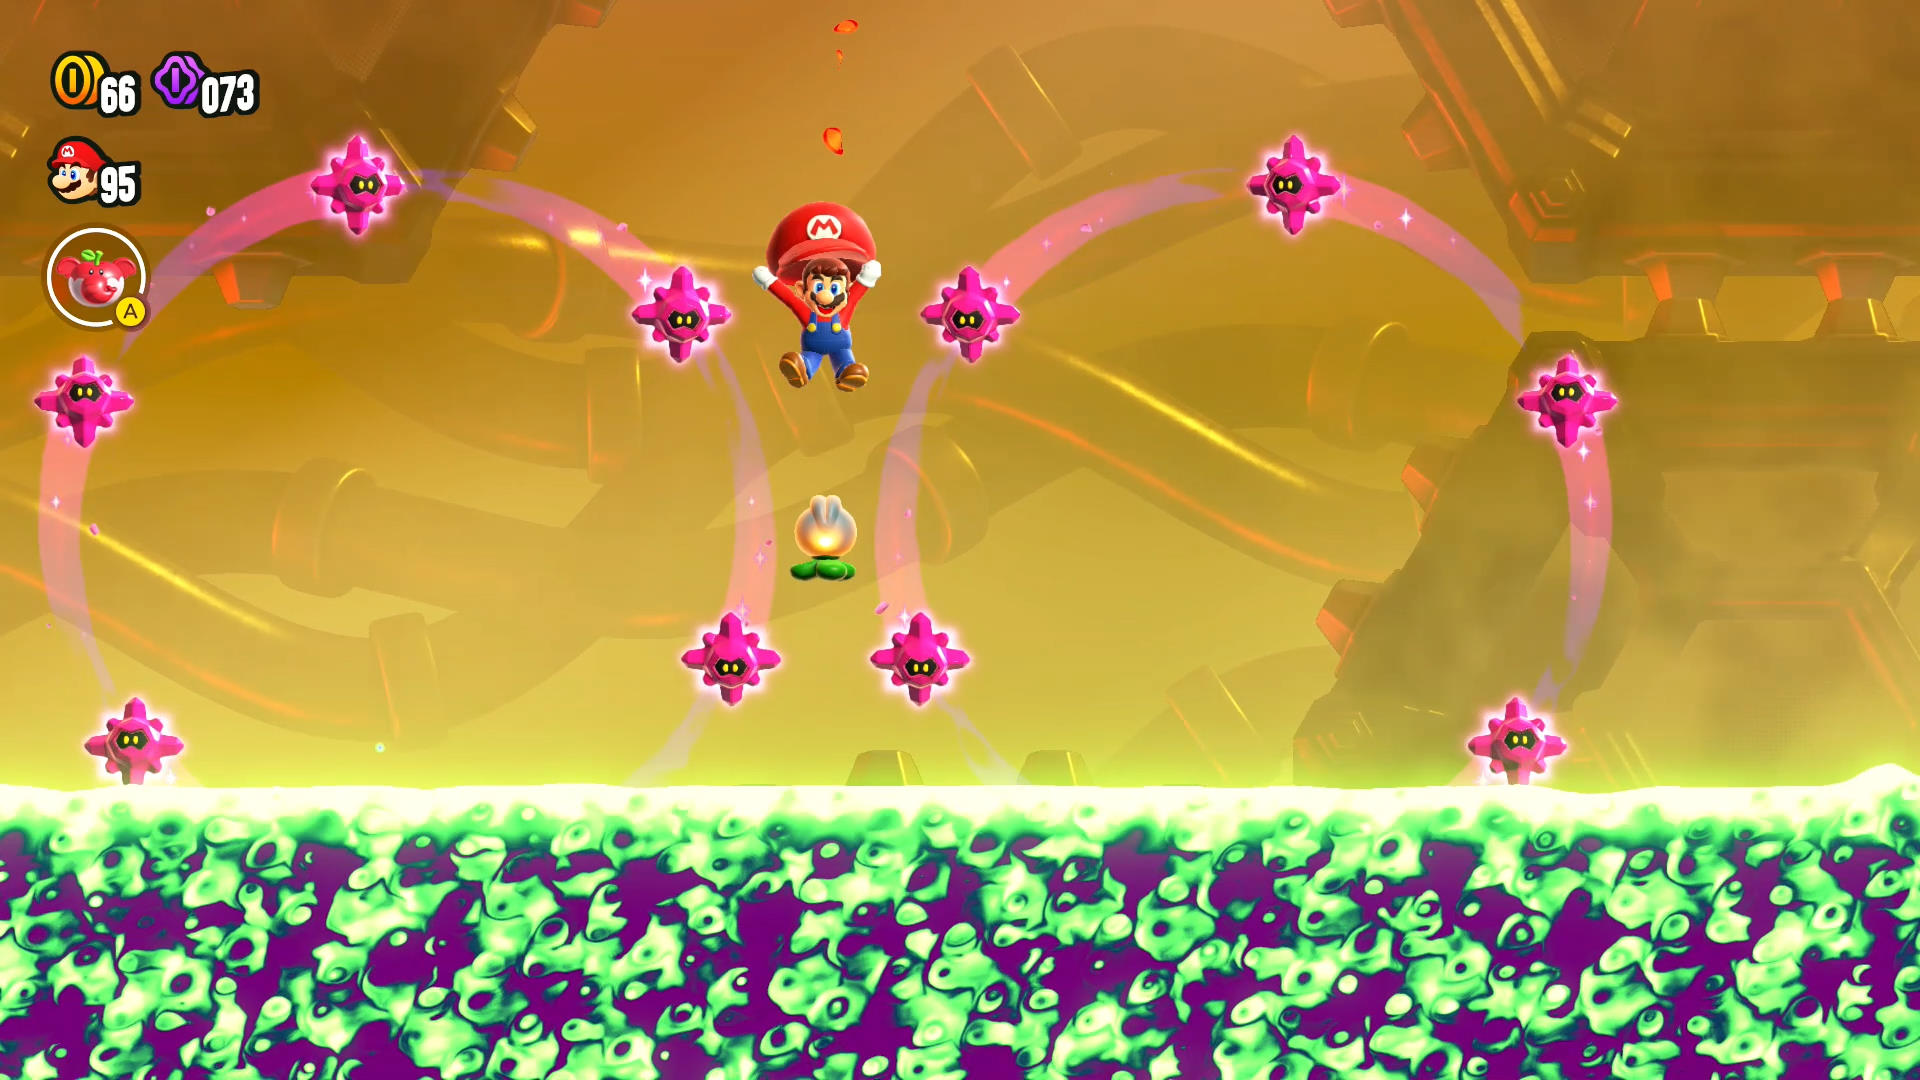
- This may be the only time you see a Mushroom, but both Checkpoint Flags will level up too! But only the first time.
- Jump and start your parachute glide when the first pink Sugarstar is near the green poison.
- Most of the zones don’t require you to touch all the Wow Buds, but these are required since they lower the poison level.
- Don’t be afraid to let go of parachute for a brief moment to drop straight down. This is useful for getting through some of the Sugarstar paths quickly.
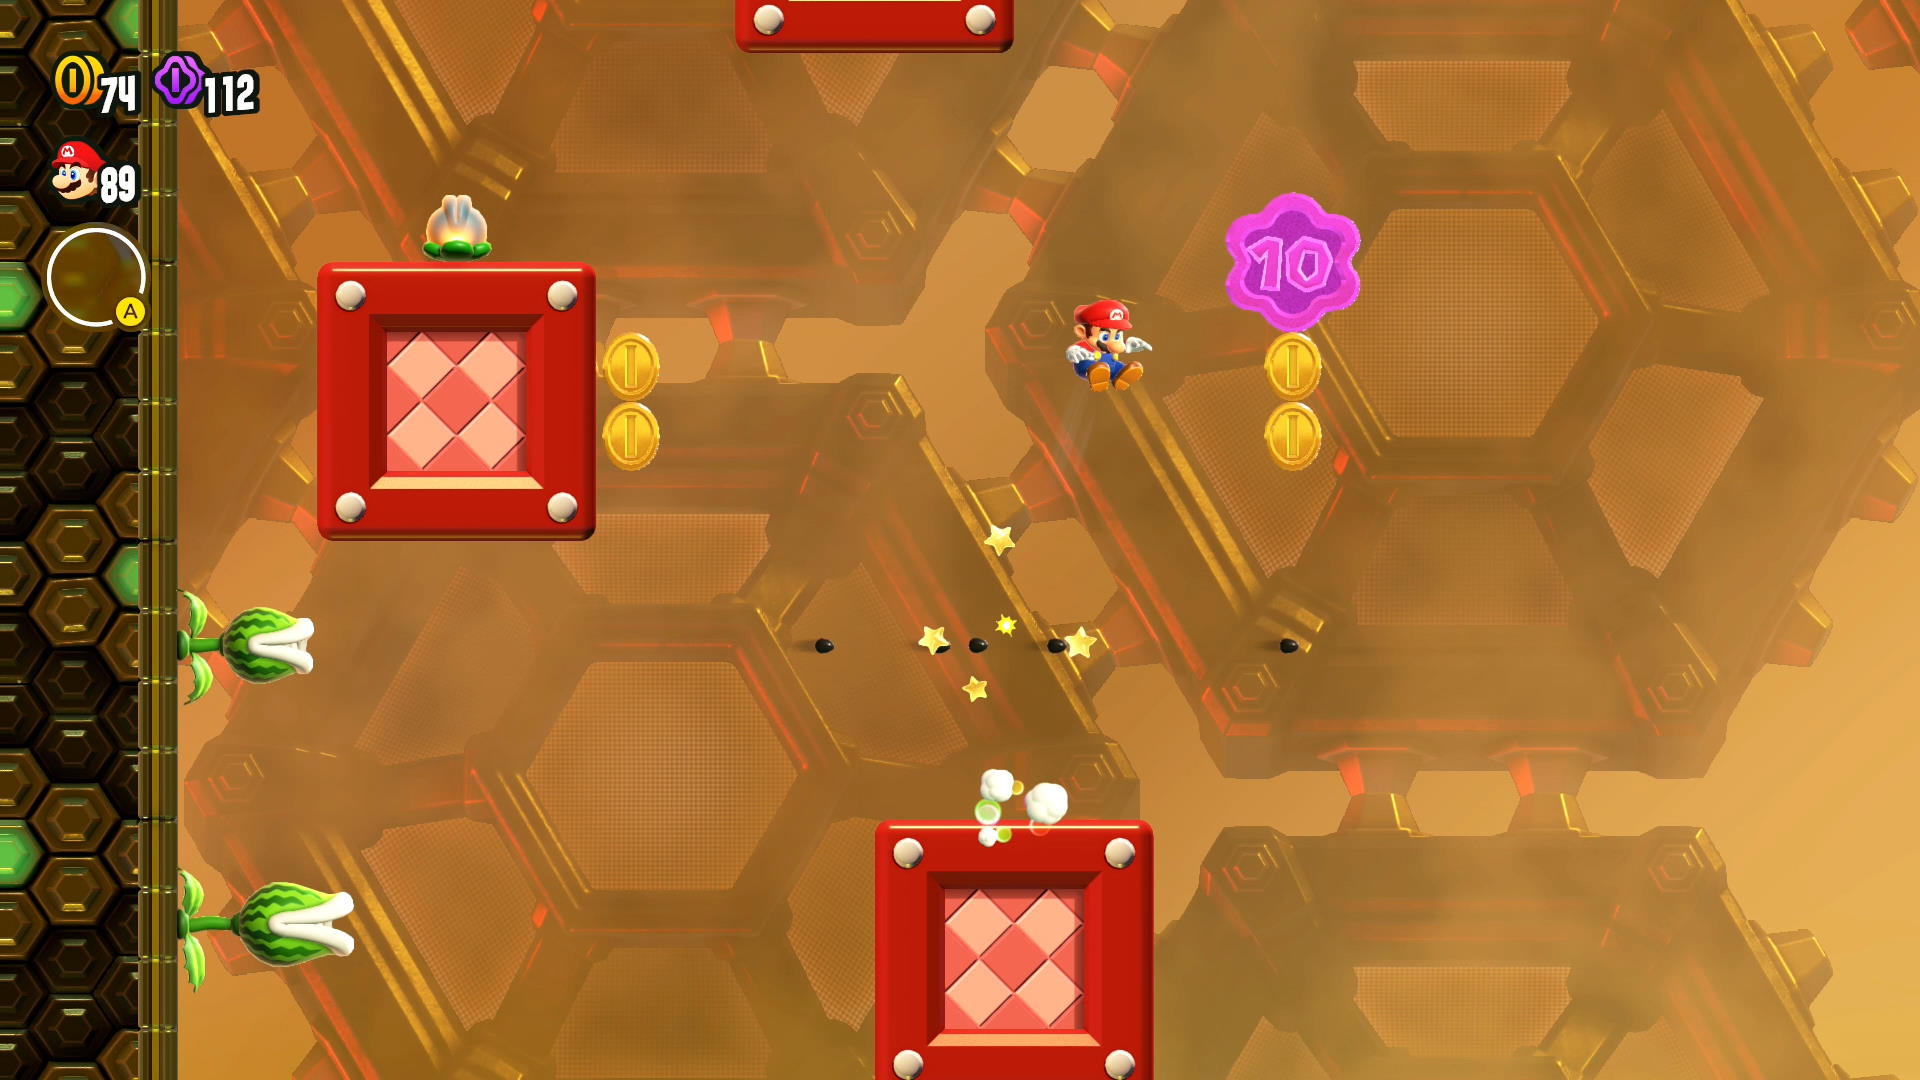
Floating High Jump Zone
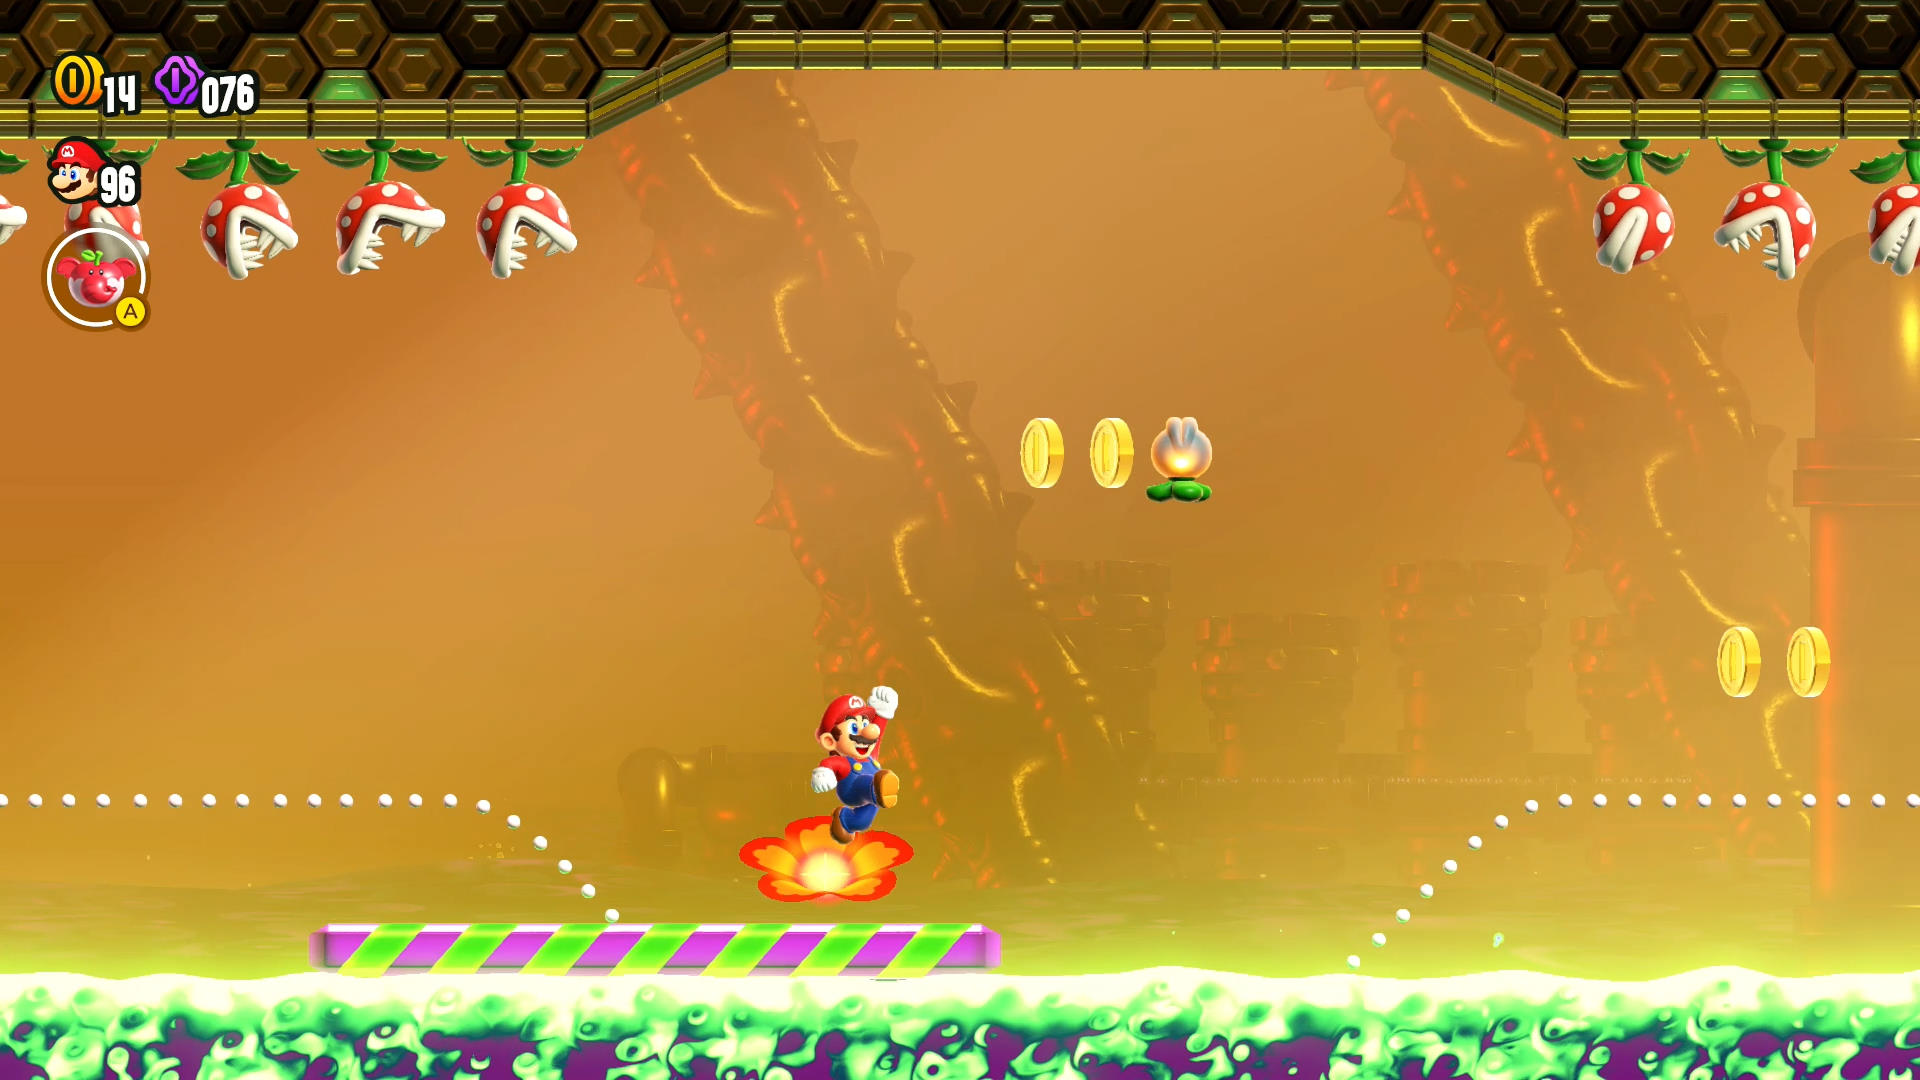
- Controls are fairly simple. Do a small jump on the moving platform to have it jut forward a bit. Do a ground pound to send it forward a good distance.
- Get under the Piranha Plants with a ground pound, then keep pushing down to keep your head out of their teeth.
- Use the float mechanic of the badge to get over the toxic geysers.
- Platform is about to head into the poison? Do a ground beforehand, then float across the gap. The platform should return on the other side just in time.
Dolphin Kick Zone
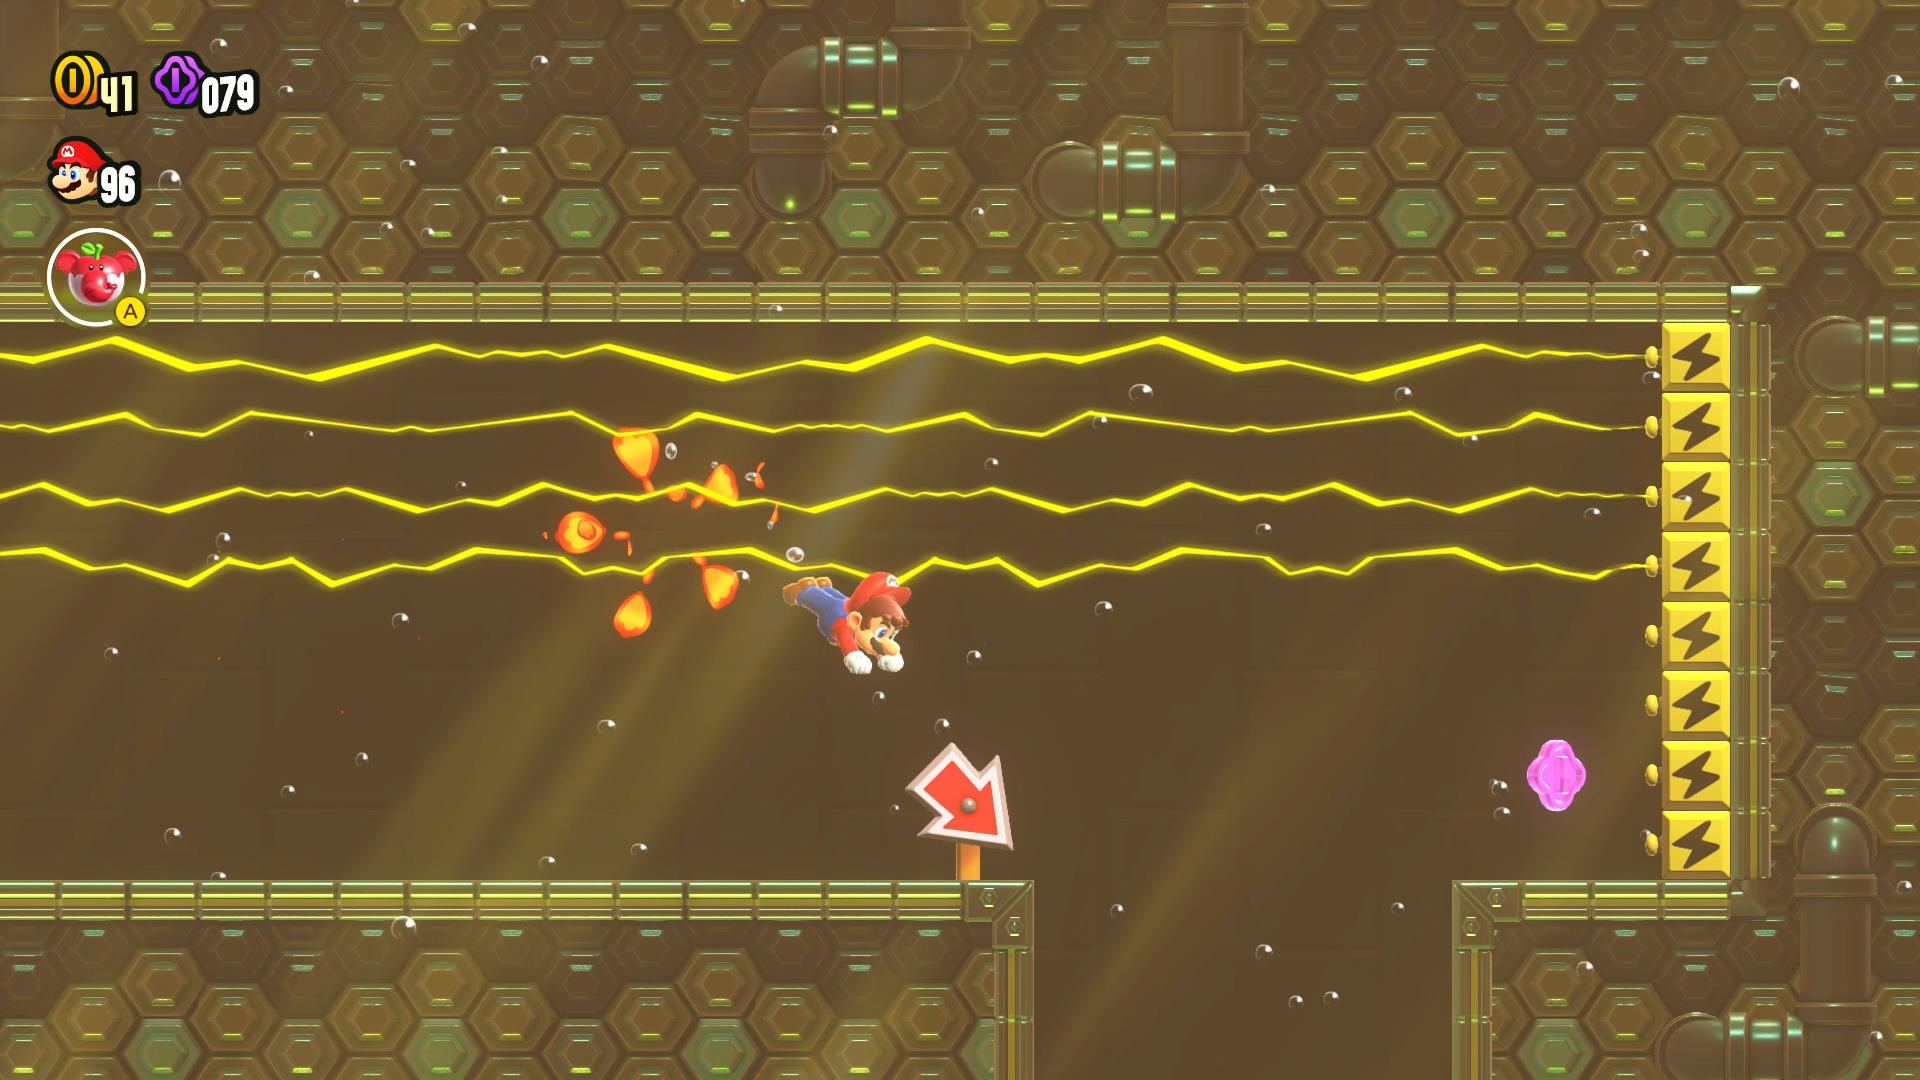
- Once the closest electricity block sends out its spark, dive forward. You aren’t faster that the lightning.
- This is where the first Flower Coin is at! Swim through all three Wow Buds to have it appear. Grab it and continue swimming around the circular area until you reach the exit a second time.
- In the area with the alternating rows of electricity blocks, swim to each to each safe zone as soon as that area’s zaps and warning zaps are gone.
Crouching High Jump Zone

- Checkpoint! Any time you restart, you’ll start from here. You’ll want to practice this one, so this is good.
- Push down, then press the jump button to launch yourself upward.
- The moment you’re launched into the Zip Track, you automatically start sliding. You don’t have to hold any button. You do have to press the cancel button to let go.
- Hold down on the Zip Track to pass under the Munchers, then spring upward just before the geyser.
- Don’t worry about the Zip Track at the end that’s covered in geysers. They’ll move before you hit the track.
Wall-Climb Jump Zone
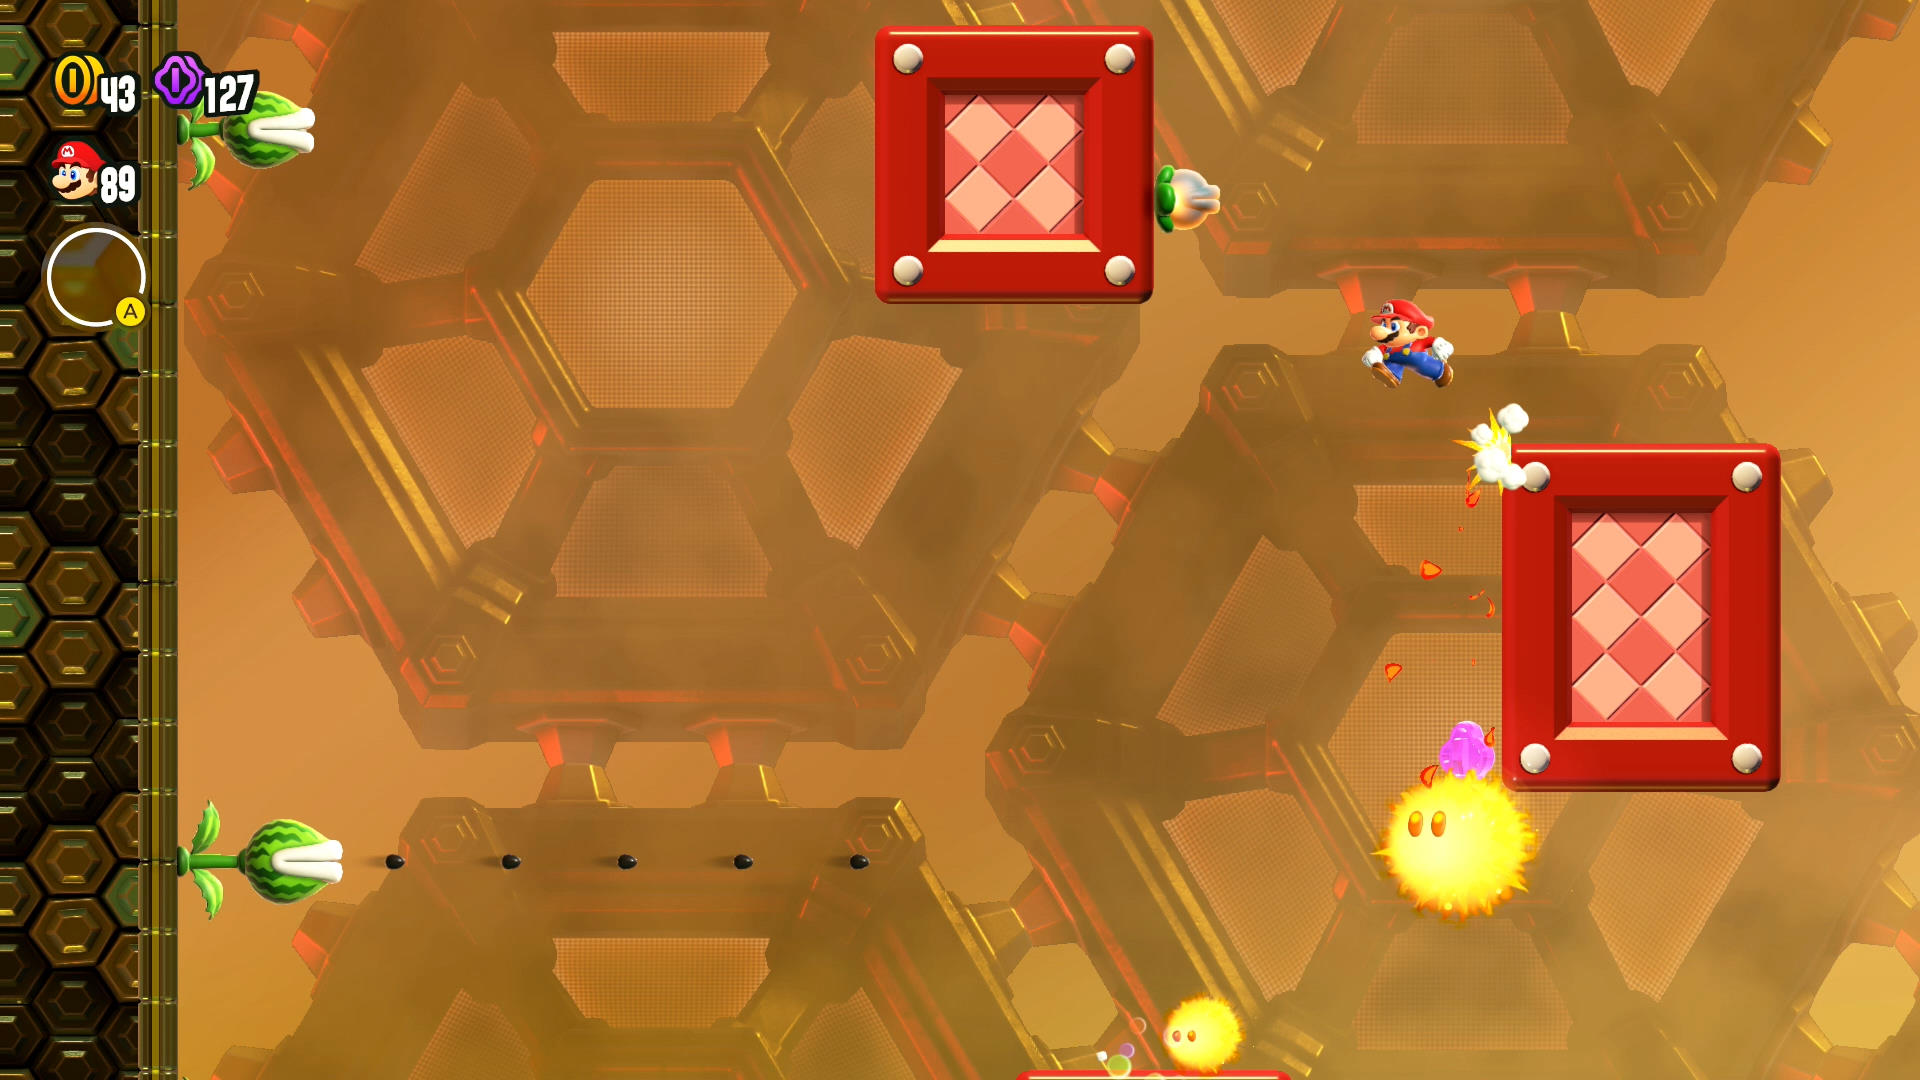
- This badge will let you do a double wall jump against the same wall.
- You don’t have to get the Wonder Buds, but they actually guide you where you’re supposed to go.
- The Melon Piranha Plant will smack its lips six times before spitting out five seeds. Try jumping just before the seeds are shot out so you can bounce off one and reach the red block.
- If you mess up a wall jump and need to start over… be extra careful. There are Li’l Sparkies and Hotheads that circle some of the blocks, and they may move into unfortunate positions if you don’t get to them fast enough.
- When you reach the red block with the large Hothead, use your second wall jump to reach the red block on the left instead. This will let you jump back to the top of the red block with the Hothead.
- Flower Coin up ahead! Bounce off the seeds of the Melon Piranha Plant to reach it.
- Finish the zone off with another Melon Piranha Plant seed bounce and a wall jump off the right wall.
Spring Feet Zone
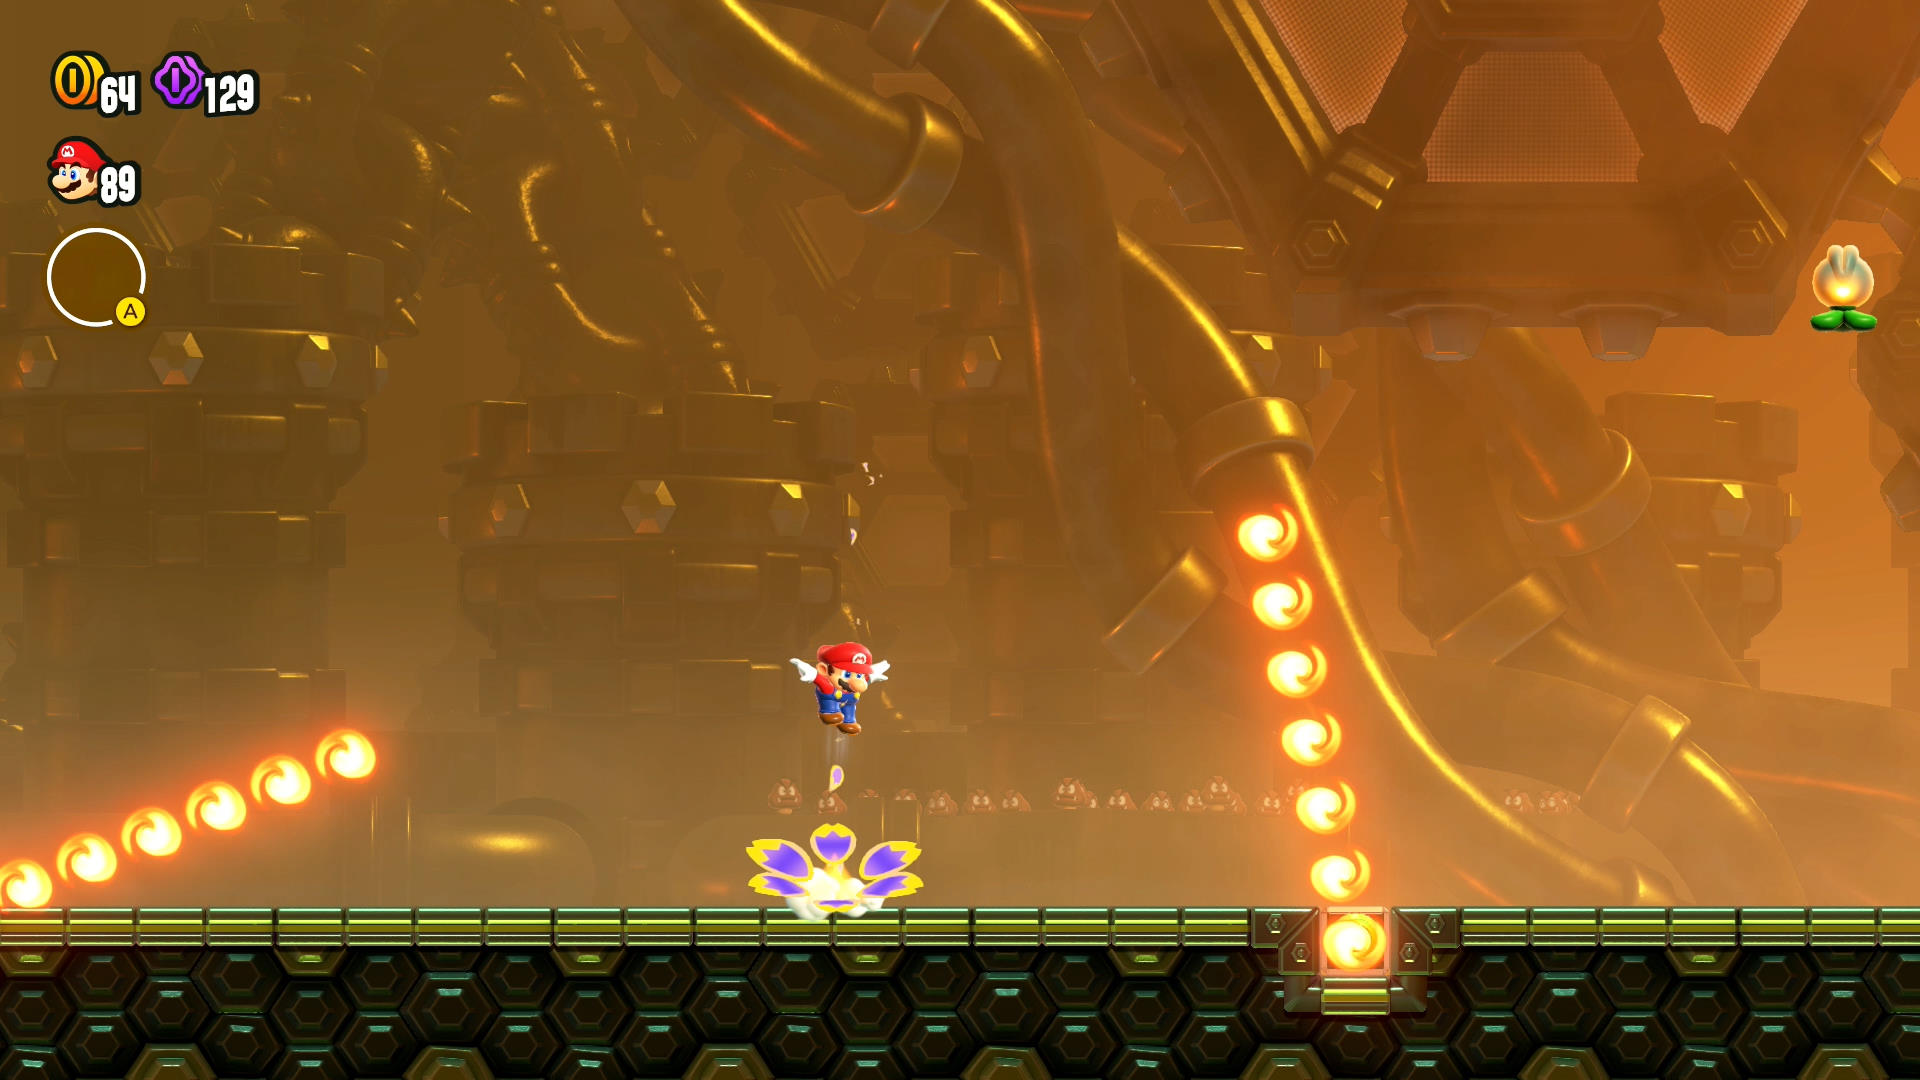
- Good luck! It’s tough to describe when to jump, so first and foremost follow your intuition. Remember that you have your small midair spin that’ll give you an extra half second of air time if you need it!
- Jump over the first fire bar as it passes its highest point.
- Get past the second fire bar when it passes over the small platform.
- Now a higher in the level, start moving past the third fire just as it passes in front of you.
- For the next set of fire bars, watch as the bar moves towards you. Start hopping over once the bar is generally pointed northwest. Keep your momentum going and bounce over the next fire bar too.
- Another evil section. You’ll need to bounce above the fire bars to get through. For the first one, start jumping over just before the bar hits its highest point. Bounce over the bar a second time to give yourself time and space to get over the gap.
- This part is rude, but you can do it. Small platforms, but once you start, you can keep your momentum going and move through it one by one. Again, start moving just before the bar hits its highest point.
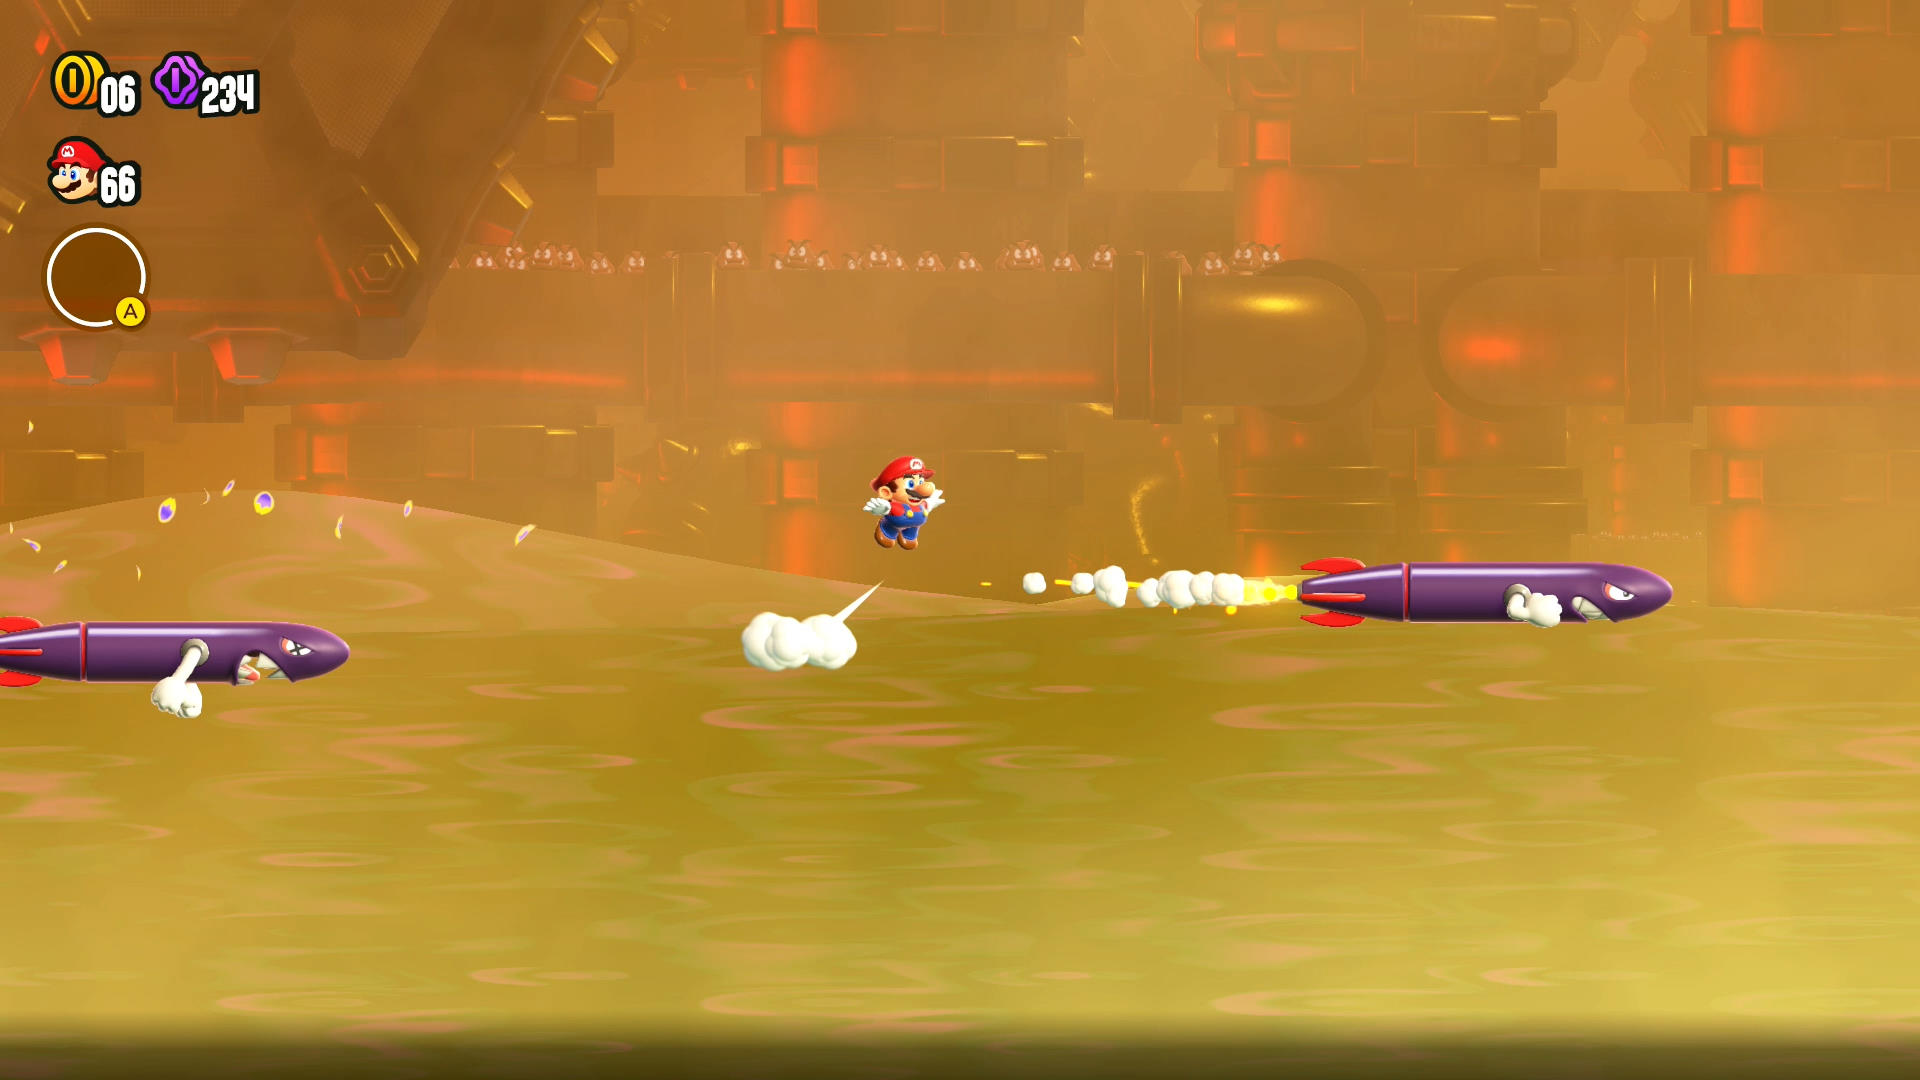
Jet Run Zone
- Checkpoint! But this is the last one. You’re about to get really good at these next two zones.
- Keep in mind that you don’t have to hold a button or push a direction to keep running. This may help make your jumps easier to hit.
- You can also run and float a bit after running off a ledge, and that comes with an extra jump you can do in mid-air. You’ll need this!
- For the first section, stick to the top of the platforms before dropping down to the missiles below.
- Once you land on the Meg Missile, let Mario run off the enemy without jumping. Jump once you’re halfway to the next Meg Missile, and keep doing this until you reach the first sloped platform.
- You can make a sharp turn to swith directions with the control stick. Depending on the speed, you might slide a bit so make sure to give yourself some extra distance.
- If you fall off the sloped platforms that are higher up, you might land on one of the lower slopes where you can retry without restarting the entire zone.
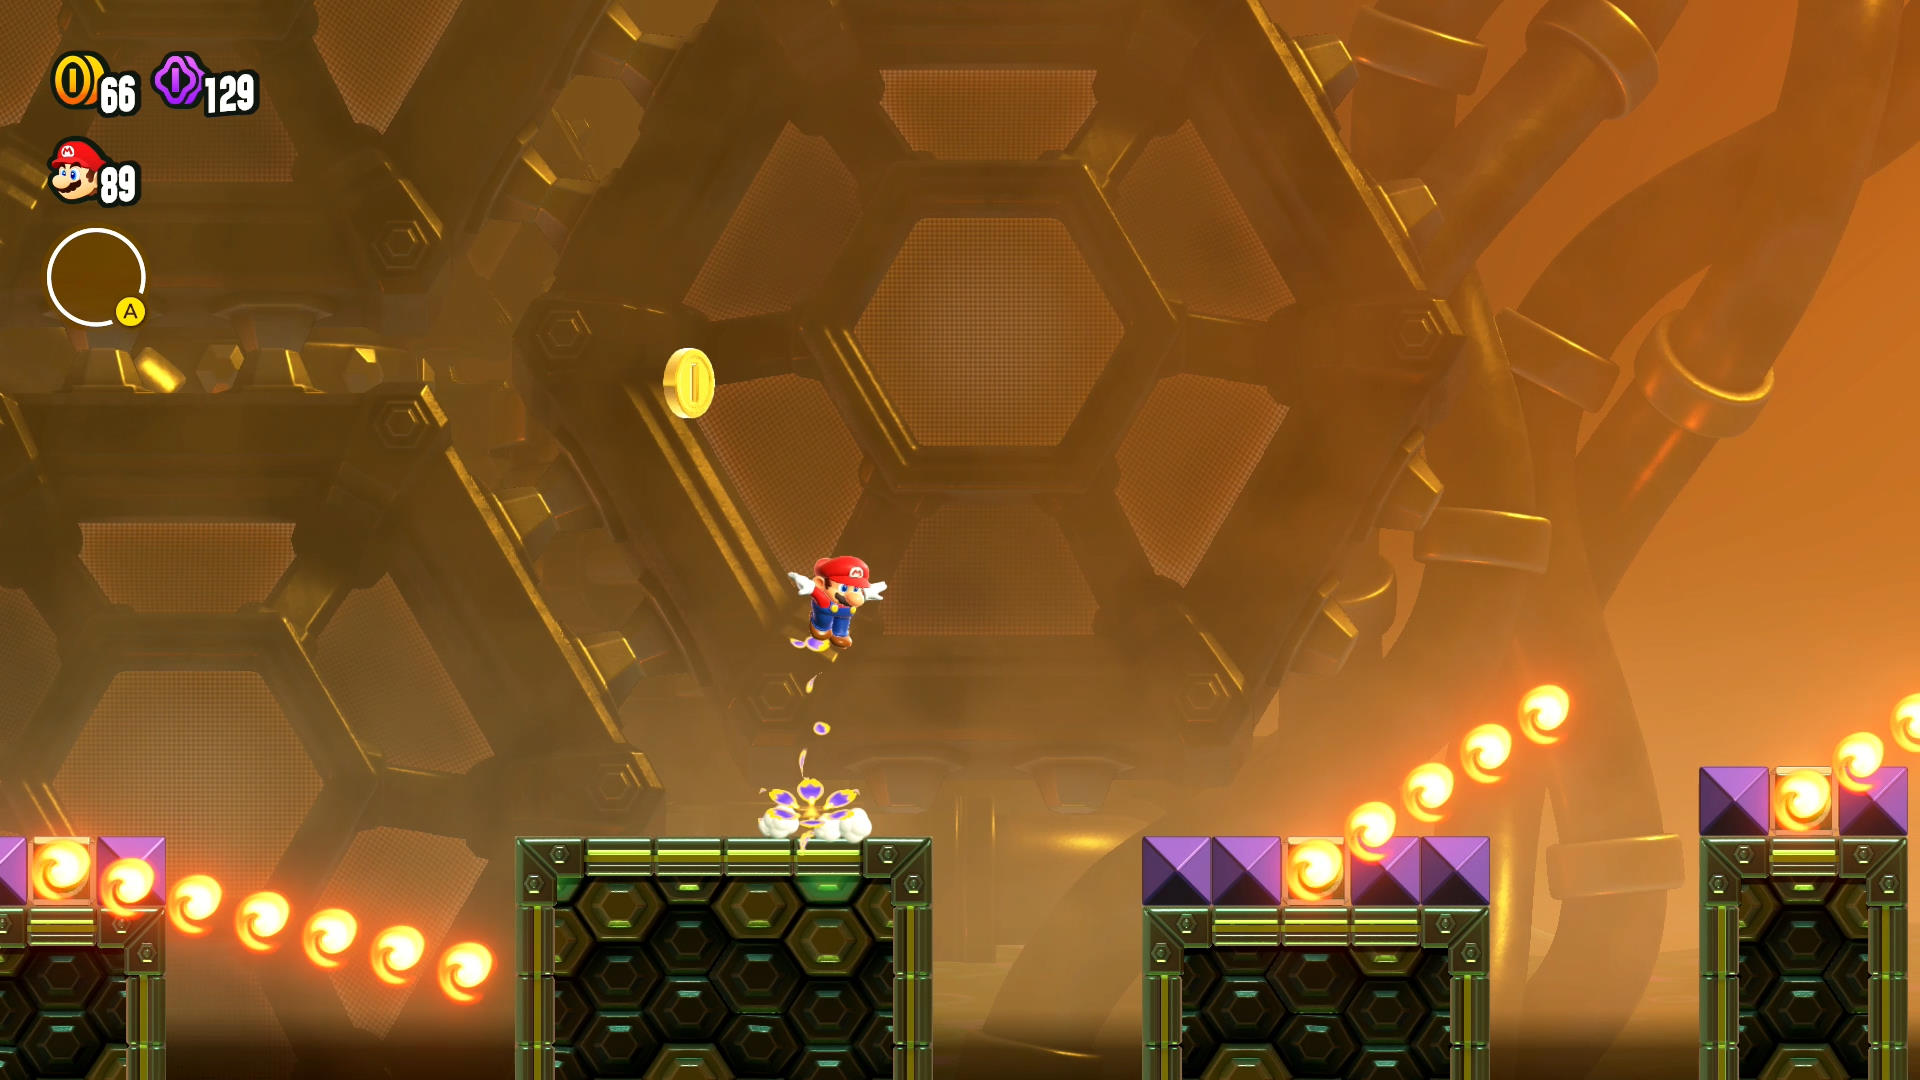
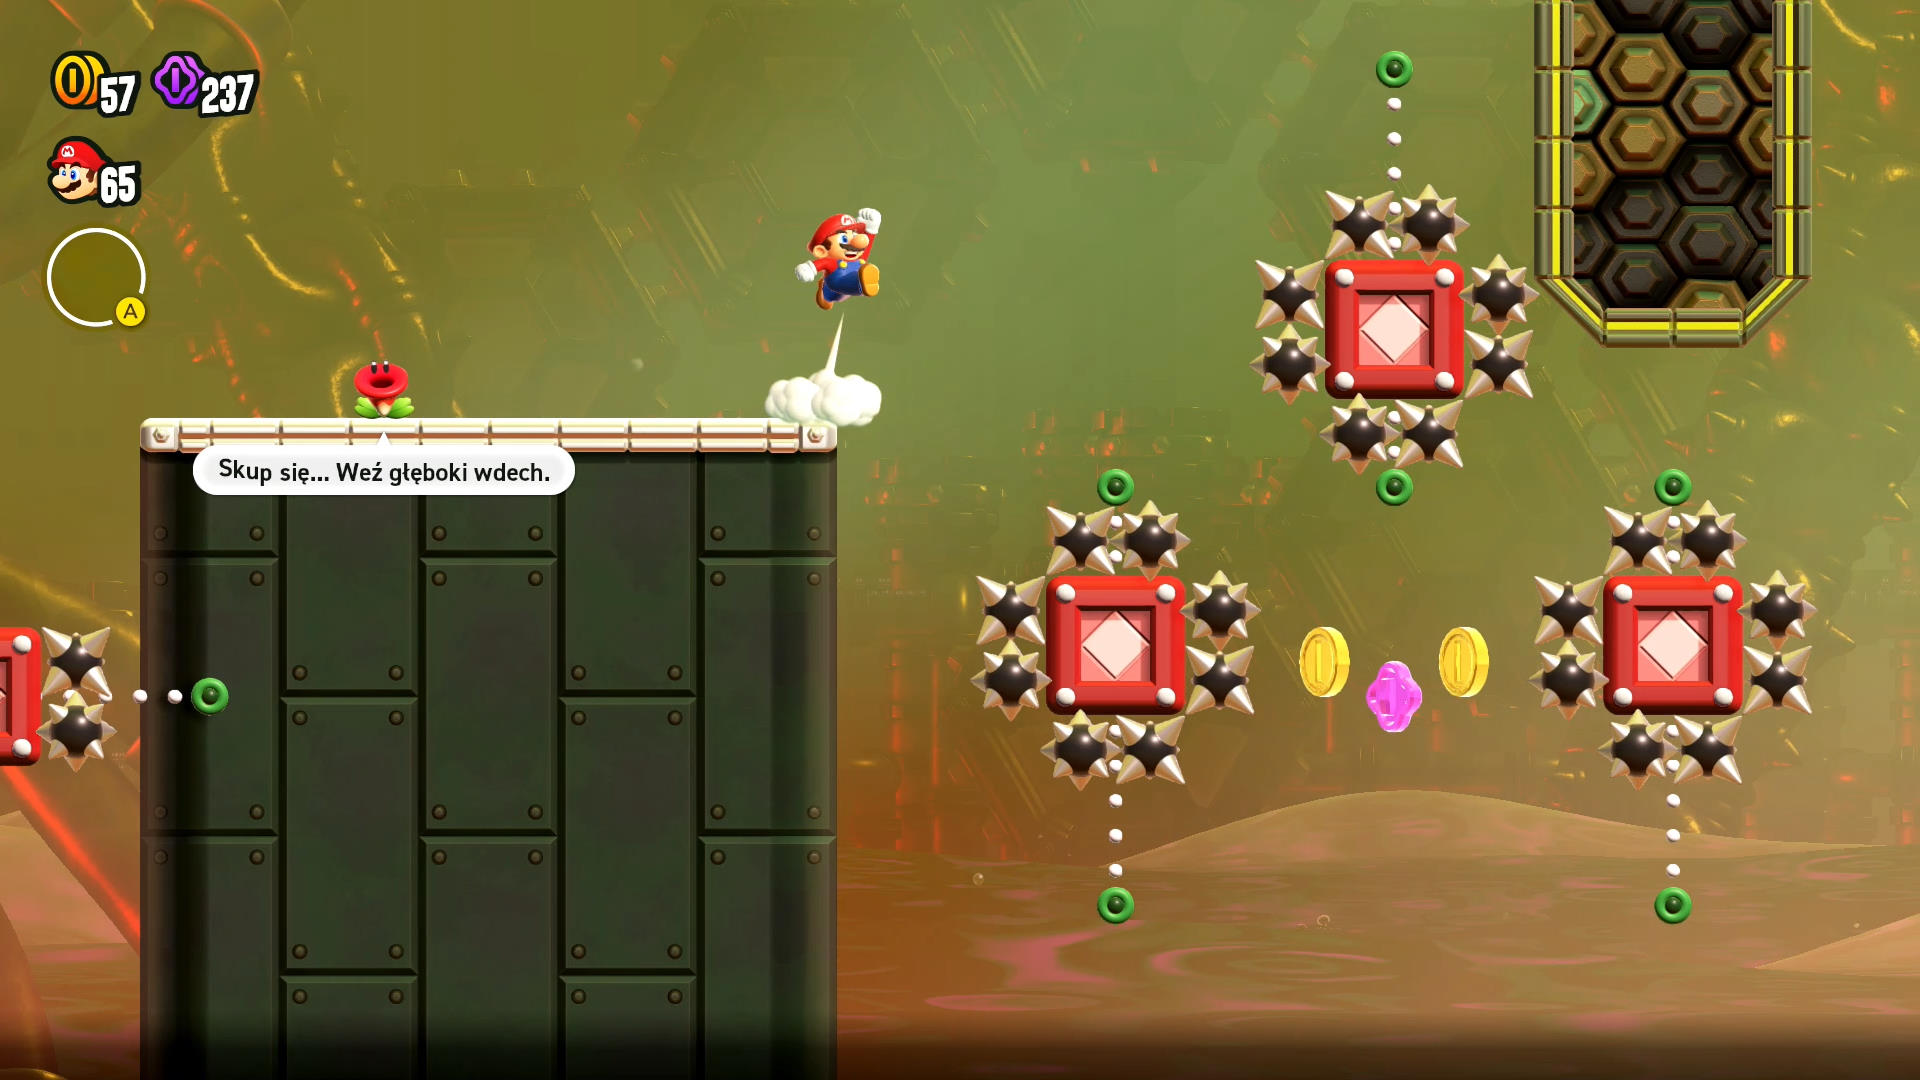
Boosting Spin Jump Zone
- This badge gives you an extra mid-air jump that comes with a spin.
- At the start, follow the coins to get a sense of where you should jump.
- When you reach the three squares surrounded by spikes, wait for the left and right squares to start moving down. This is when you jump between them and mid-air jump to the right.
- Once you reach the Zip Track, let go of the control stick so you can focus on your button hits.
- Keep following the coins! When you see a dip in a line of coins, that’s most likely where they want you to do your mid-air jump.
- For the last two Zip Tracks with the gap, you’ll need to cancel your grab, fall for not even half a second, then mid-air jump to reach the track again.
Grappling Vine Zone
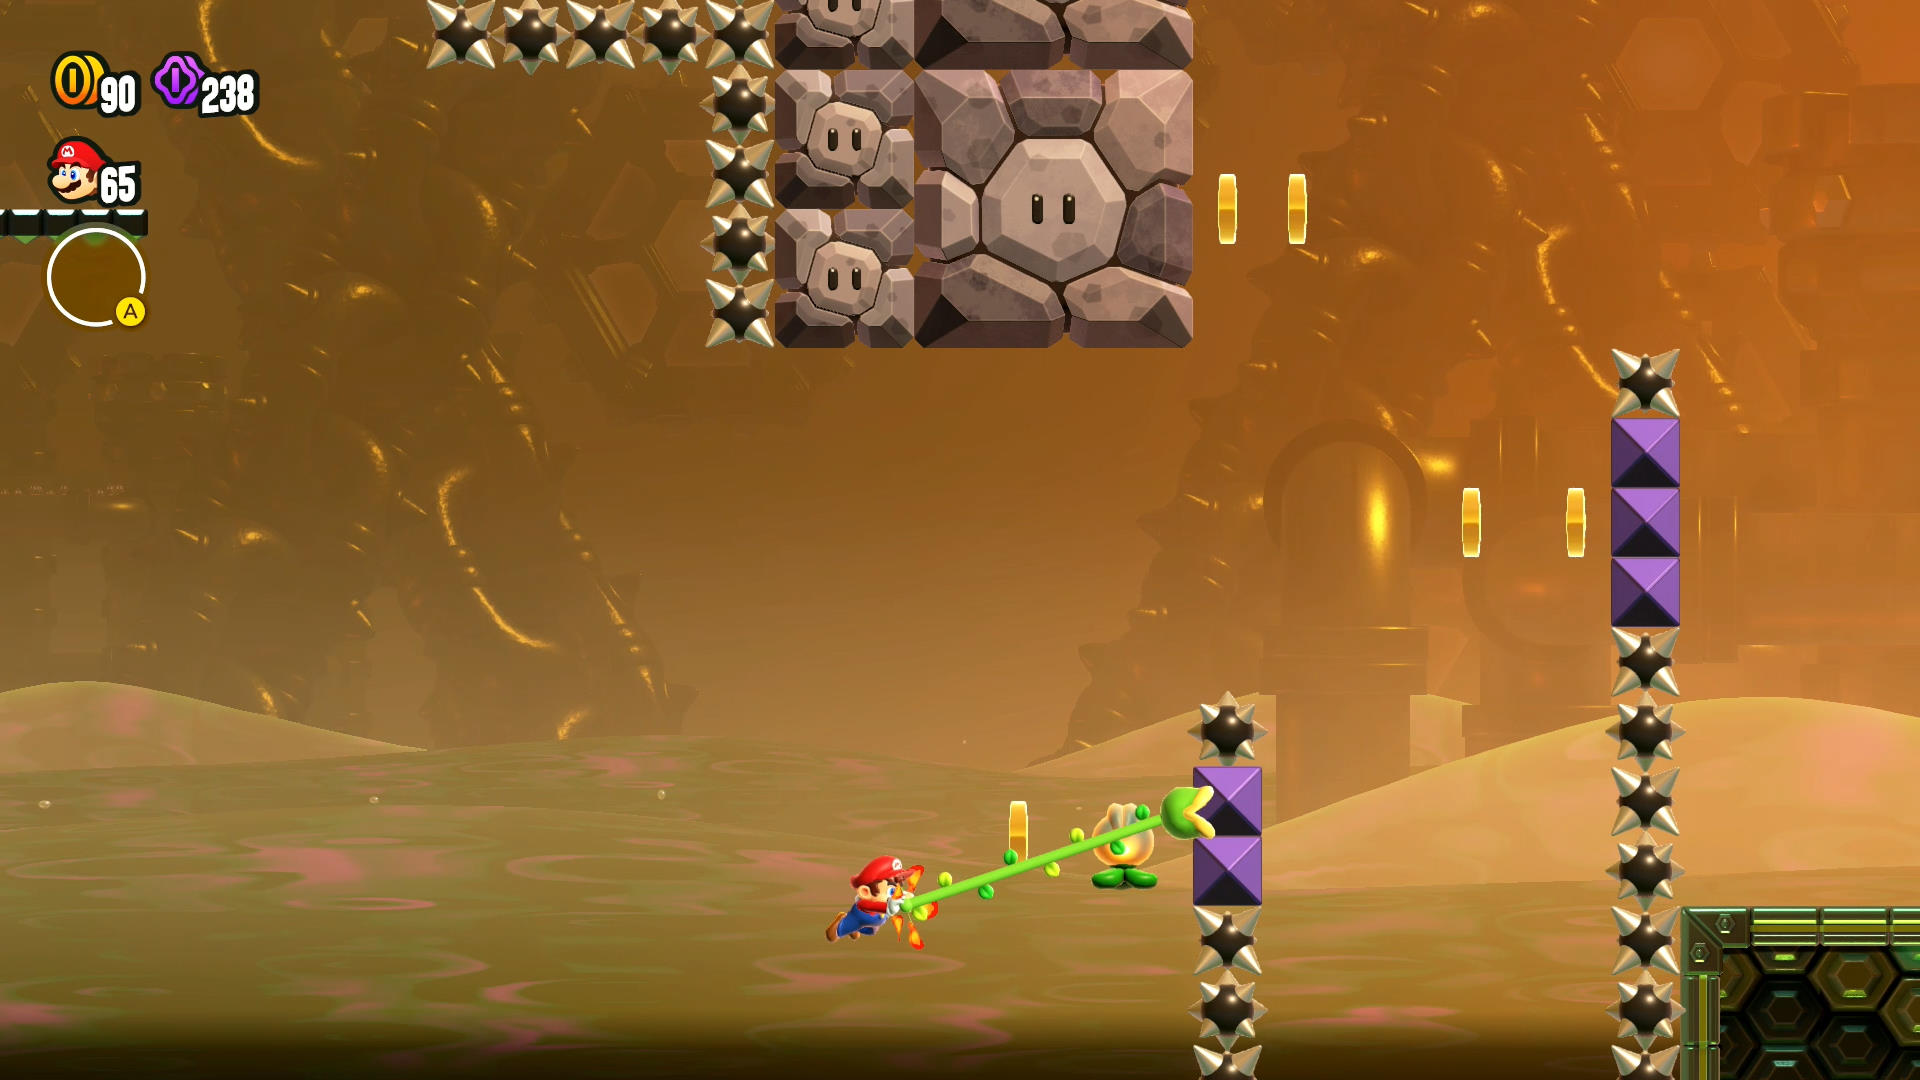
- The vine grab will latch onto a wall in the direction you push, and it will land on the same horizontal plane where you pressed the button. If you’re farther away and you’re falling when you activate the vine, you may come up for a bit of an angle.
- You do not need to get all the Wonder Buds. Feel free to ignore them!
- Start running across Hot-Hot Rocks the moment they cool off.
- To get past the two vertical lines of spikes, drop down from above and latch onto the first line’s purple blocks. Jump off and upward, then immediately latch onto the next line’s purple blocks. Quickly jump and latch onto the Hot-Hot Rock to get him enough to clear the second line.
- In the area where you need to continuously jump from the left wall to the Hot-Hot Rocks on the right, follow the coins to know where to latch onto.
- Last area expects you to make very quick latches onto the Hot-Hot Rocks with immediate jumps to get higher.
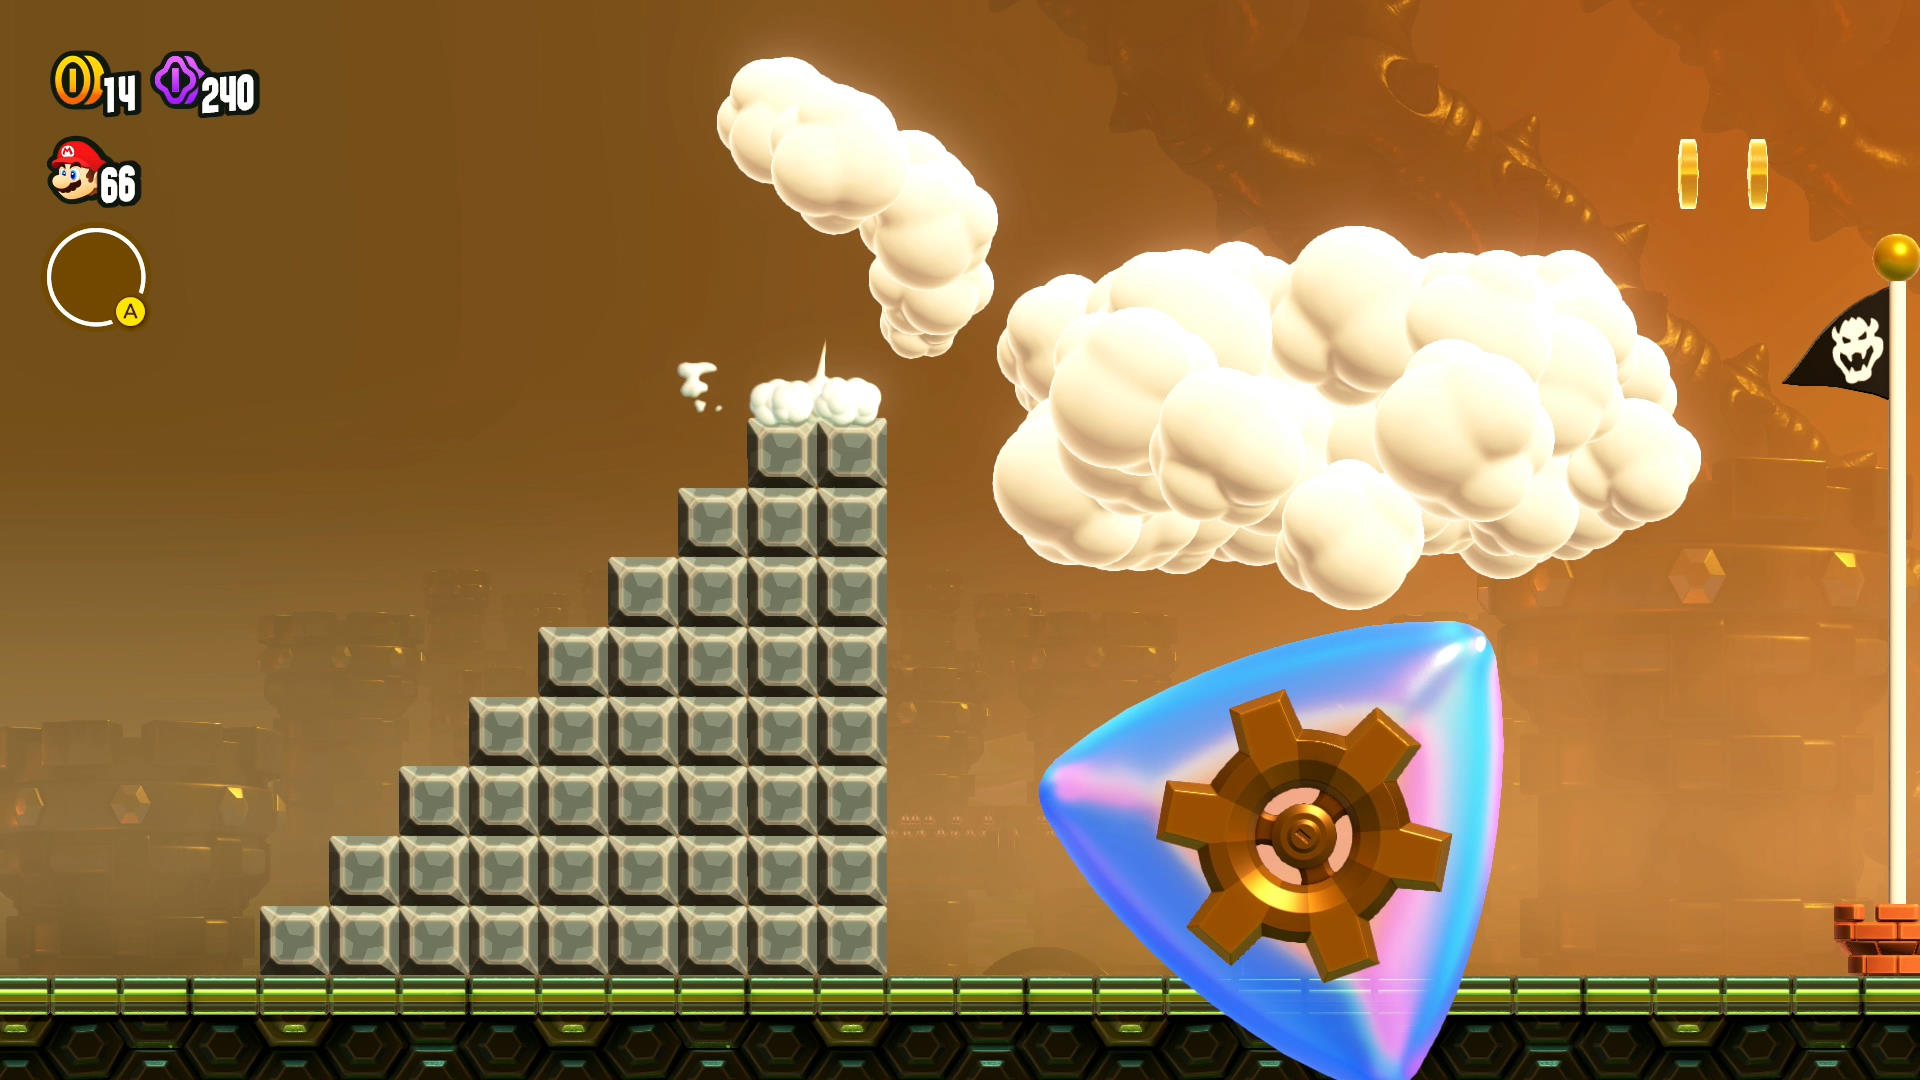
Invisibility Zone
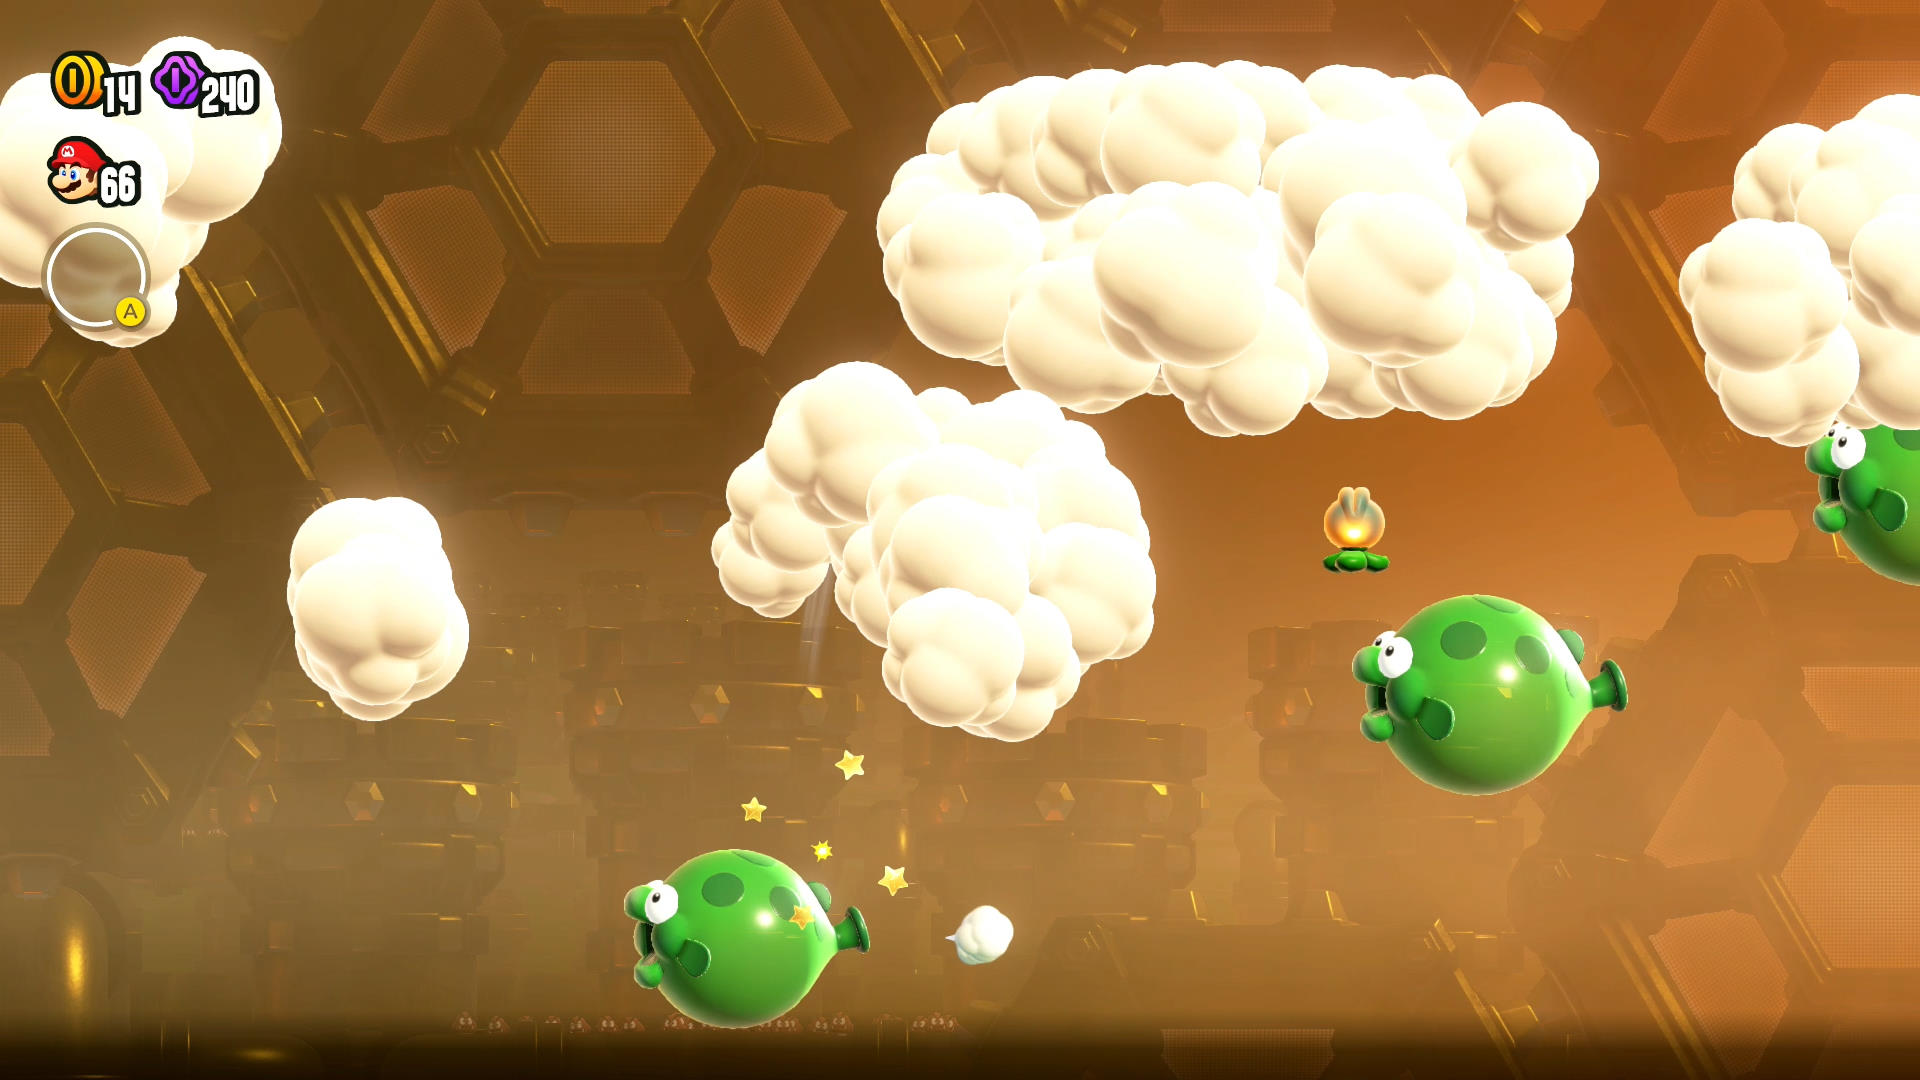
- Pain.
- Yeah, he’s invisible. Jumping through the cloud puffs will help you see where you’re at, but doing a proper jump will leave behind a light streak too. It even angles in the direction you go. Keep an eye on it! Some of your spin jump can be seen too.
- I recommend holding the run for most of this level. You want those higher jumps and it’ll bring out those streaks
- If a Triangoline is flat, you’ll be able to dictate the direction you bounce. If the most horizontal side is angled to the right, that’s the direction you’ll head.
- They’re evil and they put the third Flower Coin here! Wait for the spinning Triangoline to have one of its pointy corners facing upward before jumping. This should give you enough time to grab the Flower Coin and land on the Triangoline when it’s flat, allowing you to safely jump to the next one.
- The purple Bloomp will inflate five times before taking off. Start moving and jumping after the fourth inflate to get in landing range of the moving Bloomp. Use the clouds to judge where you’re at!
- Keeping using the clouds to judge your location once you’re bouncing on the green Bloomps. Remember to use your mid-air spin to hint at your location too.
- You can probably skip the last green Bloomp and land safely on solid ground.
- There’s still a golden flagpole to grab. Wait for the spinning Traingoline to have a horizontal surface, then jump. You should land when the Triangoline is at an angle, allowing you to reach the top of the flagpole.
- Congrats! Pain over.
Flower Coin 1

First Flower Coin is in the dolphin zone. Swim through all three Wow Buds to have it appear, all while avoiding the incoming zaps. Grab it and continue swimming around the circular area until you reach the exit a second time.
Flower Coin 2
This one is in the wall-climb area. Near the top of the zone, bounce off the seeds of the Melon Piranha Plant to reach it.
Flower Coin 3
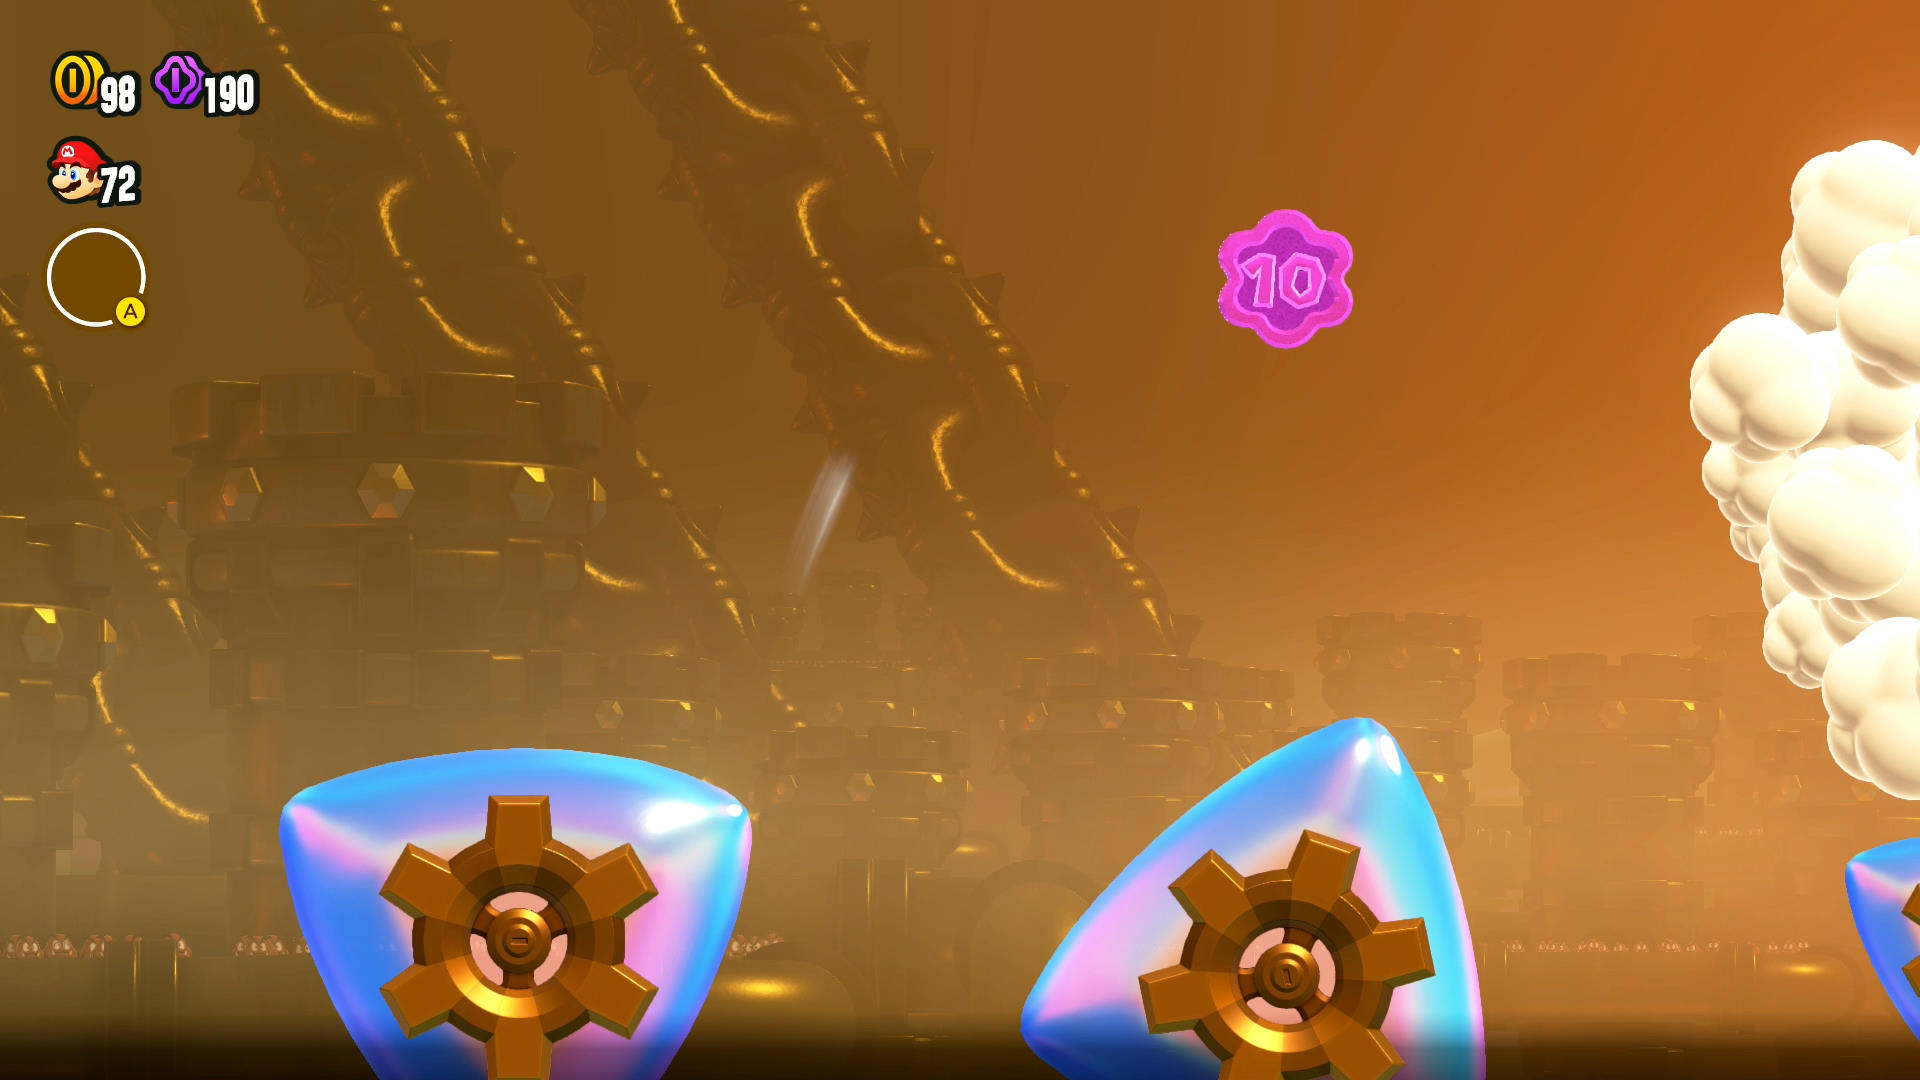
They’re evil and they put the third Flower Coin in the invisible zone! Wait for the spinning Triangoline to have one of its pointy corners facing upward before jumping. This should give you enough time to grab the Flower Coin and land on the Triangoline when it’s flat, allowing you to safely jump to the next one.
Wonder Seed 1
Reach the end of the level.
Golden Flag
All that suffering to reach the end, and you still have to make it to the top of the flagpole. Wait for the spinning Traingoline to have a horizontal surface, then jump. You should land when the Triangoline is at an angle, allowing you to reach the top of the flagpole.