Our Autumn Mountain collectibles guide details every Toad, Not-Bottomless Hole, Collectible Treasure, and Block in Paper Mario: The Origami King.
If you need a step by step guide to completing the main objective in this area, check out our Autumn Mountain Walkthrough.
ADVERTISEMENT
Use the links below to jump to each type of collectible. Please keep in mind, some collectibles can’t be obtained the first time you arrive in a level. And be on the lookout for minor spoilers!
Autumn Mountain Toad Locations

Toad 1: On the tramway station, look for the crumpled Green Toad.

Toad 2: Just after leaving the tramway station, whack the Blue Toad fish hopping about.

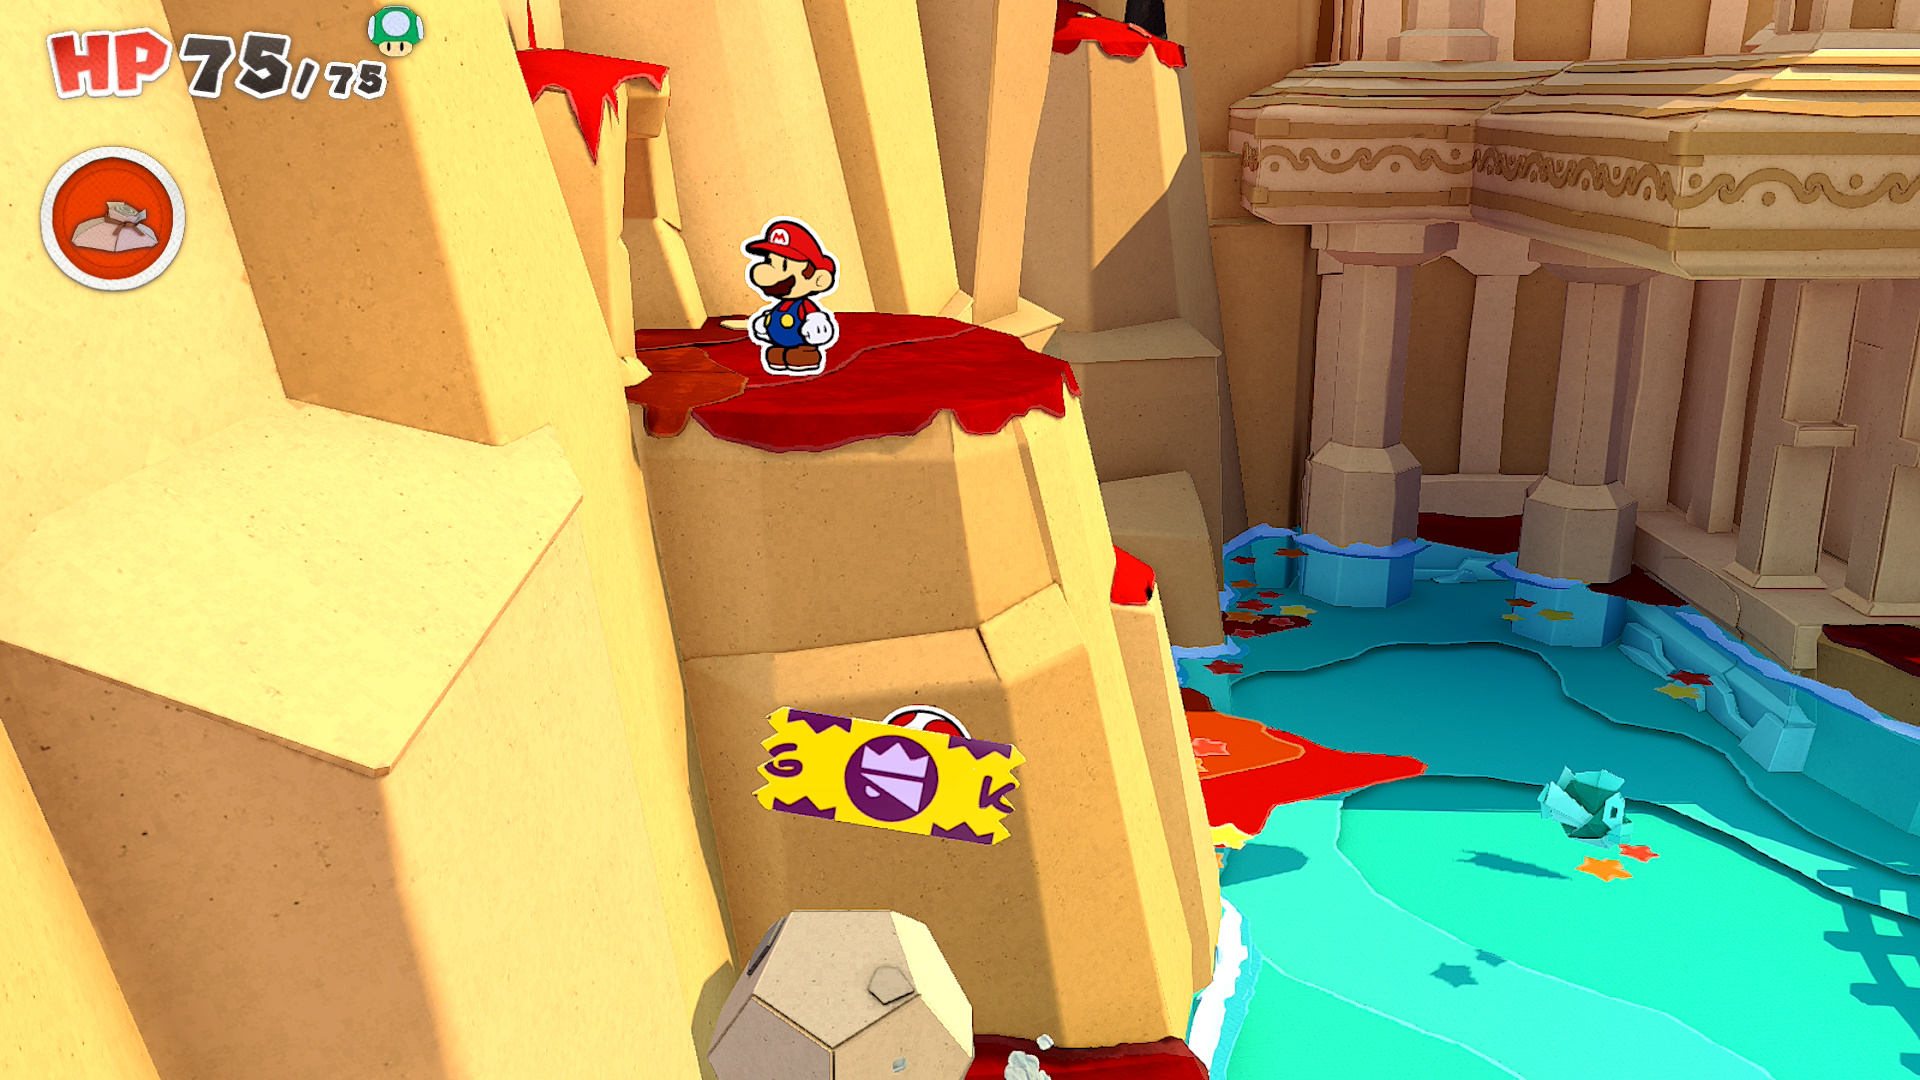
Toad 3: Walk behind the tramway station and look for a suspicious red maple leaf near the white pillar that’s actually just a Toad.

Toad 4: There’s a pile of leaves near the ring of 100-Coins. Whack it to reveal a yellow maple leaf Toad.

Toad 5: Get to the boat tour pier and rescue the Toad from inside the tuna can.

Toad 6: Be sure to switch on your Toad Radar to help find Toads in the tall grass. The first one is to the left of the gated entrance.

Toad 7: Follow the narrow path on the left side of the Tall Grass Plains and drop down the hidden hole. Rescue the Toad and he’ll give you the heart upgrade.

Toad 8: There’s a Toad in the tall grass just slightly to the left of the exit from the underground cave.

Toad 9: Another Toad in the tall grass, this time below the exit and near the fence around the bend.

Toad 10: After crossing the large bridge, hit the tree to bring down the maple leaf Toad.

Toad 11: Enter the Sensor Lab door to find a Toad stuck in the fax travel machine. Yank him out!
Toad 12: To the left of the first bridge leading to the shrine is a cave entrance behind a tree. Walk through and exit on a ledge where you’ll need to whack a stone to drop it to the ground. Step on the stone to reach the Toad stuck to the wall with tape.

Toad 13: See the tree near the warp pipe to the right of the shrine? Hit the tree to unravel the maple leaf Toad.

Toad 14: On your way across the bridges over the pond in front of the shrine, make sure to whack the origami fish in the middle to reveal a Toad.

Toad 15: Take the warp pipe near the shrine over to a higher ledge above the dried lake. Smack the dragonfly to reveal a Toad.

Toad 16: After using the warp pipe to get to the high ledge above the boat tour area, drop down onto the roof of the shack and smash the bush on the left to reveal a magic circle. Use it to squash the bug Toad on the cliff.
Toad 17: After the lake is filled with water, use the floating boats to get past the flipped over boats. Look for a bug Toad crawling underneath another pile of flipped boats.
Toad 18: Use the flipped boats to reach the yellow maple leaf Toad on top of the crates.
Toad 19-21: After the lake is filled with water, use the floating boats to get past the flipped over boats. The tree all the way on the left has three Toads in it.
Toad 22: Bring the monkey Toad the now opened can of tuna and whack it while it’s munching away. This Toad is a required to progress as it’s actually the boat tour guide Toad.
Autumn Mountain Not-Bottomless Hole Locations

Holes 1: In the corner near the gate, right next to the tramway station.

Holes 2-4: Three holes surround the very first tree you encounter in this area.

Hole 5: After getting the MAX HP Heart upgrade from underground, hit the wall behind the Spiny to find the exit. There’s a hole to cover on the way out.

Hole 6: After crossing the bridge, fill in the giant hole that took out the sign.

Hole 7: Near the bench, this mushroom shaped hole opens up a door to the satellite office of the Sensor Lab.

Holes 8-9: Two holes on the cliffs along the path to the shrine.

Holes 10-12: These three holes are on the left side of the red grassy area just before the shrine.

Hole 13: On the right side, patch up the hole on the cliff near the narrow slope.

Hole 14: Take the warp pipe near the shrine over to a higher ledge above the dried lake.
Hole 15: Enter Autumn Mountain from the Chestnut Valley exit and patch up the wall on the right.

Hole 16: Still in the Chestnut Valley exit area, go south of the gate to find a hole next to a block.

Hole 17: There’s another hole to repair at the end of the path south of the Chestnut Valley gate.
Hole 18: After the lake is filled with water, use the floating boats to get past the flipped over boats. There’s a hole to the left of the chest.
Autumn Mountain Collectible Treasure Locations

Collectible Treasure #30: Walk down the stairs after getting a view of the Water Vellumental Shrine and look for an opening to the right of the stairs. This will take you underneath the steps and to a treasure chest.

Collectible Treasure #31: After passing the door to Chestnut Valley, don’t go up the second set of stairs. Go the right of them and go beyond the fence to discover a secret ledge along with a treasure chest.

Collectible Treasure #32: Once you reach the shrine, take the narrow path near the Save Block up and follow it until you reach the chest at the end.
Collectible Treasure #33: After the lake is filled with water, use the floating boats to get past the flipped over boats. There’s a chest overlooking the lake.
Autumn Mountain Block Locations

Block 1: There’s a 100-Coin hiding inside the first block you see after stepping off the station.

Block 2: Sneak behind the platform station to find a ring of 100-Coins. In the center is a hidden block containing a Shiny Hammer you can jump and hit.

Block 3: To the left of the small shrine is a small opening in the gate. Use it to reach the block holding a Fire Flower.
Block 4: Reach the bridges leading to the Water Vellumnetal Shrine and look for a block on the left containing a 100-Coin.
Block 5: Still in the Chestnut Valley exit area, go south of the gate to find a hole next to a block. Inside is a Coin Bag.
Block 6: After the lake is filled with water, use the floating boats to get past the flipped over boats. To the left of the chest is a block containing a Hurlhammer.
| Paper Mario: The Origami King (Guide Hub) |
|||
| Walkthrough | |||
| Toad Locations | Not Bottomless Holes | ||
| Treasures & Trophies | Question Blocks | ||
| Accessories List | Heart Locations | ||
| Boss Guide | Unlockables and Secrets |
||