Our Layer-Cake Desert Coins guide is part of our New Super Mario Bros. U walkthrough and features images and tips for every Star Coin.
Layer-Cake Desert, or World 2, has a total of 27 Star Coins to collect, three each in each level. Some Star Coins require a specific item to collect, and our New Super Mario Bros. U walkthrough will let you know if you need a power-up or Yoshi before you head in. Need the New Super Luigi U version of this guide? See our Layer-Cake Desert Star Coins page here. This guide also works for New Super Mario Bros. Deluxe!
ADVERTISEMENT
Layer-Cake Desert is the second world in the game and can be unlocked after defeating Lemmy Koopa in Acorn Plains. Use the links below to jump to specific level:
- 2-1 Stone-Eye Zone
- 2-2 Perilous Pokey Cave
- 2-3 Fire Snake Cavern
- 2-Tower – Stoneslide Tower
- 2-4 Spike’s Spouting Sands
- 2-5 Dry Desert Mushrooms
- 2-6 Blooming Lakitus
- 2-Castle – Morton’s Compactor Castle
- 2-Ice – Piranha Plants on Ice
2-1 Stone-Eye Zone
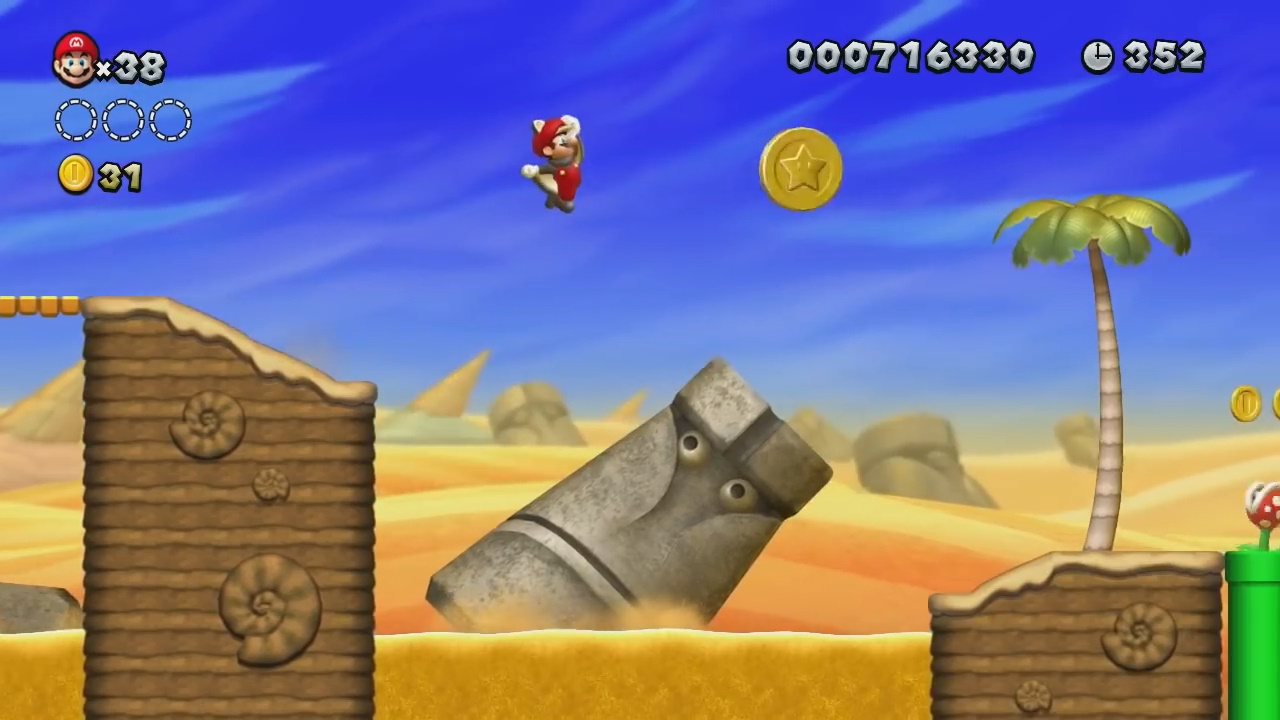
Star Coin 1 – This one is in plain sight just before the Checkpoint Flag. Jump and grab!

Star Coin 2 – Super Acorn required! Right after passing the Checkpoint Flag, jump over the gap and spring yourself forward up onto the top of the palm tree. Enter the pipe, hit the P-switch, and grab the Star Coin before time runs out.

Star Coin 3 – Before the section with the swaying Stone-Eyes, hop on top of the lone Koopa Troopa but don’t kick the shell away. Instead, grab the shell and bring it with you as you cross the gaps. Reach the Star Coin floating in the air and throw the shell at it. Alternatively, jump and grab the Star Coin, and use the power of the Super Acorn to save yourself from the abyss below.
2-2 Perilous Pokey Cave

Star Coin 1 – Before the halfway point, look for three sand pillars and a red Koopa Troopa on a row of brick blocks. Use the sand pillars to push yourself upward and onto the blocks moving left and right above. Jump and grab the Star Coin.


Star Coin 2 – Don’t run to the Checkpoint Flag just yet! Look for two upside-down Pokeys and hit the hidden block between them. Use the block to reach the ledge above, then run towards the Star Coin on the right.


Star Coin 3 – Yoshi required! Before you exit the dark cavern, look for a green warp pipe at the top of the level. Reveal the hidden block underneath it to reach it. In the secret room, hop off Yoshi underneath the Star Coin to snag it.
2-3 Fire Snake Cavern

Star Coin 1 – At the start of the dark underground cave, use the tilting platform to reach the ledge above the first Piranha Plant.

Star Coin 2 – After the Checkpoint Flag, look for a green warp pipe underneath the two massive titling platform. There are brick blocks you can break through! Hit the P Switch and grab the Star Coin.

Star Coin 3 – A green pipe above the the area with the Fire Bros. and the tilting platforms.
2-Tower – Stoneslide Tower

Star Coin 1 – At the very start, twist the corkscrew all the way to reveal the Star Coin.

Star Coin 2 – Spin the corkscrew on the right, then quickly wall jump on the right before the platform returns.
Star Coin 3 – In the second area, there’s a hidden warp pipe on the left wall near an up-arrow sign. In the secret room, spin the corkscrew and guide the Grrrols to the right to break the blocks hiding the Star Coin.
2-4 Spike’s Spouting Sands

Star Coin 1 – Out in the open. Get past the sand pillar to get underneath.

Star Coin 2 – Get to the Spike riding a sand pillar and take it out. Jump to reveal a hidden block and a vine. Star Coin in the secret room.
Star Coin 3 – Mini Mushroom required! Shortly after the Checkpoint Flag is a Stone-Eye statue below an arrow sign. Run through it to find a hidden pipe. Grab the Mini Mushroom in this room, exit through the pipe, and run all the way to the right to the Star Coin.
2-5 Dry Desert Mushrooms

Star Coin 1 – Let the moving platform move to the right, the drop to the Star Coin below.
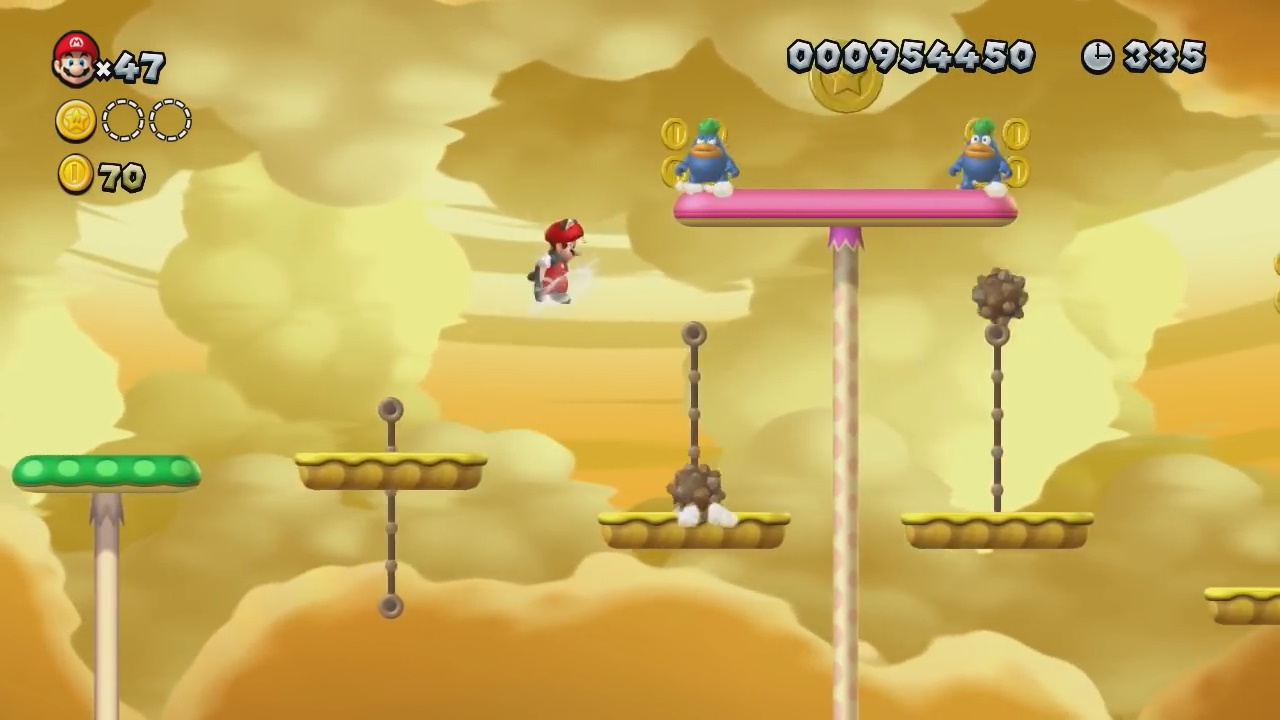
Star Coin 2 – Super Acorn required! After the Checkpoint Flag, lung yourself upward to the Spikes guarding the Star Coin.
Star Coin 3 – Near the item roulette block is a green warp pipe. Enter it and throw the POW Block as soon as the pink mushrooms expand to drop the Star Coin.
2-6 Blooming Lakitus

Star Coin 1 – In plain sight before the halfway point.

Star Coin 2 – Defeat Lakitu and use his cloud to reach a warp pipe above three palm trees. Use the Note Blocks in the secret room to reach the Star Coin.

Star Coin 3 – Grab a Koopa Shell and carry it over to the Piranha Plants on the rolling hills. Throw the shell defeating the enemies and collecting the Star Coin in one go.
2-Castle – Morton’s Compactor Castle

Star Coin 1 – When the moving platforms get as close as possible, run across the small gaps.

Star Coin 2 – Near the red pipe at the top is a ledge. Jump up to it. then run to the right to enter a secret room with a Star Coin you can reach via wall jumping.

Star Coin 3 – Past the Checkpoint Flag is a Star Coin beneath a few moving platforms. Try to drop down to the small platform in the lava, then quickly return after grabbing the Star Coin!
2-Ice – Piranha Plants on Ice

Star Coin 1 – Look for a green pipe that’s about to get sealed off by an ice block. Drop down there and enter it before that happens! Star Coin inside.

Star Coin 2 – Pass the Green Ring and get up on top of the ice blocks. There’s a green warp pipe up here. Enter it to find a room with coins and Piranha Plants. And the Star Coin!

Star Coin 3 – Try to stay on top of the ice blocks towards the end of the level and you should run into the Star Coin here. If they melt, you can still go up there and grab it.
Need a different world? Jump to any of the nine worlds in our New Super Mario Bros. U star coins walkthrough and guide below: