See how to find the locations of Wooded Kingdom Power Moons 1-20 in our Super Mario Odyssey guide. Use our main walkthrough to find the Power Moons for every level in the game.

ADVERTISEMENT
| Main Walkthrough | |||
| Cap | Cascade | Sand | Lake |
| Wooded | Cloud | Lost | Metro |
| Snow | Seaside | Luncheon | Ruined |
| Bowser’s | Moon | Mushroom | Dark / er |
| Capture List | Souvenir List | ||
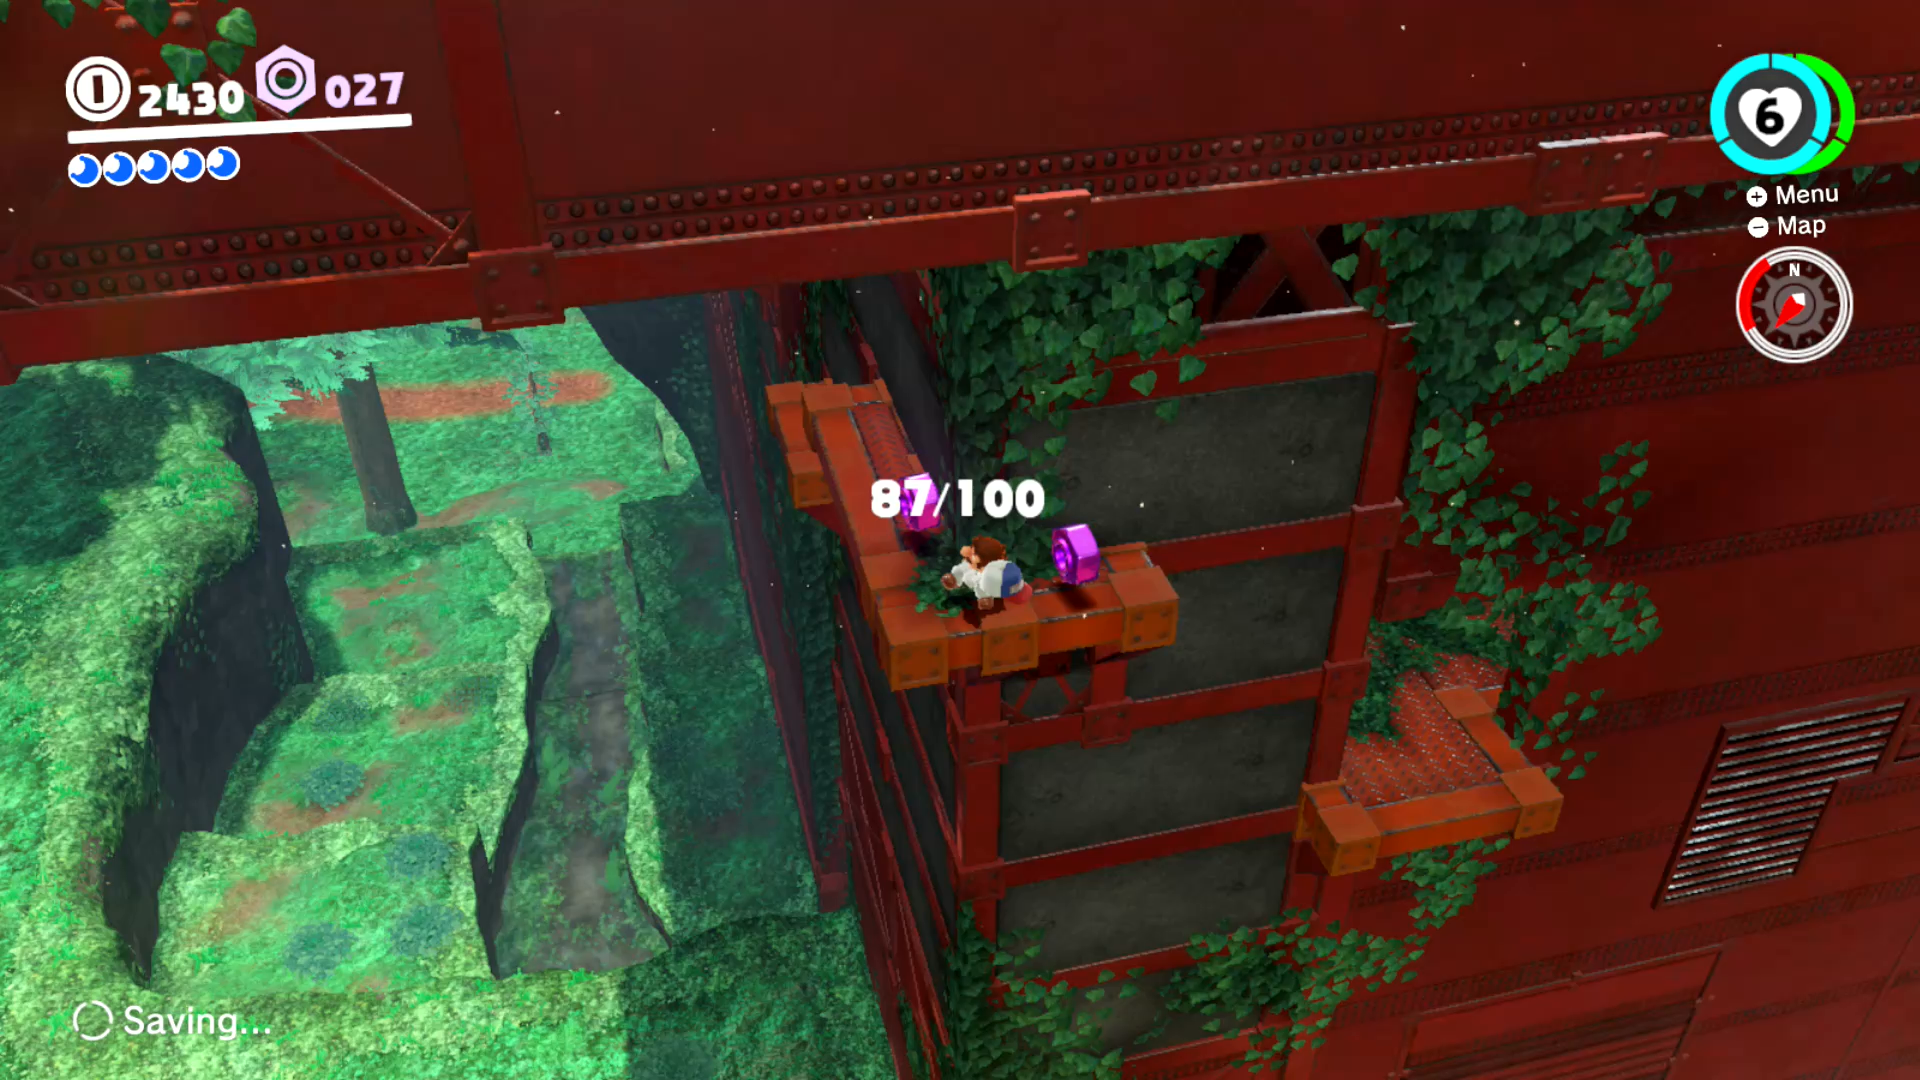
The Wooded Kingdom has a total of 74 Power Moons. This page lists Power Moons 1-20.
| Power Moons | 1-20 | 21-40 | 41-54 |
| 55-76 |
1. Road to Sky Garden

So quiet, so peaceful. Lots to do in this world, but let’s focus on the task at hand. Unless you want to throw on the Explorer’s Outfit, skip past the Crazy Cap shop and head for the out of place Sphynx in the back. Answer its riddle with Flowers to have it slip to the side to reveal an opening.

Hear that music? You’re in the right area! Go to the right and hit the Iron Road: Entrance Checkpoint. All the yellow striped platforms will crumble shortly after touching them, but they will respawn in a few short minutes. The Piranha Plants in this area can’t be captures so easily. Throwing Cappy will get his swallowed up, so the only way to get them is if they already have their mouths occupied. Nothing you can do here but kill them!

Start moving upwards and you’ll eventually find an Uproot. Knock the pot of its head, then capture it. You can use this little guy by stretching its legs to reach high heights. Keep moving up until you reach a dead end. No problem! Stretch your legs to push the platform above you upward. Break through brick blocks with the Uproot and keep moving until you reach the exit. At the start of the red maze is Power Moon 5.

The last area has you fighting a Big Piranha Plant with several smaller ones around it. Hit the rocks into the mouths of the small Piranha Plant to allow you to capture it. This will let you spit the purple goop out yourself. When fighting the Big Piranha Plant, wait for it to try and crush you, then jump on its head. The Power Moon will be yours after one hit!
2. Flower Thieves of Sky Garden

After getting the first Power Moon, hit the P Switch and follow the flower path. Don’t lag behind, the path disintegrates after awhile! Before you hit the second P Switch, take the time to grab Power Moon 17. The second path will take you into the Sky Garden Tower.

Hit the P Switch and get the next flower path going. As you go up and around the tower, make use of the Uproot to jump over the extending pillars and to reach the bricks blocks, including one that holds a Life-Up Heart. Power Moon 24 can be grabbed on the second flower path. Power Moon 25 is at the very top.

Exit the tower at the top to find yourself at the next arena. This time you’re fighting Spewart. This guy can spit out that purple goop, so be sure to stay out of close range. Use Cappy to clear up some of the goop, then knock off Spewart’s hat. Do a simple jump on the head to deal damage. In retaliation, Spewart will hop into his hat and bounce around the walls of the arena, leaving goop trails. Do this two more times to defeat him. The third phase the goop will cover the entire arena, so be prepared!
3. Path to the Secret Flower Field

Run back to the Iron Road, but this time take control of one of those tanks called Sherms. Break down the hole in the wall on your left with your cannons, then head inside. Use Cappy to pull the switch on the Steam Gardener, then throw the seed it drops into the nearby pot. Climb the beanstalk up to the Forest Charging Station above.

Run past the charging stations and past the Goombas, then grab hold of another Sherm. As you tear down the soft spots in the wall, take the time to capture Power Moon 5. Go up to make it to the Summit Path Checkpoint. Grab one of the flowers to sprint up the slanted wall. Go into the top right corner of the slanted wall to get Power Moons 45 and 46. Otherwise go left!

Now at the Iron Mountain Path, Station 8 Checkpoint, capture a Sherm and make your way towards the spinning Bowser wheel of doom. Blast through the incoming balls if they get in your way. Shoot down all four emblems on the wheel to destroy it. Grab the Power Moon to open the gate for the next mission!
4. Defend the Secret Flower Field!

After you get Power Moon 3, jump into the hole to find the Secret Glower Field. Capture an Uproot and stretch underneath the strange machine collecting all the flowers. This will start a boss battle with Torkdrift!

This boss battle is pretty simple and you may not even take any damage if you keep moving. Step underneath all three of the brick cubes and stretch as an Uproot to break through and smash the blue orb. With all three down, Torkdrift will be stunned giving you a chance to go underneath and strike by stretching again.

To get back at you, Torkdrift will start send out red shockwaves that you can easily jump over. The tall ones can be cleared with the Uproot! Repeat the same process two more times to defeat the boss. Collect the Multi Moon at the end!
5. Behind the Rock Wall

Go past the Forest Charging Station and past the Goombas, then take control of a Sherm. Break down the wall in front of you but leave some of the soft spots intact so that it’s easier to grab the Power Moon you uncover in the top left corner. If you can’t reach it anymore, you can always drop down to it from the top.
6. Back Way Up the Mountain

At the Iron Mountain Path, Station 8 Checkpoint, look over the edge to see gray brick blocks along the wall. Jump down and start breaking through the bricks in the corner to reveal a tunnel.

Head inside to find a warp pipe for a 2D section. Run around the corner and collect the coins until you reach some girders. Jump from on to the other until you get the chance to jump for the Power Moon.
7. Rolling Rock in the Woods

Near the Odyssey is a lone rock surrounded by shrubs. Hit it a couple of times to reveal a Power Moon.
8. Caught Hopping in the Forest!

A rabbit near the Odyssey and the Crazy Cap shop can be seen hopping around. Chase after it as it moves around a rock and hit it with Cappy to stun it. Grab it to get the Power Moon.
9. Thanks for the Charge!

Go to the Forest Charging Station and ground pound the third station to have a Power Moon appear.
10. Atop the Tall Tree

Go behind the Odyssey and walk along the edge of the world. Keep running along until you reach an area higher up with tall trees and Uproots. Capture one and stretch your legs to land on the platform attached to the tree near the edge. Keep climbing and you’ll eventually see a nut above the third platform. Break it open to reveal the Power Moon!
11. Tucked Away Inside the Tunnel

From the starting area near the Odyssey, walk along the outer wall until you reach the area where the stream is flowing from. Capture an Uproot and walk over to the Fire Bro. Ignore the enemy and stretch up to the nut above.
12. Over the Cliff’s Edge
From the area where you tore down the wall with a Sherm, look on the right side of the wall to see small platforms. This will require some a few well timed jumps. If you need the extra boost, throw Cappy to give yourself some more air and time. Grab the three coins on the corner, then jump down to the poles on the wall. Swing at full force to hop from one to the other. Don’t wait around and swing, jump as soon as you swing to the right for first time. This will keep the momentum going! Grab the Power Moon from the nut at the end.
13. The Nut ‘Round the Corner

Go to the start of the Iron Road and go to the right of the pond area. Capture an Uproot and follow the path that wraps around the structure. Run across the weak floor as a stretched out Uproot and jump at the very end. Grab the Power Moon from the nut above!
14. Climb the Cliff to Get the Nut

From the starting area near the Odyssey, walk along the outer wall until you reach the area where the stream is flowing from. Capture the Fire Bro and hop up to the metal area above. Pull the switch to open the door. Grab an Uproot and start following the path. As you avoid the next Fire Bro, stretch your legs and jump over the high walls. Break the nut for the Power Moon!
15. The Nut in the Red Maze

As you’re making your way to get the first Power Moon in the level, you’ll come across a maze where you use an Uproot to break through blocks and push platforms forward. As soon as you enter the red maze, break through the brick blocks but jump right instead of left. Go up and you’ll find a nut with a Power Moon inside.
16. The Nut at the Dead End

After you defeat the Big Piranha Plant and get the first Power Moon, look around the corner of the metal structure to see a path wrapping around the corner. Follow said path using an Uproot to get to the nut holding the Power Moon at the end.
17. Cracked Nut on a Crumbling Tower

After you hit the P Switch that appeared after defeating the Big Piranha Plant, follow the flower path to the crumbling tower. Since the path to the nut at the top crumbles, this means you can’t make any mistakes and you definitely can’t stand around.
18. The Nut the Grew on the Tall Fence

Get to the Iron Mountain Path, Station 8 Checkpoint and find an Uproot to capture. Jump over the railing near the Steam Gardener and land on a small platform. Stretch those legs to get over the first pillar, then turn around to see a nut on the opposite side of the pillar. Break through to get your Power Moon!
19. Fire in the Cave

At the base of the Iron Road, go around the left to find a cave locked away by a gate. Leave Cappy at the scarecrow to open the gate, then quickly stomp on the Fire Bro. to get the Power Moon.
20. Hey Out There, Captain Toad!

Available after you complete the main missions in the Wooded Kingdom. Reach the Observation Deck at the top of the Wooded Kingdom and use Glydon to glide over to the lone tower with Captain Toad on top.
| Main Walkthrough | |||
| Cap | Cascade | Sand | Lake |
| Wooded | Cloud | Lost | Metro |
| Snow | Seaside | Luncheon | Ruined |
| Bowser’s | Moon | Mushroom | Dark / er |
| Capture List | Souvenir List | ||