See how to find the locations of Seaside Kingdom Power Moons 1-20 in our Super Mario Odyssey guide. Use our main walkthrough to find the Power Moons for every level in the game.

ADVERTISEMENT
| Main Walkthrough | |||
| Cap | Cascade | Sand | Lake |
| Wooded | Cloud | Lost | Metro |
| Snow | Seaside | Luncheon | Ruined |
| Bowser’s | Moon | Mushroom | Dark / er |
| Capture List | Souvenir List | ||
The Seaside Kingdom has a total of 71 Power Moons. This page lists Power Moons 1-20.
| Power Moons | 1-20 | 21-40 | 41-52 |
| 53-71 |
1. The Stone Pillar Seal
The first four Power Moons can be obtained in any order you like. Getting each one will unlock a switch that will send a cork flying at the octopus in the center fountain.
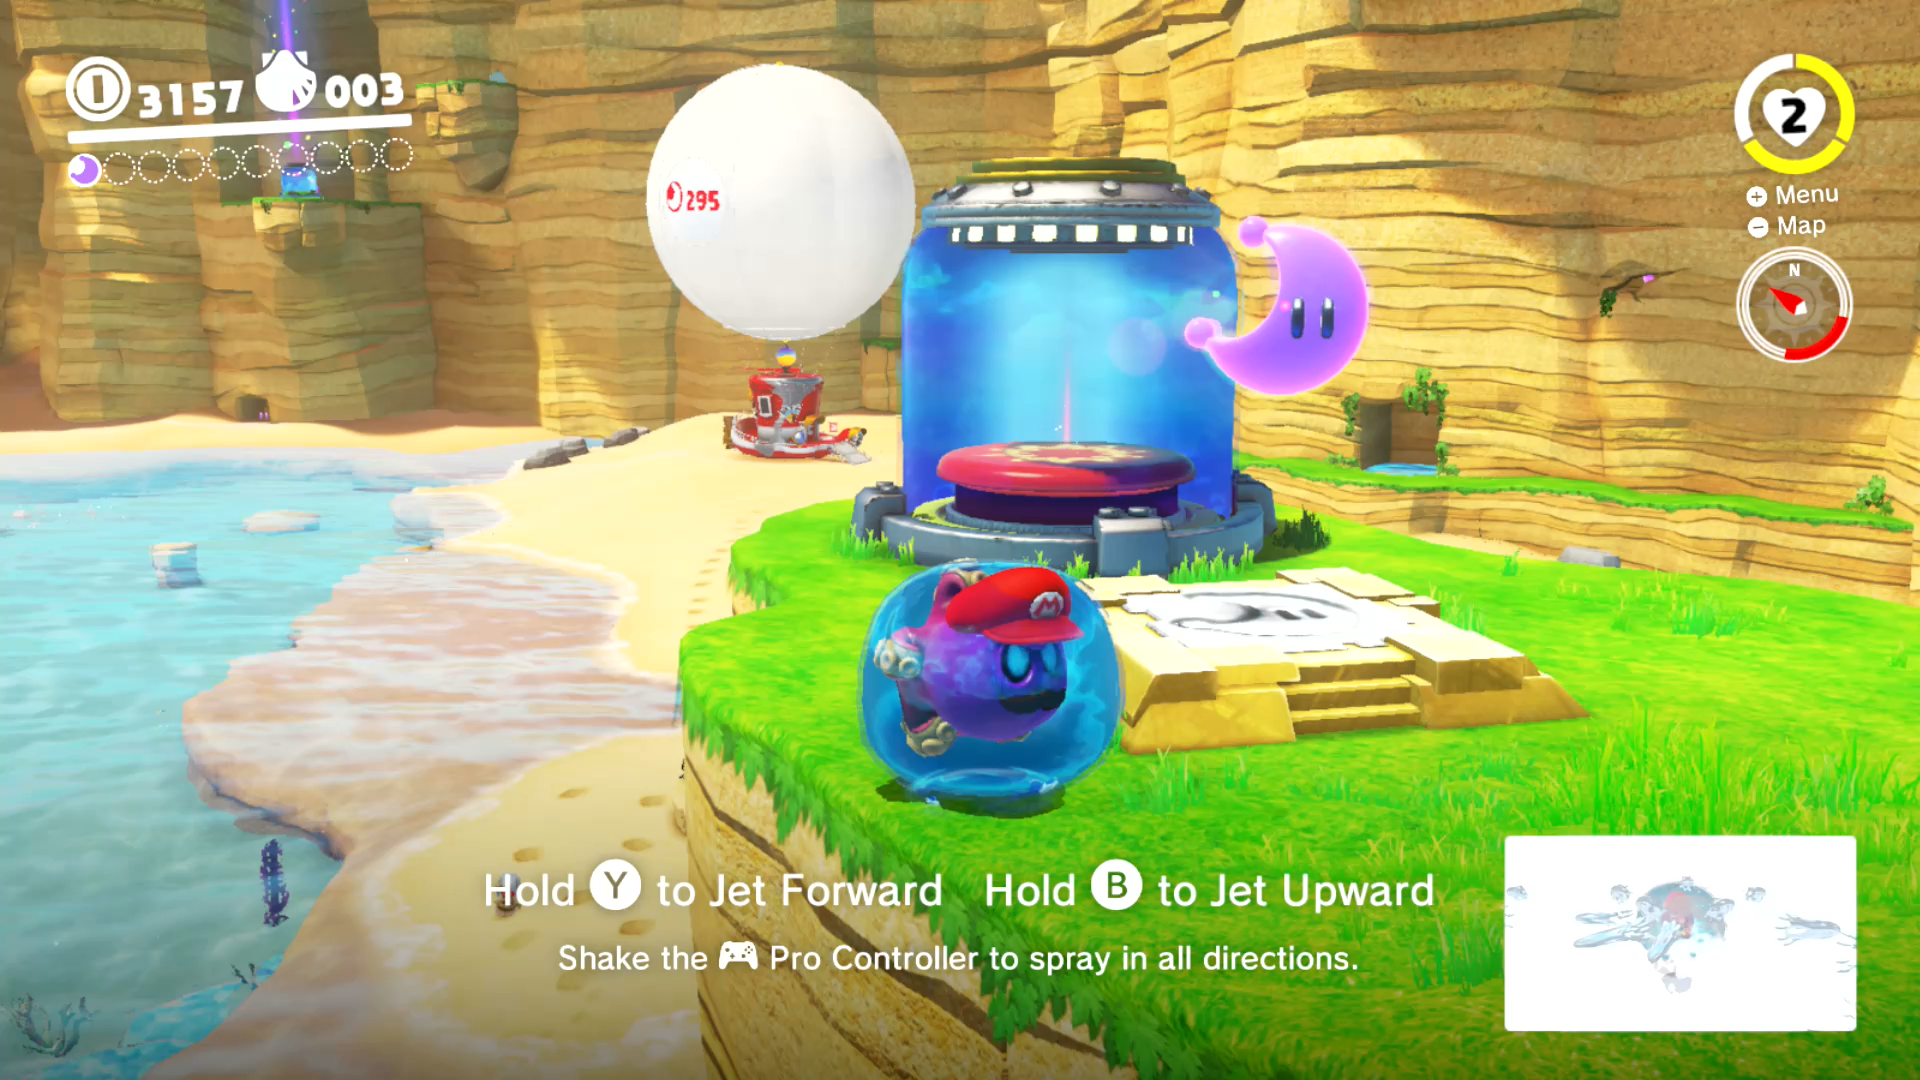
From the Odyssey, pass the corked fountain and capture the Gushen, a creature stuck inside a blob of water. Propel yourself up and zoom over to the nearby Power Moon. Grab it, then hit the switch.
2. The Lighthouse Seal

Go past the lighthouse and follow the shallow path to a tunnel. Jump inside to enter an underground tunnel.

Capture a Cheep Cheep and start swimming through the tunnel. Maw-Rays will spring from the walls and floor, but you can spot where they’ll pop out of when you see sand start to rustle. Make it to the end of the tunnel and use the warp pipe to reach the top of the lighthouse.
3. The Hot Spring Seal

There’s a green island that you can get to with a Gushen. Careful though, the place is covered in hot magma! Use the water that propels from the Gushen after you’ve captured it to clear out some of the lava, especially the spin attack. Once you’ve cleared some of it up, jump in the water and swim to the Power Moon. After that, hit the switch.
4. The Seal Above the Canyon

Go to the area behind the Odyssey and get to the Rolling Canyon Checkpoint.

Get into the canyon start running up the sandy path. Dodge the incoming spiked shells and make it to the end. Break down the weak crates and grab the Power Moon. Now that you’ve gotten all four Power Moons, the octopus from the center fountain will get knocked out. Time for a fight!
5. The Glass is Half-Full!
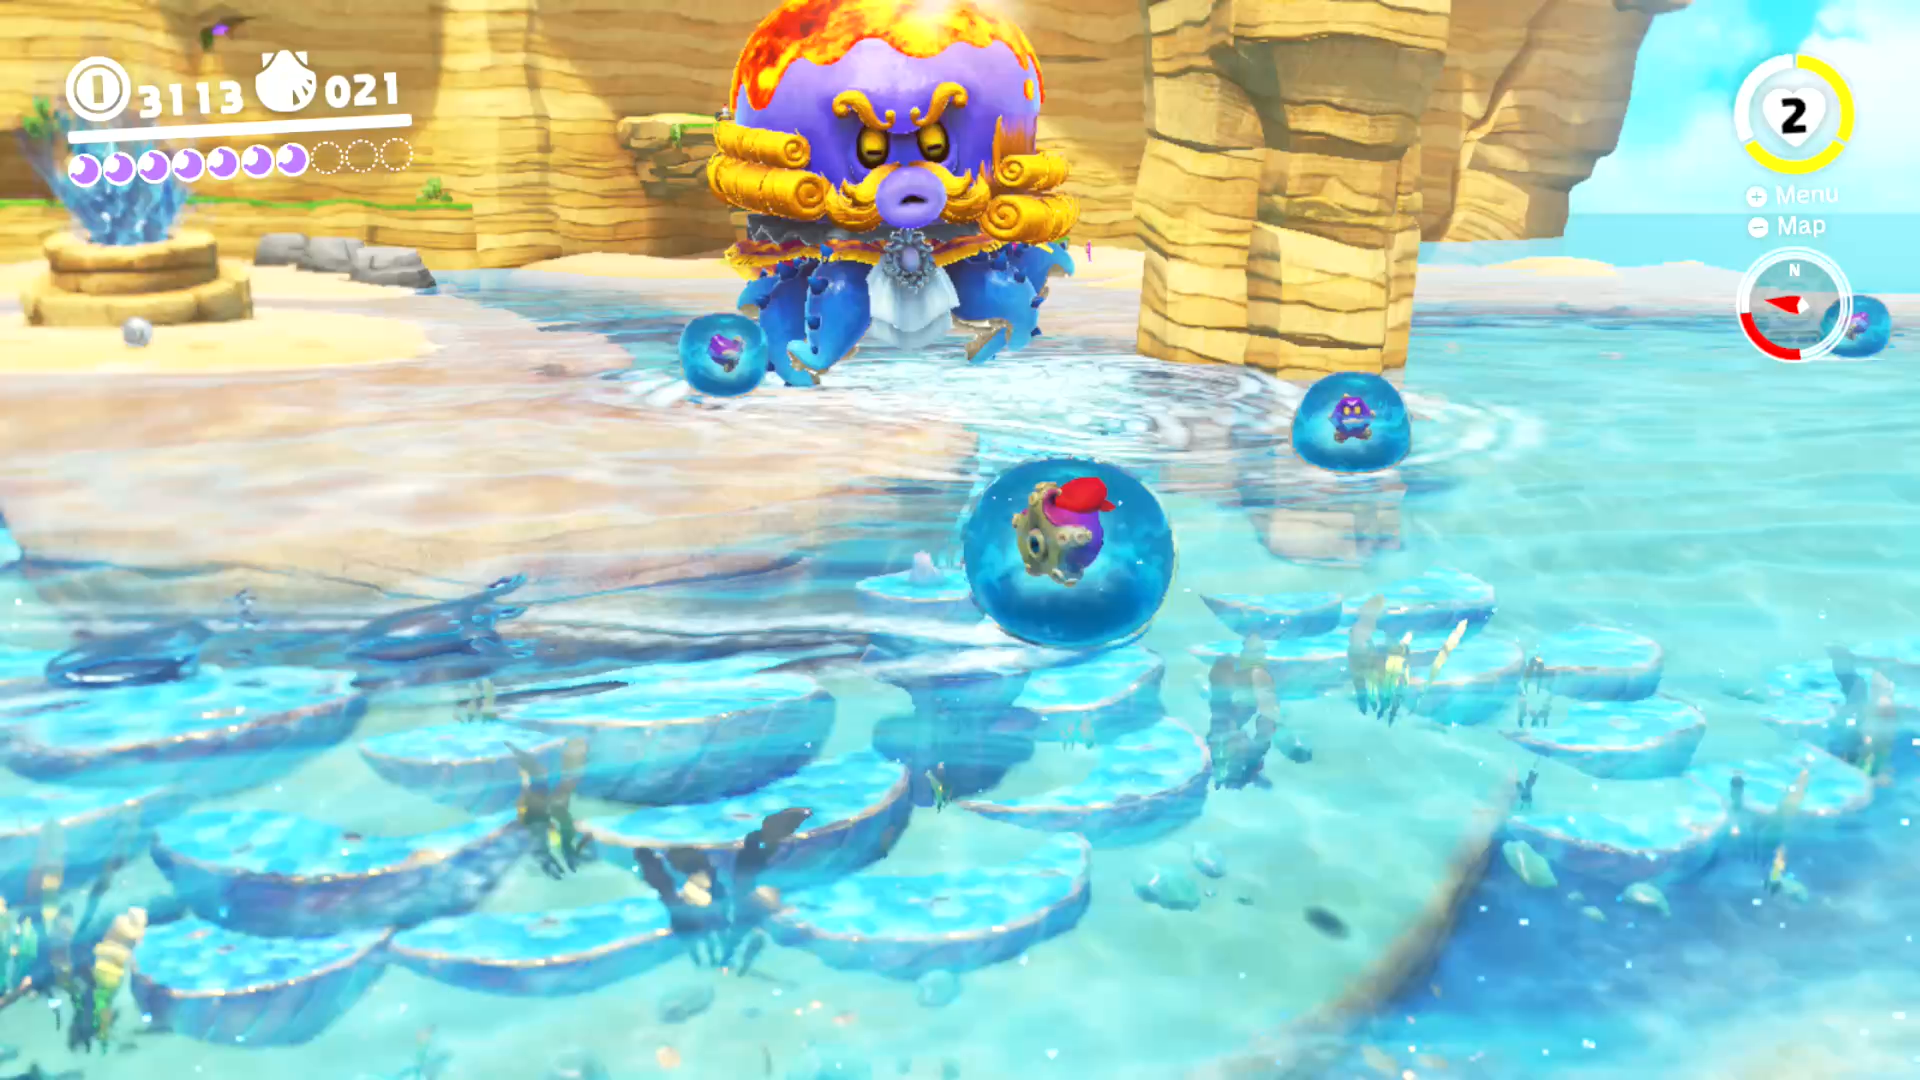
It’s the big fight against Brigadier Mollosque-Lanceur III, Dauphin of Bubblaine. Let’s keep calling him the octopus! Capture a Gushen and start making your way over to the monster. The battle is simple but it may be touch trying to pin it down when it’s moving so much. Your first goal is to remove the lava from its head. Do this by propelling yourself upward, then spraying water as you move over it. Doing a water spin helps too! Watch out for the incoming shell attacks, you’ll always want to be on the move. Hearts are dropped regularly so be on the lookout!

Once the lava is cleared, three ground pounds are needed on that big and squishy head of his. Wait for the octopus to stop while he shoots his new red drill projectiles or when he is squashed up against land and not in the open. From there, jet above him and ground pound on its head. Do this three times to defeat Dauphin! This guy really likes to move around a lot, so only ground pound when you’re confident you can hit him.
6. On the Cliff Overlooking the Beach

Behind the Odyssey is a cliff with a Power Moon on top. Grab a Gushen to get up there!
7. Ride the Jetstream

To the right of the Odyssey is a cave. Capture a Gushen and head inside. Propel yourself up, then right, and finally up again to reach the Power Moon. You can get up here with Mario, but it will be very tough to get the Power Moon itself.
8. Ocean-Bottom Maze: Treasure

Near the Glass Palace are four 2D warp pipes on the ocean floor. Each one lets you enter the same 2D area but each one leads to a different section. Top left pipe leads to some coins. Enter the top right pipe and drop down to the bottom left corner. After the drop, jump to reveal three hidden blocks. Exit through the bottom left pipe and return to the top right pipe. Now that you hit the hidden blocks, there will be a new path to the Power Moon in the center.
9. Ocean-Bottom Maze: Hidden Room

Enter the bottom right pipe and knock the red Koopa Troopa to the left. If done right, the shell will break the lone brick block below you. Run and crouch towards the new hole to slide into a small room with the Power Moon.
10. Underwater Highway Tunnel

Look for an underwater tunnel near the Lighthouse. On the seafloor you’ll come across several brick blocks. Ground pound through them to find a Power Moon at the bottom.
11. Shh! It’s a Shortcut!

Between the Hot Springs Island and the sandy island is a small drop-off underwater. On its side is a tunnel that will take you all the way across the island. Swim through, preferably with a Cheep Cheep, to find a Power Moon at the halfway point.
12. Gap in the Ocean Trench

Dive into the Ocean Trench and look for a hole in the north wall. Enter it and swim right and then down to find the Power Moon.
13. Slip Through the Nesting Spot

Behind the Hot Springs Island is an underwater tunnel where a May-Ray will pop out from. Wait for ti to recede, then enter the tunnel and go inside the hole on the right to find a Power Moon.
14. Merci, Dorrie!

See that purple Dorrie selling all those outfits? Swim underneath him to find a Power Moon!
15. Bonjour, Dorrie!
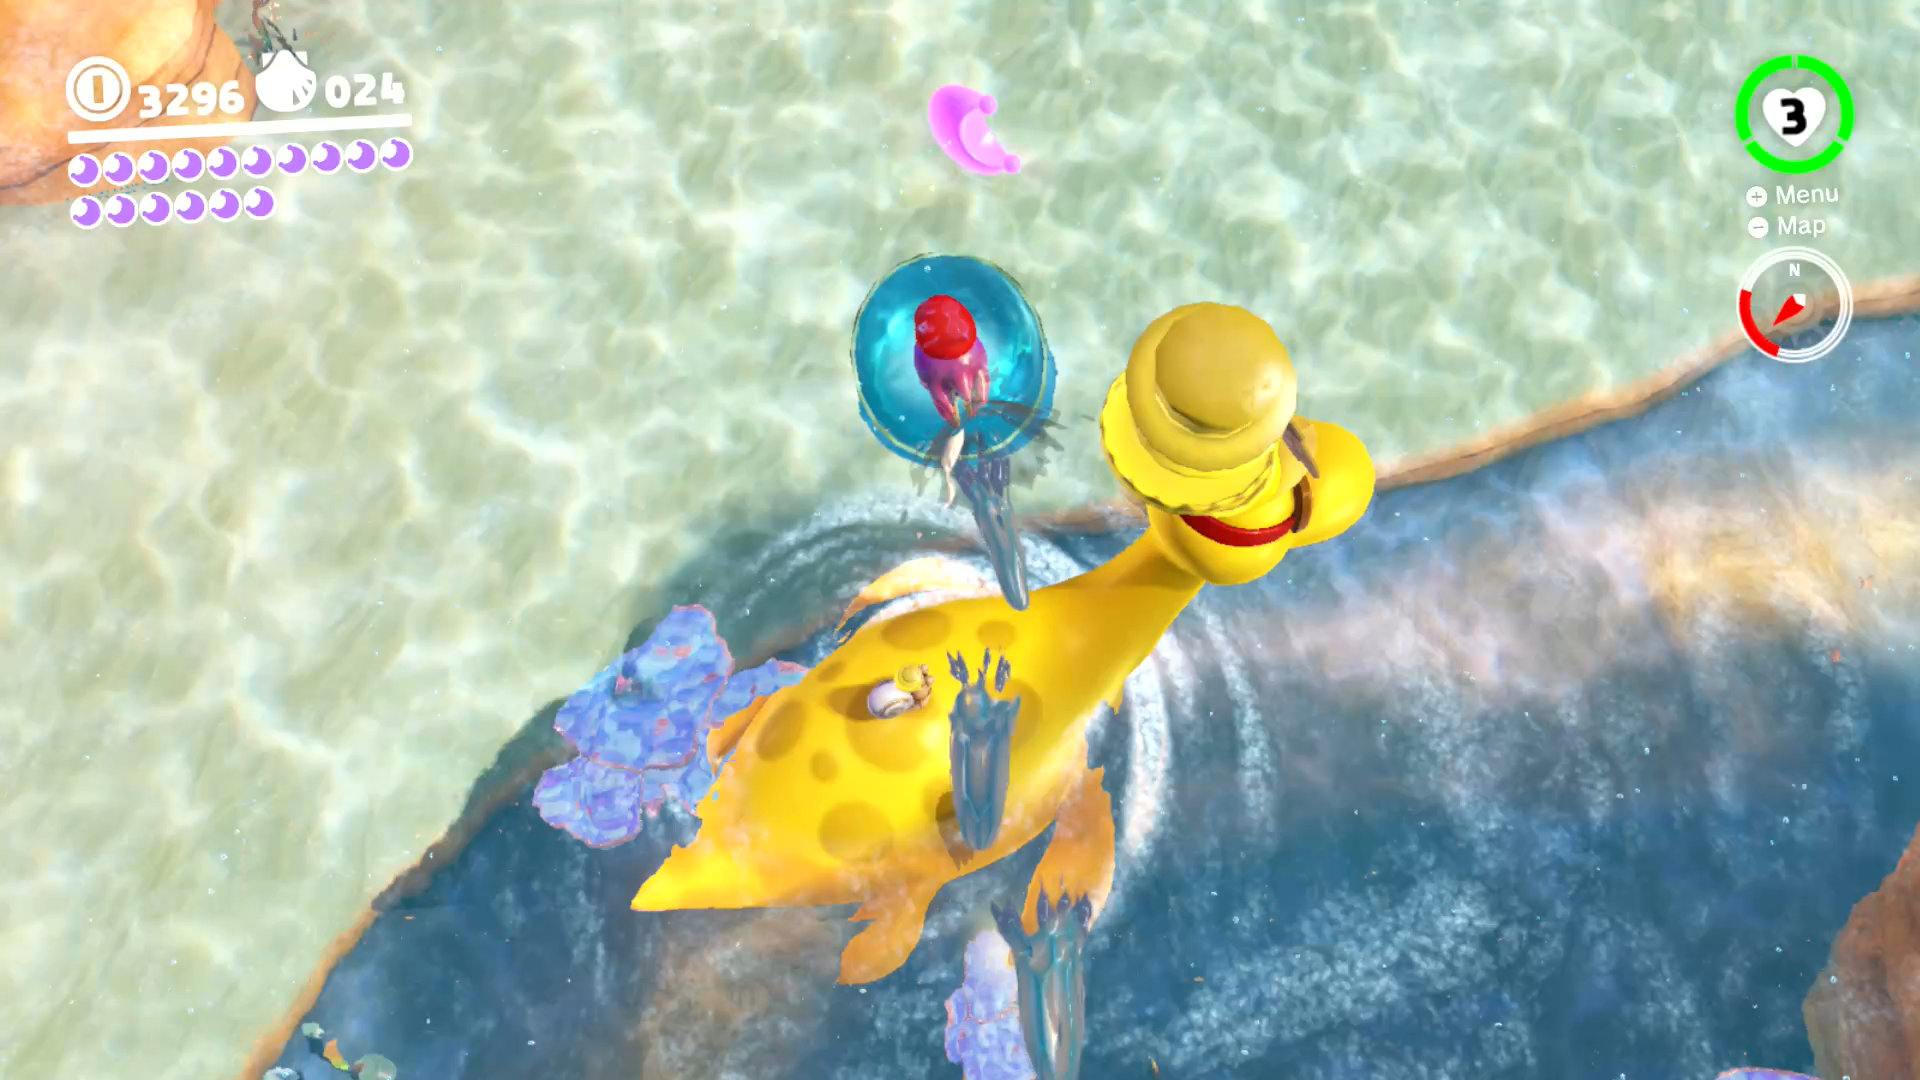
Available after you complete the main missions in the Seaside Kingdom. Find the yellow Dorrie and capture a Gushen. Propel yourself up into the air and snag the Power Moon floating over Dorrie.
16. Under a Dangerous Ceiling

Underneath the sandy island that’s next to the Hot Springs Island is a small area where Komboos walk along the ceiling. There is also a glowing spot on the seafloor. Kill the seaweed enemies with Cappy, then ground pound the glow to find a Power Moon.
17. What the Waves Left Behind

Near the Hot Springs Island is a rocky area with Komboos. One particular Komboo is hanging out in a little gap in the center. Kill it and ground pound the gap to find this Power Moon!
18. The Back Canyon: Excavate!

Go to the far left side of the beach and go past the Rolling Canyon. Wrap around the corner and start hopping up the steps. Near the spinning rocks is a odd patch of dirt. Ground pound it to reveal a Power Moon.
19. Bubblaine Northern Reaches

Beyond the Glass Panel and the Ocean Trench is a shallow area where you’ll find three bumps in the seafloor. Ground pound each one while taking out the Komboos. What’s this, nothing happened? Actually, the center bump is now glowing so go ahead and ground pound it to reveal the Power Moon.
20. Wriggling on the Sandy Bottom

Under the bridge to the north of the lighthouse is an underwater door. Enter it to get inside a small room. Hit the moving object under the sand with Cappy, then ground pound it to get the Power Moon!
| Power Moons | 1-20 | 21-40 | 41-52 |
| 53-71 |
| Main Walkthrough | |||
| Cap | Cascade | Sand | Lake |
| Wooded | Cloud | Lost | Metro |
| Snow | Seaside | Luncheon | Ruined |
| Bowser’s | Moon | Mushroom | Dark / er |
| Capture List | Souvenir List | ||