See how to find the locations of Sand Kingdom Power Moons 1-20 in our Super Mario Odyssey guide. Use our main walkthrough to find the Power Moons for every level in the game.

ADVERTISEMENT
| Main Walkthrough | |||
| Cap | Cascade | Sand | Lake |
| Wooded | Cloud | Lost | Metro |
| Snow | Seaside | Luncheon | Ruined |
| Bowser’s | Moon | Mushroom | Dark / er |
| Capture List | Souvenir List | ||
The Sand Kingdom has a total of 81 Power Moons. This page lists Power Moons 1-20.
| Power Moons | 1-20 | 21-40 | 41-60 |
| 61-69 | 70-89 |
1. Atop the Highest Tower

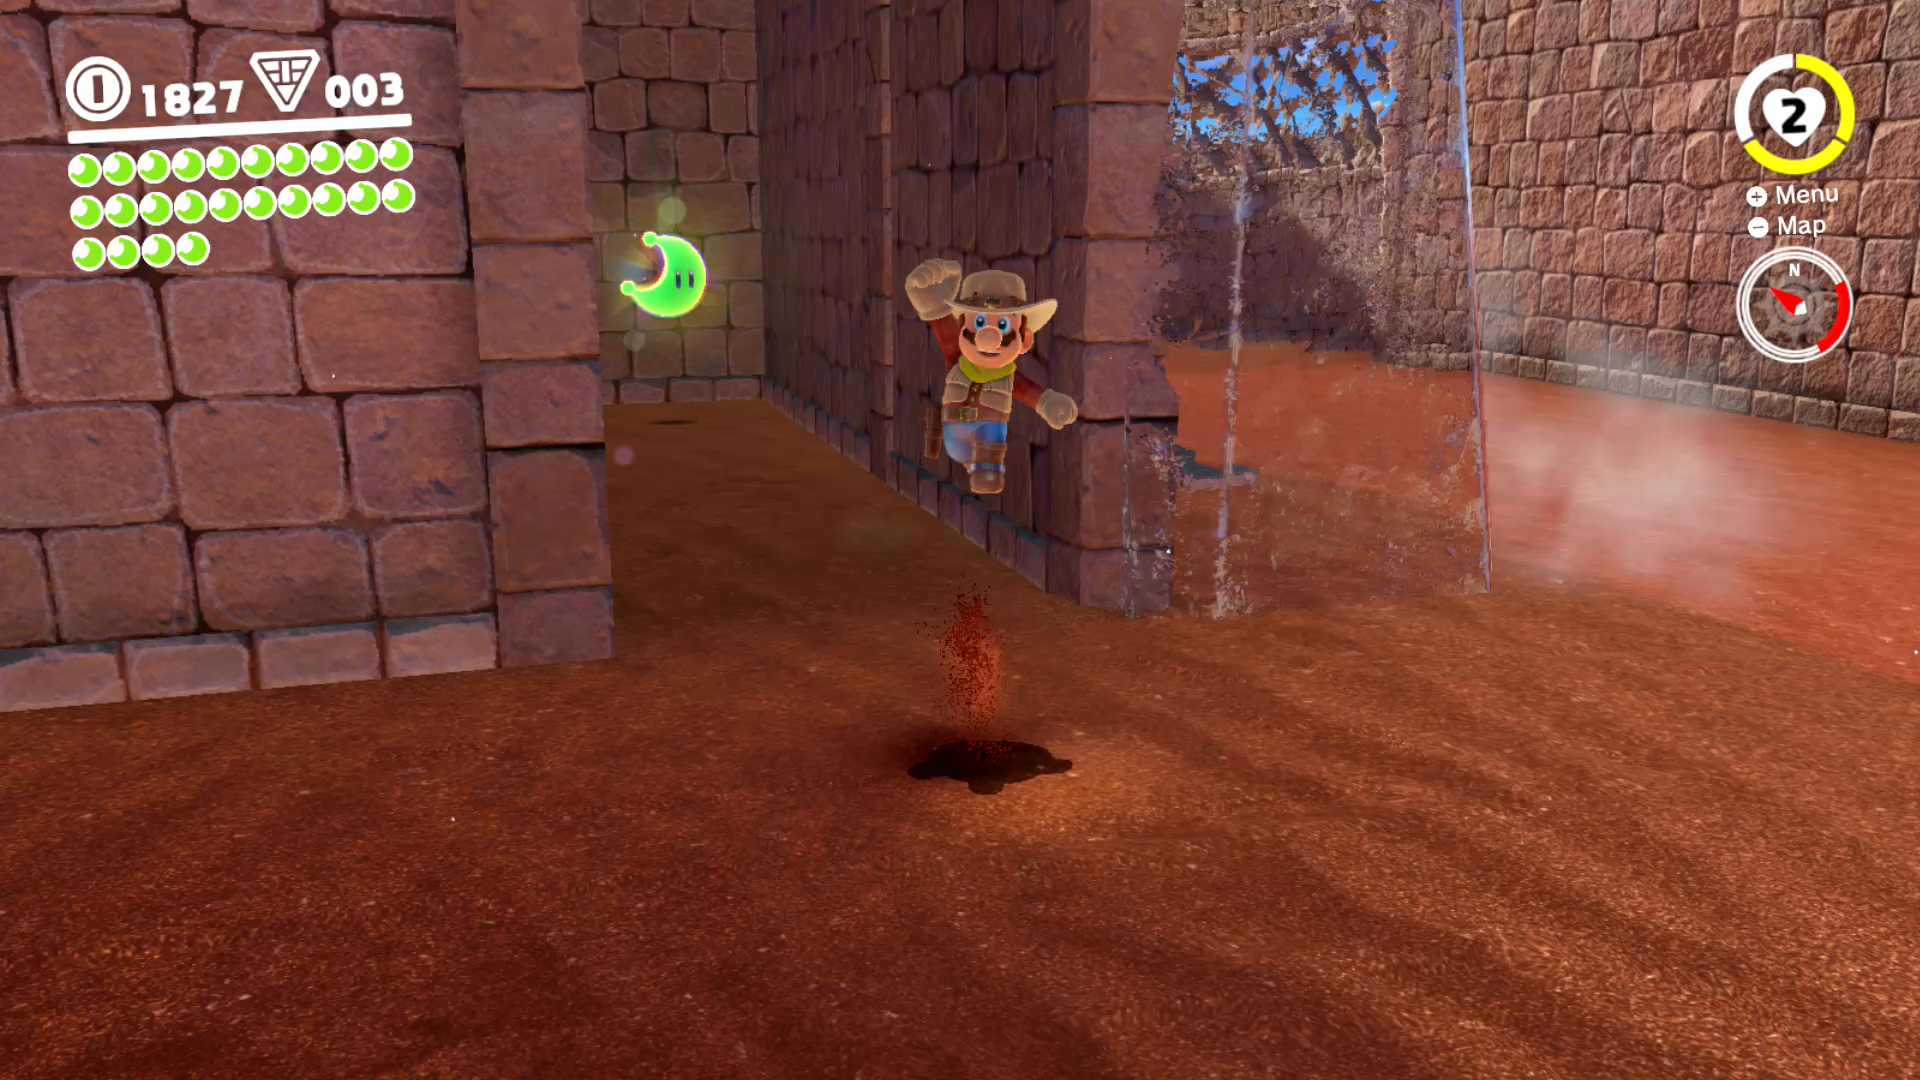
You made it to the Cascade Kingdom! There are plenty of Power Moons to grab and collect when you first arrive but the guide for this Power Moon will tell you how to go directly to it. From the Odyssey, walk through the town of Tostarena and make it to the ruins. Hit the Tosatarena Ruins Entrance Checkpoint Flag walk up the path to find a Bullet Bill Launcher. Capture the enemy and fly over to the next area. Power Moon 20 can be found in one of the weak blocks here.

Follow the path and the signs. Jump across the sand pillars, then enter the 2D section. Jump over the Bullet Bills and break through the row of blocks on the top left. Power Moon 12 is in a nearby crate after you exit the 2D section. Jump on the platforms to reach the next set of stairs or simply grab a Bullet Bill and fly over.

At the base of the tower is another 2D section! Go right and jump over the Bullet Bills. Hop up to the second floor and keep moving right. Get onto the third floor and jump onto the girder. Crouch to dodge the three Bullet Bills, then exit at the top. The Power Moon is waiting at the top of the tower!
2. Moon Shards in the Sand

Get this Power Moon directly after getting Power Moon 1. The platform at the top of the tower now moves. Hop on and use Cappy to hit the small launchers to get all the coins. Do the same for the the pulse beams to send out a ring that destroys all the blocks in its path. Grab the Purple Coins then let the platform drop. Activating the pulse beam in the next section will trigger the rest, so be ready to dodge the incoming rings.

Hit the Moe-Eye Habitat Checkpoint Flag and capture the nearest Moe-Eye. Putting on the shade will allow you to see invisible paths. Do this to see the blocks over the poisonous water that lead to some Purple Coins. The objective of the area is to find five Power Moon shards:
- Next to the Checkpoint Flag
- On an invisible path over the poison water.
- On a dune near the glowing beam and canyon.
- Behind a dune and near the canyon to the left of the Checkpoint Flag.
- Capture a Moe-Eye and use the elevator to reach the top of the pillar. Follow the invisible path to the shard.
With all three collected, the Power Moon will appear!
3. Showdown on the Inverted Pyramid

Cross over the moving platforms that just appeared and get over the canyon. The Inverted Pyramid is hard to miss, so make your way over and head inside.

Grab a Bullet Bill and head over to the 2D section. Entering the red sections will flip gravity. You can move between the two by jumping. Use the hidden block on the left to reach the red section. Enter the warp pipe to find yourself on the outside of the Inverted Pyramid. Keep moving until you reach a warp pipe. Don’t go in the warp pipe yet if you want to grab Power Moon 10 as well.

Use the warp pipe to enter back inside the pyramid. There are two invisible blocks on the left that you can use to reach the Purple Coins in the red section above you. Exit and have the Bullet Bills destroy the weak blocks in the wall. Let a Bullet Bill pass through, then capture it to make it across the next open gap. Power Moon 46 is in this area. Exit through the door at the top.

Outside you’ll find the arena where you’ll battle Hariet. Avoid the bombs she throws and wait for her to spin a bomb before getting it stuck in the ground. Whack the bomb with Cappy to send it flying right back at her. Bounce on her once to deal some damage. In retaliation, Hariet will assume her role as a UFO and drop bombs leaving magma piles everywhere. Avoid them and repeat the same process two more times. Defeat Hariet to get the Multi Moon!
4. The Hole in the Desert

Dive into the giant hole that was left after the Inverted Pyramid was raised! You’ve made it to the Underground Temple. Hit the pulse beams with Cappy to destroy the weak blocks blocking the path. You can keep following the ice path, but you can also get Power Moon 48. Ride the moving platforms and use the flower to jump up into the air. Use the Bullet Bill to make it to the giant door at the end. You can also get Power Moon 47 in this area.

Head inside and use a Bullet Bill to get to the giant arena in the distance. Time for a fight against Knucklotec! The primary attack you’ll need to avoid is the fist slam. Knucklotec will hover above you and bring down its fist. Have it to do this over an ice patch to stun it, allowing you to capture it and take control. Start moving towards the head while moving left and right to avoid the incoming balls of ice. Hit the head to deal damage.

When Knucklotec returns, it’ll first send both fists sliding your way. Just move in advance and this won’t be a worry. Now there will be two new attacks. If both hands slap the ground, ice will fall from above. The other attack has Knucklotec try to smash you with its hands, so long jump away to avoid taking damage. If you are low on health, some of the ice patches have hearts in them. Hit it two more times to defeat it. This will reveal a Multi Moon. Collect it and return to the Odyssey. Hey, and the ice melted in the Sand Kingdom!
5. Overlooking the Desert Town

Use a triple jump or one of those spring flowers to reach the rooftops of Tostarena. Look on the left side to see a blue roof with a Power Moon on top.
6. Alcove in the Ruins
Near the Ruins Entrance Checkpoint is a gate that needs to be opened via a switch on the other side. When you get to the area just before you reach the base of the tower, jump down into the quicksand and make your way to the switch. Open the gate for a shortcut between areas. There is also a small alcove to the right of the slanted quicksand that hides a Power Moon.
7. On the Leaning Pillar

Near the beginning of the Desert Ruins Entrance is a Bullet Bill Launcher and several weak blocks. Capture the Bullet Bill and ride it over to the right where a Power Moon rests on a leaning pillar.
8. Hidden Room in the Flowing Sands

Go to the main ruins and look for the big open area with quicksand. Look along the west wall to see the very top of an opening. Stand near the opening and let yourself sink just enough to get under. Jump and move forward to say alive. Inside is a secret room with a Power Moon!
9. Secret of the Mural

Get through the 2D section of the tower mural but stop before you exit at the top. Drop over the small wall on the third floor and use the moving girder to get you through the left wall. This will reveal a hidden area with a Power Moon.
10. Secret of the Inverted Mural

As you’re walking around the outer 2D section of the Inverted pyramid, skip the warp pipe at the end and jump through the hole in the corner. The Power Moon is at the end.
11. On Top of the Stone Archway

There is a Power Moon on the top of the archway at the Ruins Entrance Checkpoint. Go to the town of Tostarena and get up on the roof. Use Cappy to capture a Spark Pylon, then ride over to the archway. Make sure to release the capture at the right moment to land correctly.
12. From a Crate in the Ruins

Just before you reach the second 2D section on your way up to the tower, look for a couple of wooden crates near a Bullet Bill Launcher. Destroy the second crate, the one that’s glowing, to reveal a Power Moon. Capture a Bullet Bill and ride it over to the Power Moon.
13. On the Lone Pillar
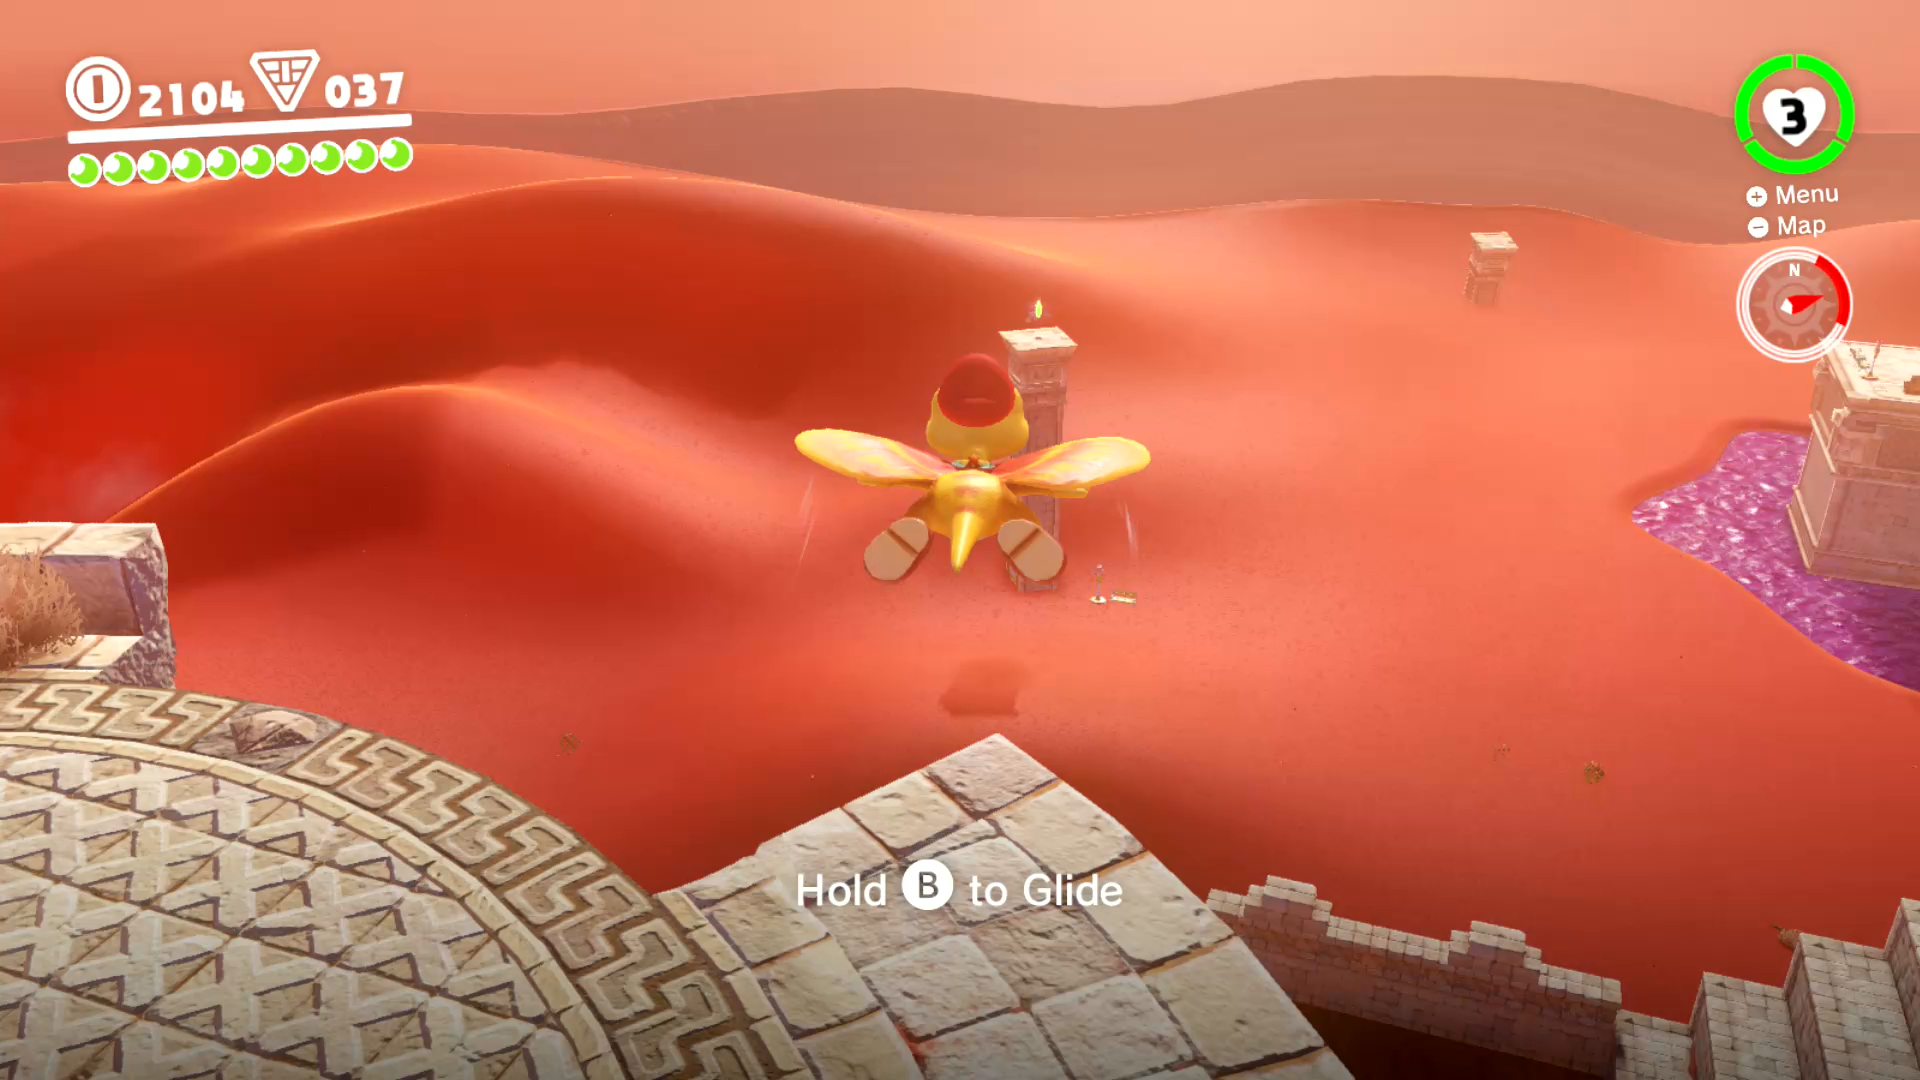
Available after completing all the main missions in the Sand Kingdom. Go to the top of the tower and capture Glydon. Look tot he east to see a Power Moon resting on a pillar in the distance. Hop off the edge and glide over to the pillar. You don’t need to move up and down as Glydon, just hold B and you should make it there with ease.
14. On the Statue’s Tail

Go to the top of the Inverted Pyramid and look for the glowing tail of one of the Jynx statues.
15. Hang Your Hat on the Fountain

Available after completing all the main missions in the Sand Kingdom. Go the fountain in town and spin Cappy around the top. Hold him there and he’ll reveal a hidden Power Moon.
16. Where the Birds Gather

At the Desert Oasis, look for a group of birds hanging out on top of a mound near the pond. Ground pound the area to reveal a star.
17. Top of a Dune

To the left of Tostarena is open field of sand and dunes. Look for the taller dune and stand on top. If you feel a rumble, ground pound to reveal the Power Moon.

18. Lost in the Luggage

Near the Inverted Pyramid is a human and his frozen car. There are also a few boxes and mysterious glow in the sand. Ground pound the suspicious spot to reveal a Power Moon.

19. Bullet Bill Breakthrough

Available after completing all the main missions in the Sand Kingdom. A caged Power Moon appears inside the ruins. Capture a Bullet Bill and ride it through the hole in the stone so that it can crash right into the cage, revealing the Power Moon.
20. Inside a Block Is a Hard Place

Near the beginning of the Desert Ruins Entrance is a Bullet Bill Launcher and several weak blocks. Capture the Bullet Bill and ride into the block in the bottom right corner to reveal the Power Moon.
| Power Moons | 1-20 | 21-40 | 41-60 |
| 61-69 | 70-89 |
| Main Walkthrough | |||
| Cap | Cascade | Sand | Lake |
| Wooded | Cloud | Lost | Metro |
| Snow | Seaside | Luncheon | Ruined |
| Bowser’s | Moon | Mushroom | Dark / er |
| Capture List | Souvenir List | ||