See how to find the locations of Lake Kingdom Power Moons 1-20 in our Super Mario Odyssey guide. Use our main walkthrough to find the Power Moons for every level in the game.
ADVERTISEMENT
| Main Walkthrough | |||
| Cap | Cascade | Sand | Lake |
| Wooded | Cloud | Lost | Metro |
| Snow | Seaside | Luncheon | Ruined |
| Bowser’s | Moon | Mushroom | Dark / er |
| Capture List | Souvenir List | ||
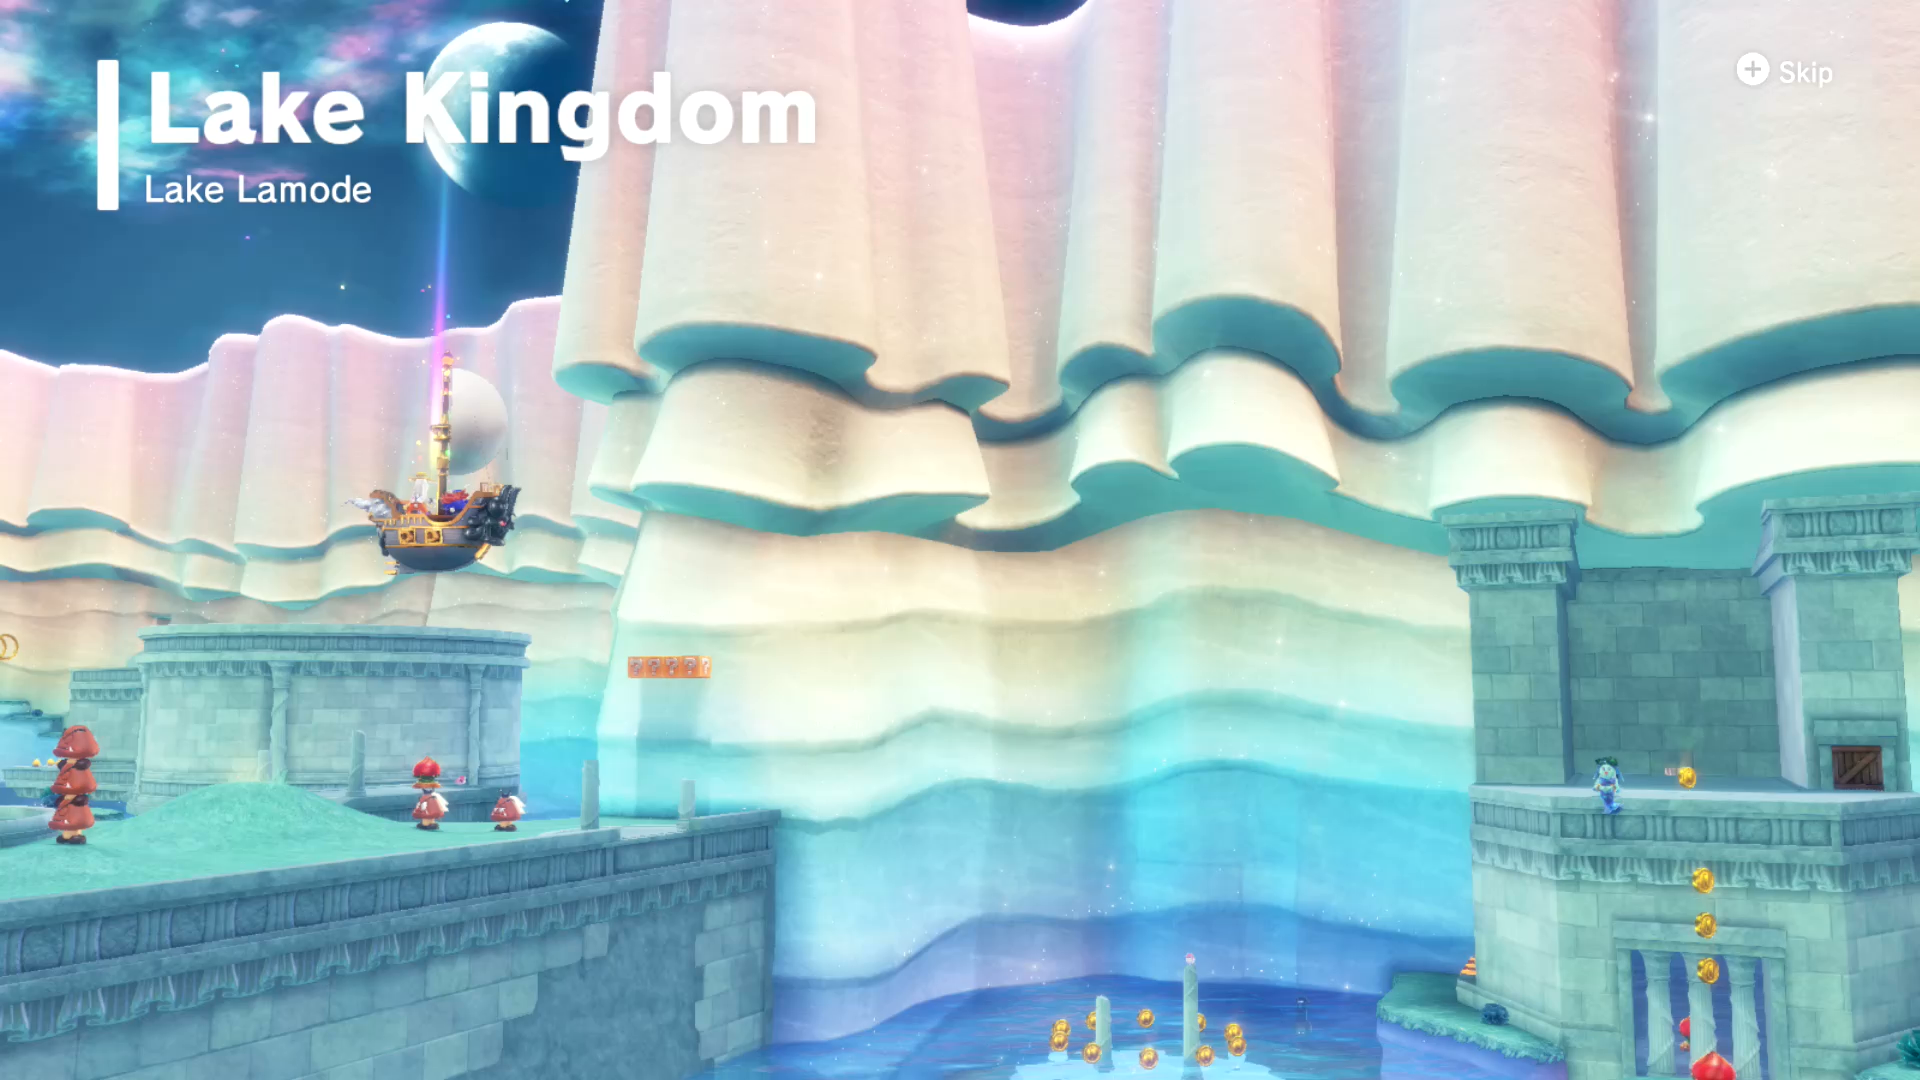
The Lake Kingdom has a total of 42 Power Moons. This page lists Power Moons 1-20.
| Power Moons | 1-20 | 21-33 | 34-42 |
1. Broodals Over the Lake
The peaceful and serene Lake Kingdom is a beauty, but it’s actually pretty small and straightforward. For this Multi Moon and only main story mission, we’ll cover how to get this Power Moon only. Before completing this mission, you can collect the following Power Moons:
- Starting Area – 13
- Spiky Passageway – 8
- Underwater – 2, 3, 12, 22, 23
- Water Plaza – 17, 18, 21
- Above Water – 14,

From the Odyssey, start by hopping into the water and swimming to the center platform. Use the flower spring to jump up to the area above. Capture the Zipper on the wall and remove the floor to reveal a passageway. Sink to the bottom and grab the air bubble. Swim above the spikes as you make a left turn. You can still use Cappy to take out the seaweed enemies. Make it to the end and you’ll be able to capture a Cheep Cheep.

There’s plenty to do in the Water Plaza but if you’re focused on the mission at hand, swim towards the big bubble at the other end of the area. Enter through the hole at the top to get onto the third floor of the building. Walk around the pillar and hit the P Switch to open up a water tunnel that leads to the platform above.

Use the nearby flower spring to spin across the gap. Use the second spring to get to the arena where you’ll fight Rango. The fight is pretty simple. Rango will throw his own spiked hat and all you need to do is hit it with your cap. After it flips over, hop on it to spring into the air. As Rango tries to find out where you’ve gone, ground pound on top of him. After dealing some damage, Rango will jump inside his hat and jump after you, spikes and all. Repeat this process two more times to defeat him and to earn the Multi Moon.
2. Dorrie-Back Rider

Dorrie swims around the Underwater section with a Power Moon on his back. Just swim up and grab it!
3. Cheep Cheep Crossing

Above the Underwater Entrance Checkpoint are small holes, one of which has a Power Moon inside. Swim over and snag it!
4. End of the Hidden Passage

Enter the Courtyard area and jump off the flower spring over to a platform on the right. Capture the zipper and unzip the wall to reveal a passage to the Power Moon behind bars.
5. What’s in the Box?

Get up to the platforms above the Water Plaza and hit the P Switch to lower a gate. Throw Cappy, then long jump onto Cappy to bounce mid-air and land near the crates. Destroy the crate to reveal a Power Moon on the opposite side.
6. On the Lakeshore

To the right of the Odyssey is a glowing spot on the sand. Ground pound to reveal a Power Moon!
7. From the Broken Pillar

Swim towards the Water Plaza and ground pound the top of a broken pillar on the left.
8. Treasure in the Spiky Waterway

Enter the spiked waterway and swim past the first set of spikes. At the intersection with the bubble, go right and swim up above the spikes to find a treasure chest with a Power Moon inside.
9. Lake Gardening: Spiky Passage Seed

Available after you complete the main mission in the Lake Kingdom. Go to the starting point of the spiked waterway where the bubble maker was at to find a seed. Grab it and swim over to the Water Plaza like you would normally. Throw it into the pot on the first floor. Some time has to pass before it grows and sprouts a golden top. Hit it to get your Power Moon!
10. Lake Kingdom Timer Challenge 1

Available after you complete the main mission in the Lake Kingdom. Go to the Underwater section and swim up to the surface. Look for the scarecrow on a lone platform. Throw Cappy on, then jump over to the last platform and ground pound through the hole. Keep ground pounding until you reach the Power Moon at the bottom!
11. Lake Kingdom Timer Challenge 2

Available after you complete the main mission in the Lake Kingdom. Go back to where you fought Rango for a timer challenge. Use the side flip by running away from the platform, then jumping as soon as you make a sharp change by pushing towards the platform. This will let you grab onto the first block. Do the same for the last block to get the Power Moon in time.
12. Moon Shards in the Lake

Reach the Underwater area and you’ll notice Moon Shards around the area. Collect all five to form a Power Moon. Each one is found under the water:
- On the left pillar as soon as you enter.
- Underneath a rock formation on the right.
- Inside a small room with a barred window opposite of the Water Plaza.
- To the right of the Water Plaza are four crates hiding a small alcove.
- Enter the small bubble to the left of the Water Plaza and find the shard on the roof.
13. Taking Notes: Dive and Swim

Jump in the water near the Odyssey and look for a music note in the center. Grab it and swim around the edge of the hole to collect them all. At the end, swim upward to collect the last few notes.
14. Taking Notes: In the Cliffside

To the left of the Water Plaza and above the water is a flower spring. Use it to reach the 2D section pipe. Enter and grab the note. As the girder moves, jump to collect all the notes and make sure to drop off the girder for the notes on the bottom floor. Collect them all to get the Power Moon.
15. Lake Fishing
Go to the Courtyard and capture the Lakitu. There are outlines fish swimming in the water that you can fish out. Drop the line into the water and near one of the outlines and wait for the Cheep Cheep to bite. After a few nibbles, wait for the rumble in the controller to get stronger, then try to reel them in. Keep in mind that you can still move while the hook is in the water. You can even move right in front of an outline and it won’t get scared off.

Catching a smaller Cheep Cheep will get you coins or a hear, but catching a big Cheep Cheep will get you a Power Moon. You’ll have a harder time trying to reel in the big one so make sure to also shake your control to better your chances!
16. I Met a Lake Cheep Cheep!

There’s a Lochlady on a small platform above the Water Plaza and above the water. She really wants to see a Cheep Cheep. Easy! Capture one of the many little fish and jump on the platform she’s on. Make sure to jump into the little pond in the center in order to get the Power Moon.
17. Our Secret Little Room

Go to the first floor of the Water Plaza and enter the second from the right small hallway. There is small opening on the left that you can use to enter a secret room. Talk to the Lochlady to earn a Power Moon. It’s a secret to everybody!
18. Let’s Go Swimming, Captain Toad!

This little rascal. Make sure you have a Life-Up Heart activated, then head to the first floor of the Water Plaza. Jump into the hole and start ground pounding in the water to sink quicker. It’s a really long tunnel, so you’ll probably start losing health before you reach the end. Get to the bottom to find a bubble with Captain Toad inside.
Or just grab a Cheep Cheep and swim down that way.
19. Shopping in Lake Lamode

Purchase this Power Moon for 100 coins at the Crazy Cap shop on the second floor of the Water Plaza.
20. A Successful Repair Job

Available after you complete the main mission in the Lake Kingdom. In the Underwater section, enter the small bubble to the left of the Water Plaza and go inside the door.

Capture the block and make the following movements to get the Power Moon to appear: right, down, right, up, left, and up.
| Power Moons | 1-20 | 21-33 | 34-42 |
| Main Walkthrough | |||
| Cap | Cascade | Sand | Lake |
| Wooded | Cloud | Lost | Metro |
| Snow | Seaside | Luncheon | Ruined |
| Bowser’s | Moon | Mushroom | Dark / er |
| Capture List | Souvenir List | ||