Temple of Shrooms is the twelfth Yellow Streamer level in our Paper Mario: The Origami King Walkthrough. Our complete guide also includes collectibles.
Just looking for collectibles? Head over to our collectibles page for simple lists and locations for every collectible, including every Toad, every Not-Bottomless Hole, every Collectible Treasure, and every Question Block.
ADVERTISEMENT

You found Professor Toad, beat the Fire Vellumental Cave, and activated all four towers. Now it’s time to take on the Temple of Shrooms! Enter through the bottom entrance. Watch out for the mini Scuttlebugs that fall from the ceiling and make sure to patch up the hole on the left!

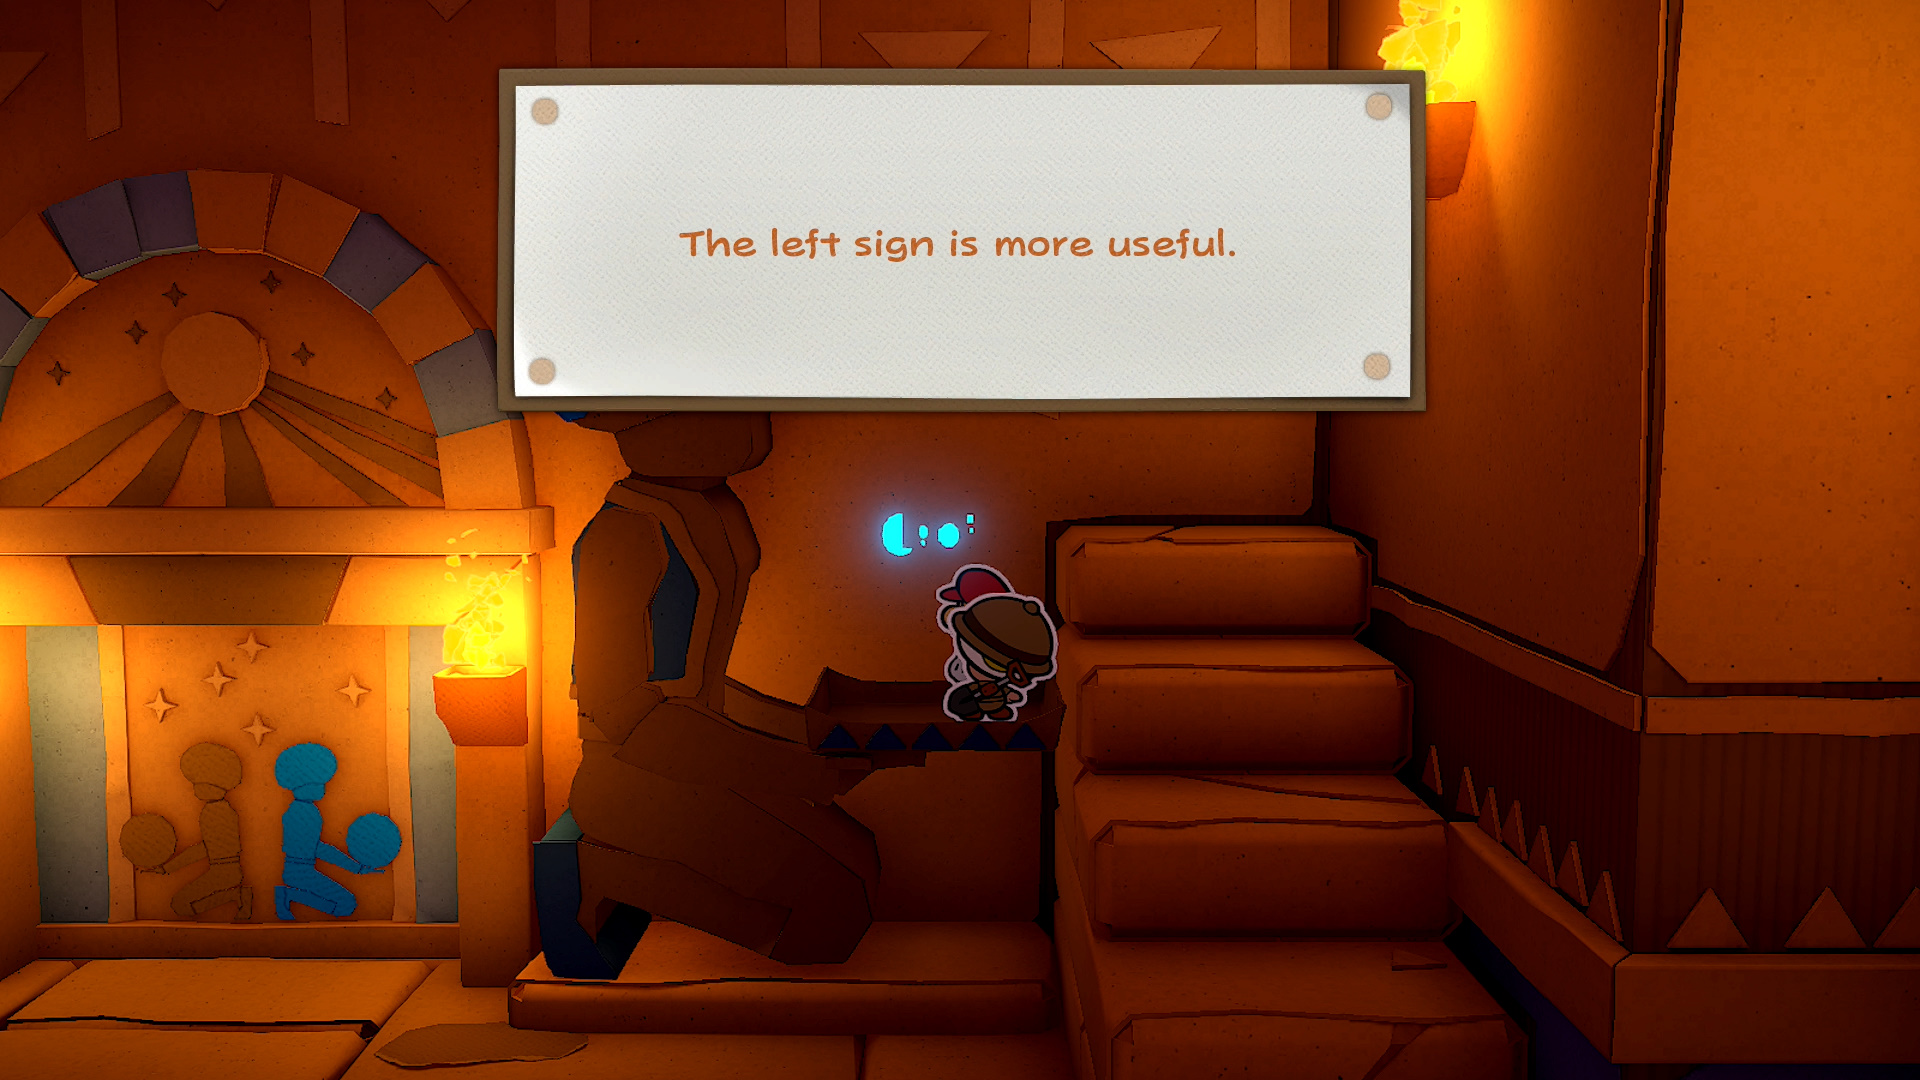
Enter the next door to find a room filled with spikes. Scuttlebug ambush! After the battle, take a look at the mural up ahead. Looks like a door? Probably has something to do with the Toad statues on either side, the ones holding platters. Go up the steps on the right and stand on the platter to weigh it down. The text on the wall will tell you to read the sign on the right but the steps are missing over there. Welp.

Patch the hole on the right side, then walk down the path on the left side to find another hole in a pillar and a block containing a Shiny Mushroom at the end.


We gotta do something about those missing stairs. See those patches of sand? You can dig into them. Dig up the leftmost sand pit to uncover a magic circle to remove the barrier blocking the stairs from sliding out. Step onto the left platter and read the text. As Professor Toad stays there to study it, walk to the other platter to open the door.

By the way, digging into the larger sand pit will net you some random items. Maybe coins, a weapon, who knows!


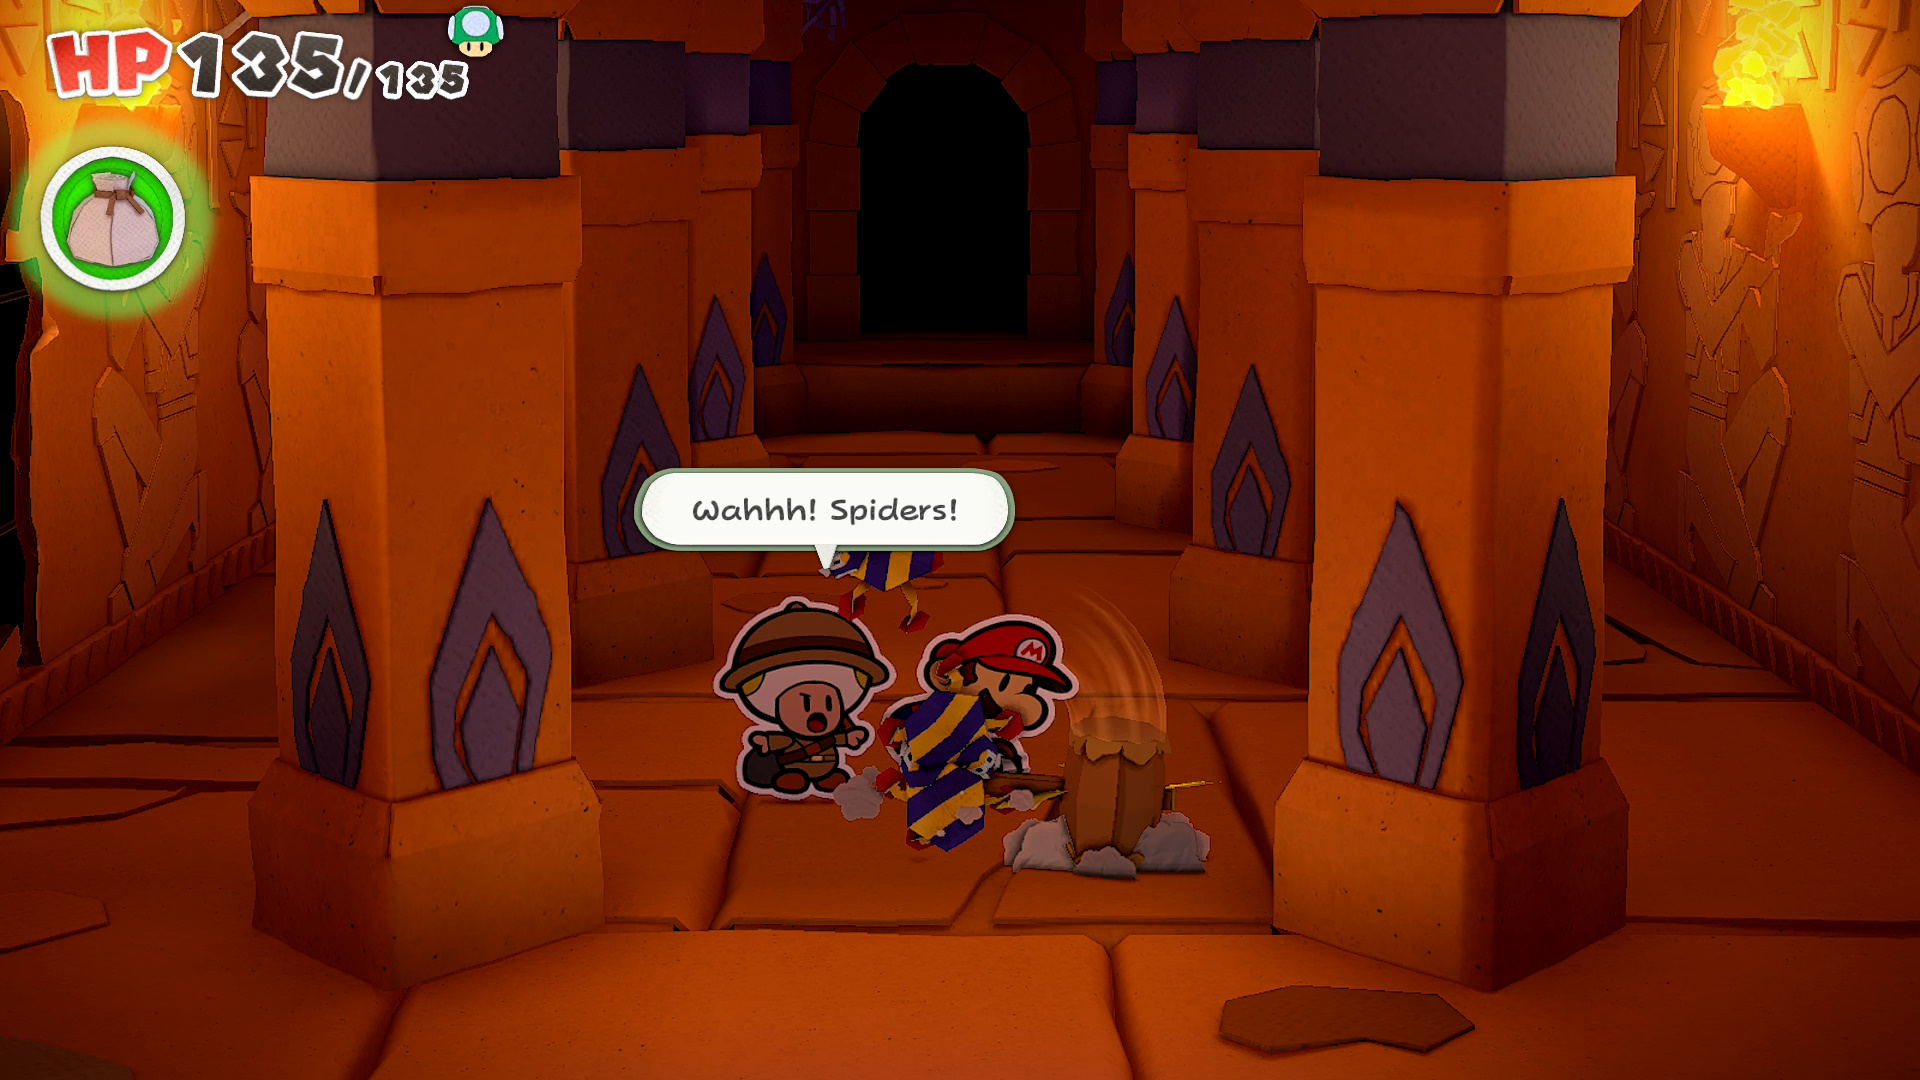
Walk through the door and into a dark corridor. The poor professor is trembling! Passing the torch will cause it to be set ablaze. Peek around the corner to see a mysterious shadow walk by. Creep farther into the hallway, patching up the hole in the path as you go. See that 100-Coin? Tempting, isn’t it? Walk too close and a folded Black Shy Guy will appear from behind the mural and whack you.


Patch up the hole in the wall and turn the corner. Uh oh, another 100-Coin. Grab it and patch up yet another hole in the path. Save at the Save Block and once again, repair the hole to the right of it.


Take note of the chest and warp pipe above, then walk into the next room. You might not actually have enough confetti to patch up the two holes on the walls of this room, so head for the door to awaken two mummified Paper Macho Goombas. Take them out like you did the other Goombas earlier in the game, then collect all that sweet confetti!

Go through the big door to find a group of mini Scuttlebugs feasting on a Toad! Whack the little creatures off and yank the poor thing out of the ground! IT HAS NO FACE!! Uhhh, no matter! Before dealing with the coffin, let’s work on picking up some of the collectibles.


The opening on the right has a gold glow to it. Break through it and enter the next room. Deal with the folded Boo and folded Scuttlebug, then patch up the two holes. Open up the chest for a collectible treasure, then walk behind the wall and use the secret stairs to open the chest at the top. No, not collectible treasure, just another TOAD WITH NO FACE.

Back in the coffin room, enter the room on the left and open the chest to find the Heartbeat Skipper DJ disc. Alright! Trying to enter the warp pipe won’t work, sadly it’s blocked on the other end.


Check the text on the coffin for the following pattern of numbers: 1 4 2 3. These relate to the switches in the corners of this room and the number of triangles on each. Hit them in the following order: northwest, southwest, northeast, southeast. The coffin will move, revealing hidden stairs.


Ah yes, a hallway filled with standing sarcophagi, that’s just what we need right now. At the end of the hallway, three no-face Toads will drop down on mummy strings. Pull all three off, then continue into the next room. Oh cool, a massive spider web, that should be fun. And more no-face Toads. Fight the Boo and enter the next door.


Right from the start of the next hallway, patch the hole in the wall and hit the block containing a 100-Coin. Run past the standing sarcophagi as they drop and crash behind you. Behind the second one is a hole to fill and the last one has the Deep, Deep Vibes DJ disc. There’s also a hole at the end of the hallway and a hidden door behind the third to last sarcophagus.

The next room has three holes to fill along with a block with a 100-Coin inside. The middle hole will reveal text that says a star will light your way. First whack the tubes holding back the three Toads with no face, then hit the switch at the lower end of the room to reset all the tubes. There’s a star formation on the left. Punch in all the tubes surrounding it to bring up the stairs.


Go upstairs and you’ll run into two folded Black Shy Guys. Defeat them in battle, then head into the next room to find a… dance floor. Looks like the boss is in the other room. Listen to the DJ’s plea and bring him four DJ discs. You already have two so you’re already halfway there!


In the dance floor room, grab the block with the Coin Bag on the right. Go to the spinning Paper Macho Shy Guy in the bottom right to find a hole to fill and a block containing another Coin Bag. The left side has the other end of the warp pipe we tried to use earlier along with stairs going down.


Attempt to go downstairs to get ambushed by the folded trio that were busting a groove on the dance floor earlier. Try to take out the Boos first as the other enemies are from earlier in the game and have low health to begin with. Once downstairs, patch up the hole on the left wall, then clean up the hole on the right hall.


There are a lot of coffins in this room and each one can be opened if you have enough people to push it open. There’s a M-A-X Power! DJ disc on the coffin situated in the bottom right corner. See the wall on the right and the scratch marks on the floor? Get behind the and push it upward so that it slides in the switch. This will flip the door, revealing a riddle and a block with a 100-Coin.


Walk into the door on the right to find another hallway. There’s a DJ disc at the end! Attempt to grab it and get a whack of the fan in return. The magic circle will drop down, then use your 1000-Fold Arms to grab the Thrills at Night DJ disc! That’s the fourth one!


On the left side of the hallway is a switch that will move a sarcophagus to reveal a secret exit. This leads back to the light tubes room which you can use to get back to the disco room. Trying playing the four different DJ discs you have. The big bad on the other side of the door will hate them all except Thrills at Night. Play that one for it but it won’t come out to the dance floor until there are more people to boogie down with. Time to find those faceless Toads!


With the bomb box in hand, return to all the previous Toads you’ve found. You can start by entering the green warp pipe since that’s where the first Toad was found. For a list of where they are and how many in each room:
- 6 – Disco room.
- 1 – Room with a single coffin.
- 1 – Room with two chests.
- 3 – Hall with standing sarcophagi.
- 3 – Light tubes room.


Once you reach the room with all the coffins, you now have the ability to open coffins. Many of them have folded Bone Goombas so only open the following:
- Top row – fourth from left (Toad)
- Middle row – second from left (secret stairs) and fourth from left (+10 MAX UP Heart)
- Bottom row – first from left (Toad)


Head through the secret tunnel and into the room beneath the spider web. Look for a sand pit on the right, then dig to reveal a collectible treasure. Open up the coffin to reveal a Super Star. Smash those nasty Scuttlebugs out of existence!


With the room cleared up, use the magic circle to pull down all 24 Toads. Now you have all 40! Let’s head back to the disco room.


Speak to the DJ and watch the ridiculous scene unfold. The uncontrollable beat will force the disco devil, Hole Punch, out of his room and onto the dance floor. You know what this means. Boss time!


Hole Punch can, and will, punch holes into different panels of the stage. You’ll want to avoid these spaces, stepping over one will cause you to get stuck and end your turn. As for Hole Punch itself, the handle of its body is very tough and your jump and hammer attacks do nothing to it in its current state. Using the magic circles work but the On panel has been punched out.


So! You’ll want to make your way to the backside of Hole Punch and attack close up. Whip out your hammer and make sure the part you are attacking is called the Lid. The Handle is super sturdy and won’t do a thing for you. Hitting this bottom portion will release some of the previously punched out holes, specifically the highly desired On panel!


One of Hole Punch’s moves is a devastating attack that will punch a hole through Mario, cutting out a huge chunk of your max HP. To get it back, play one turn without your face and then it’ll reappear on the arena the following turn. Obviously you’ll have to run over it to get it back. When you do, you’ll get all your lost health back.


After dealing enough damage, Hole Punch will wind up and start storing its energy for one turn. During this time, the Lid is protected. Don’t bother with any other attack besides the Earth Vellumental. It’ll raise you up and away from the incoming attack, but there’s an added benefit! Hole Punch will ram into the raised platform and fall on its back! This will stop him from attacking for one turn.


If Hole Punch has more than half its health taken out and you get it on its back again, whip out a 1000-Fold Arms attack that does 5 damage each hit. This will finish him off with a wonderful finisher move where the entire Lid is ripped off.


With Hole Punch completely wiped and the Toads reunited with their faces, head up the stairs and into the room with the streamer. Use the magic circle and rip that yellow streamer to shreds. The disco ball will come crashing down and reveal the missing sun. The desert is orange once more! Plus the sun altar will open up revealing a secret entrance.


Head down the secret stairs of the sun altar to find a conclave of refrigerators. Deep in the ice in the center of the room is none other than Khap’taan Teeowed. Gotta find a way to warm up the place. Destroy the vases and boxes on the right side to reveal a red magic circle. Let that Fire Vellumental blaze through the place!

With Captain T. Ode back on the side of the living, your chance to find the Sea Chart needed to sail through the fog in The Great Sea is back on the table. The captain will request the use of the Super Marino, the submarine currently on display in the Toad Town museum.

Before you leave two hidden blocks can be found down here. There’s a crate to the left of the refrigerators. Hit the space to the right of the crate to reveal the first hidden block, then hop on top of the crate and jump to reveal a hidden block containing a collectible treasure!


If you want to grab any additional collectibles before continuing on, head into Shroom City to discover the Toads and Snifits are peacefully living together. Crates previously blocking the backside of the Accessories Shop on the left have now been removed. Walk back there to find a stack of ten Toads along with a hole that’ll turn into a door once repaired. Another coffee shop!


Head over to the magic lamp tent where you scammed out of your coins. Talk to the Toad in the booth to receive a collectible treasure! That’s it for the rest of the collectibles here but you can head over to the pool and request any of the songs you’ve already heard over at the DJ booth.


Return to Toad Town and head for the dock. If you haven’t already, use the boat to sail into The Great Sea and enter the thick fog that covers the long stretch of ocean. You must see this short cutscene within the fog in order for the next event to trigger.
Enter the museum. Captain T. Ode will already be at the Super Marino in the main lobby and it won’t be long before it’s transported over to the dock. In exchange you’ll get the Sea Chart! From here you can hop onto the ship to head for the purple streamer, or catch up on what’s new in the world.

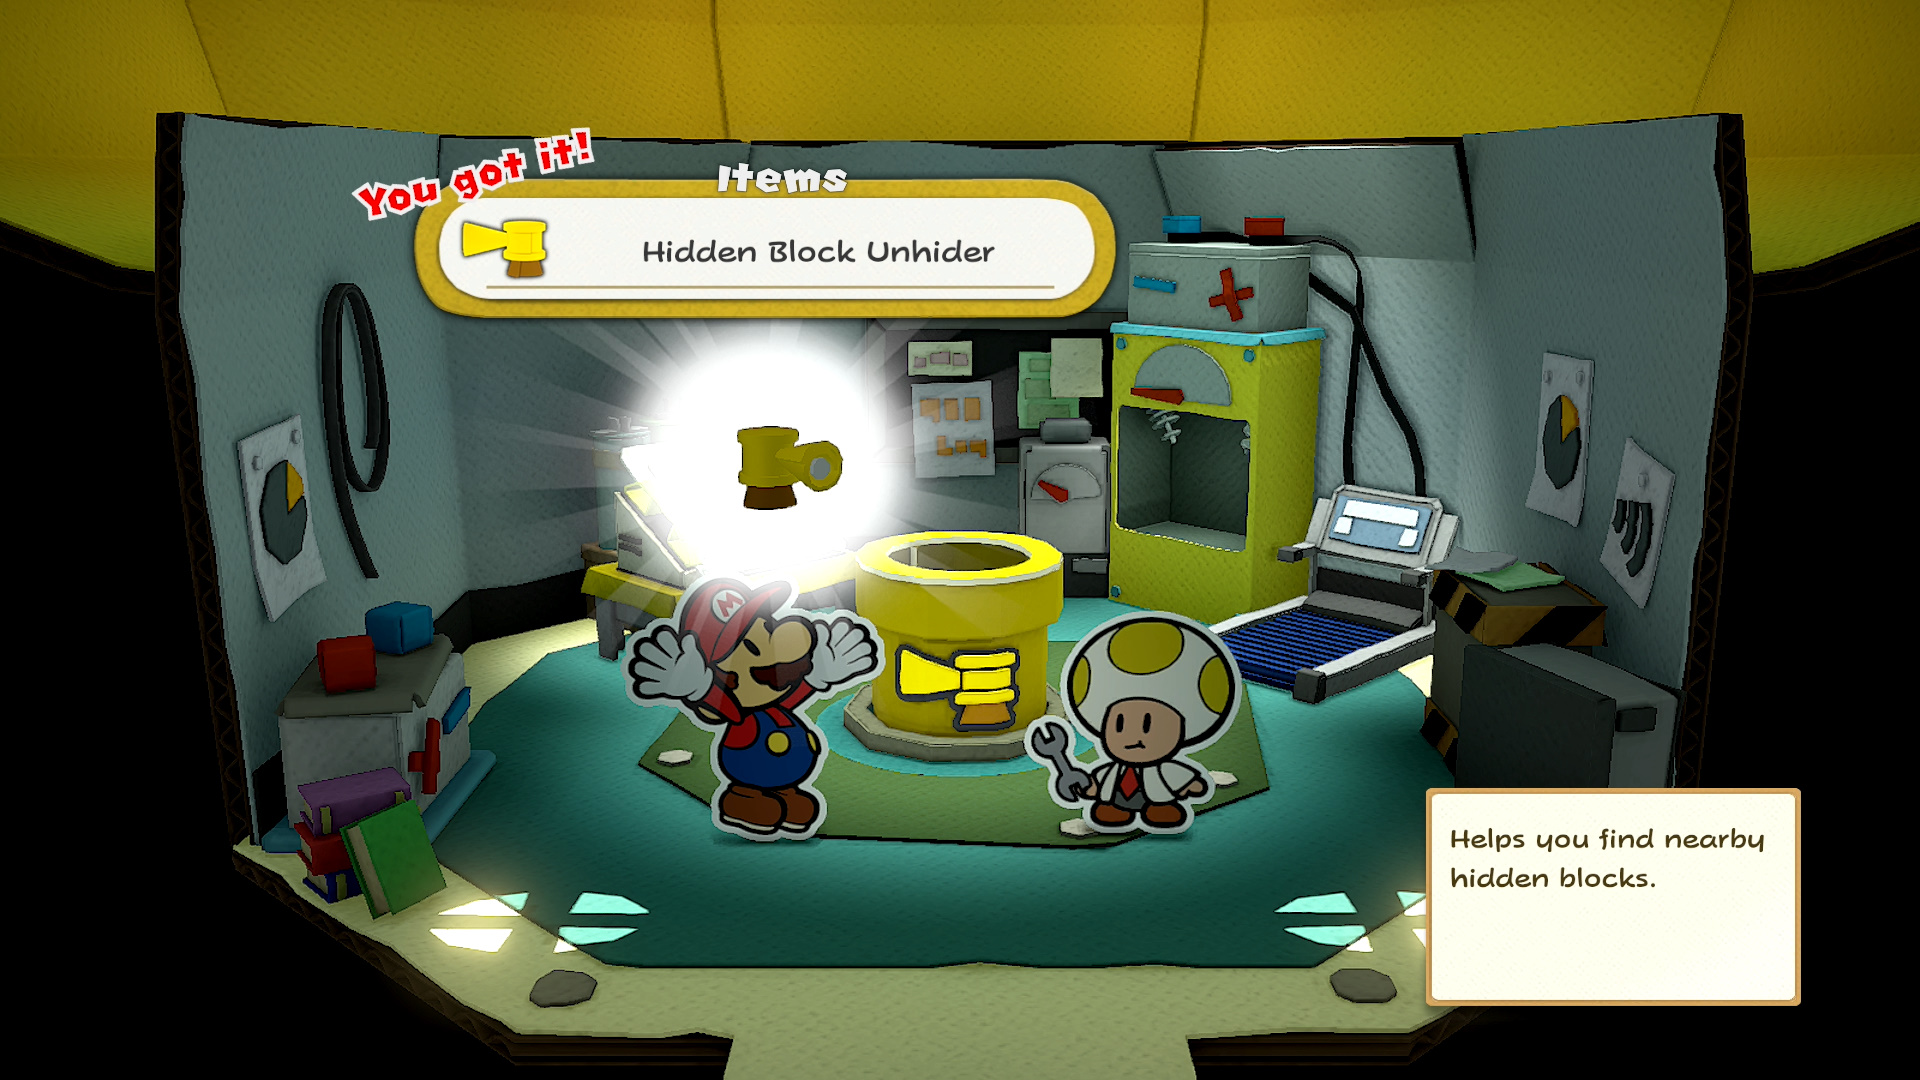
Speak to the Monty Mole on the pier to purchase the latest boss inspired collectible treasure for 798 coins. Beyond that, not much more to do in Toad Town. Head over to Picnic Road and enter the Sensor Lab to get the Hidden Block Unhider. If you haven’t already, don’t forget to take your Shriveled MAX UP Heart over to the lake in Whispering Woods to rejuvenate it.
| Paper Mario: The Origami King (Guide Hub) |
|||
| Walkthrough | |||
| Toad Locations | Not Bottomless Holes | ||
| Treasures & Trophies | Question Blocks | ||
| Accessories List | Heart Locations | ||
| Boss Guide | Unlockables and Secrets |
||