
Shogun Studios is the fifth Blue Streamer level in our Paper Mario: The Origami King Walkthrough. Our complete level guide also includes collectibles.
Just looking for collectibles? Head over to our collectibles page for simple lists and locations for every collectible, including every Toad, every Not-Bottomless Hole, every Collectible Treasure, and every Question Block.
ADVERTISEMENT


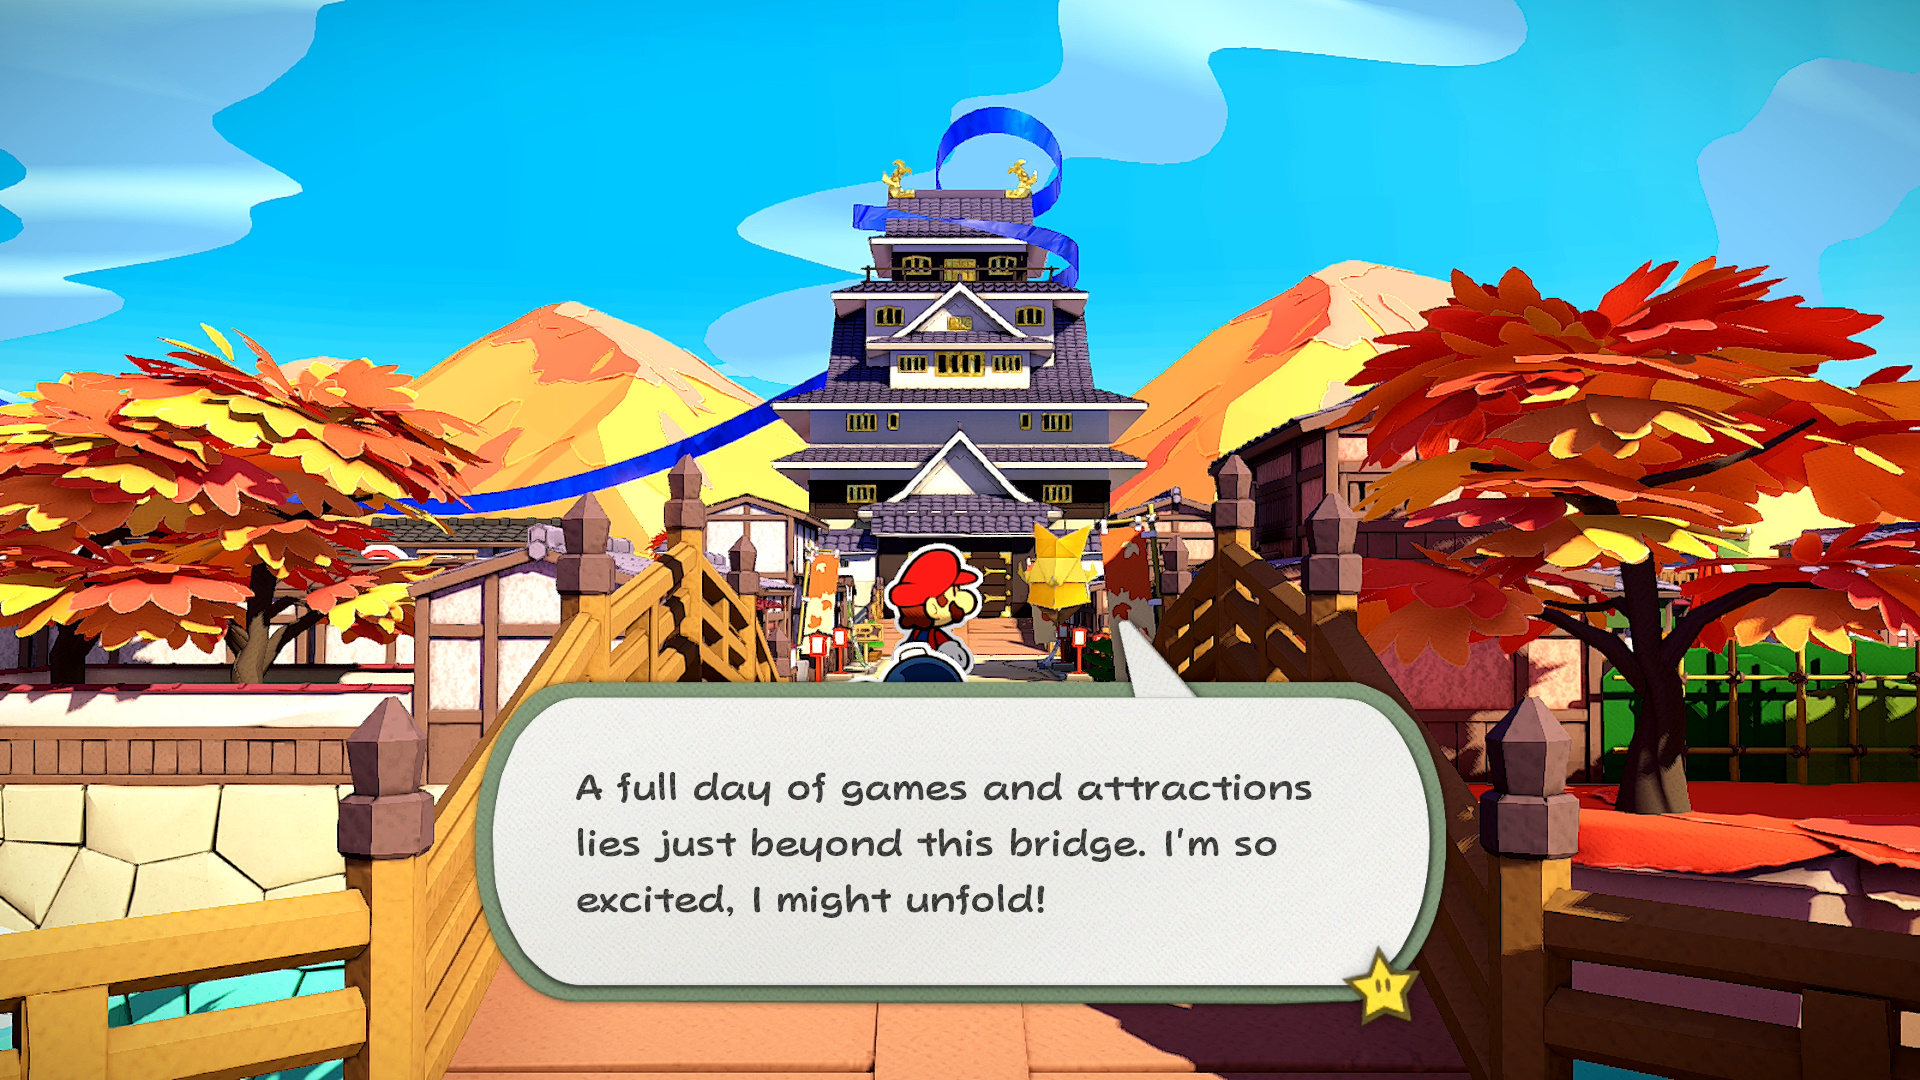
Now that you’ve paddled your way through Eddy River, walk up to the entrance to the world renowned Shogun Studios. For starters, stand between the two lanterns by the boat ride exit and jump to reveal a hidden block. There’s a Fire Hammer inside.


That heart over there? Not a heart. It’s a Toad. A red one, in fact. Whack it and he’ll ask you to meet him in Toad Town by the red brick building. Well, unclog that blue warp pipe for quick access to Toad Town’s museum if you want to go now. The Toad will be able to tell you if there are any MAX UP Hearts available for you to find. If you followed this guide, there shouldn’t be any!

To get past the entrance you’ll have to decide between a Commoner Pass and a Royalty Pass. The first pass can be purchased for 2,400 coins and only allows one entry into the park whereas the 9,800 coin pass is a lifetime pass that allows you to go in and out as many times as you like along with the removal of any pay fees for any minigames. Opening the golden chests with the Royalty Pass gets you collectible treasures.


Several shops and buildings line the quiet entrance to the park. The Souvenir Shop on the right is empty. The Info Center on the left lets you present your Entry Pass to the chest to get a single coin. If you have a Royalty Pass, you’ll get a collectible treasure. Get past the two buildings and a Geisha Goomba will pop its head out from the left and tell you to follow. Do as you’re told!

Follow it to a secret meeting made up of an older Koopa Troopa and a samurai Shy Guy. Turns out the park was taken over by, gasp! Folded Soldiers! Your mission is to take out the blue streamer to not only help this roleplaying folk but to also clear the streamer out of the river to keep that boat ride going.


Return to the main road of Shogun Studios and check out the last building before hitting the intersection. There’s a Toad disguised as a fan on the bookshelf in the back. At the intersection, you can either keep avoiding the folded Sinifit duos in the area or fight them both now and get that out of the way. There’s a map you can check on the right that’ll give you a rundown of the area.
This area is big with a lot to explore. If you’re looking for a straightforward guide to getting through, here are the essentials:
- Enter the Teahouse and pick up the Straw from the Shy Guy.
- Use the bell to wake the Paper Macho Koopa Troopa. Defeat it and learn about the hidden entrance.
- Offer the Straw to the Ninji in exchange for his Shuriken.
- Enter the staff room through the secret door within the fake bushes.
- Wake up the Dojo Master from inside the locker in the staff room.
- Give the Shuriken to the Dojo Master.
- Beat the Shuriken minigame to get the Baseball.
- Trade the Baseball for the Bone the Dry Bones are playing catch with.
- Give the Bone to Princess by placing it in her bowl.


On the left is the Accessories Toad stuck behind a wooden shed. Yank him out and he’ll move his business over to the front of the Souvenir Shop. There you can buy a Petal Bag for 5000 coins. This will turn your confetti into cherry blossom petals!


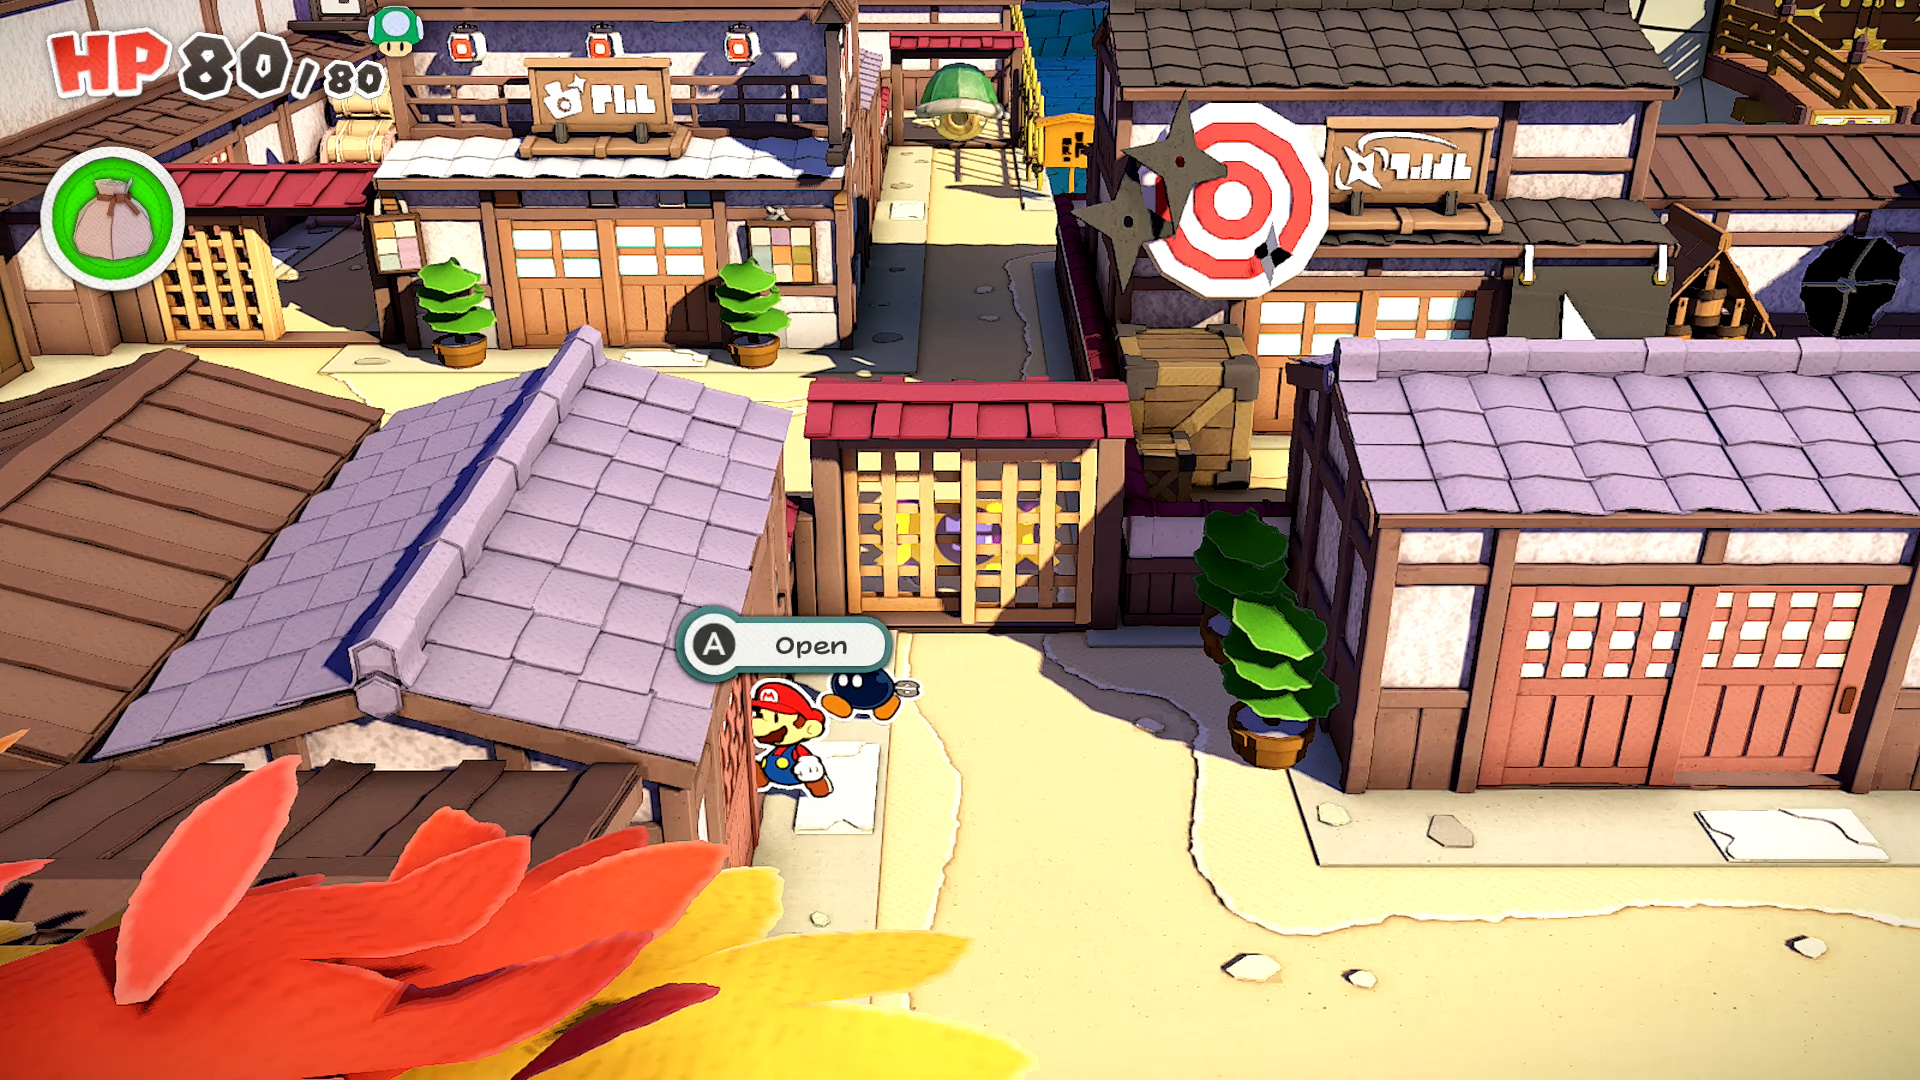
From the main intersection, take the right path. Take out the two Shy Guys guarding the door and patch up the two holes. Look at the lantern light on the right. Those are spots! Go south and patch up the two holes near the Save Block, then pop open the umbrella in the corner to reveal a Toad.


Walk inside the Teahouse and flip over the second cushion on the left to reveal a Toad. Chat it up with the Shy Guy to get his Straw. If you have a Royalty Pass, use it on the chest in the back and you’ll get a collectible treasure. Hear that music? Sound familiar? Sound… mapley?


Inside the other house is a note that tells you to find a bone for the Chain Chomp outside. You won’t be able to place anything into her dog bowl, so just unravel the dog Yellow Toad and leave this area.


For now, skip the house with three doors and go down the left path of the main intersection. There’s a hole to fill on the first building. Repair the door, head inside, and unfold the flower Toad in the right corner. In the next building, jump on the Shy Guy to quickly take it out. Whack the small drawer it was fumbling with to reveal three crinkled up Toads.

In the last building to the left, notice one of the cushions is flipped over. Smack it with your hammer to flip it and reveal a cat Toad.


Now take the north path of the main intersection. The building on the right has a Toad hiding in the clothing hanging on the right wall. Go down the path to the left to find the entrance to the Shuriken Dojo. There’s a hole on the wall and a ninja star Toad attached to the target you’ll want to grab before heading inside. Nothing to do inside so head back to the main road.


Walk up to the castle only to find a locked door and keyhole needing a very specific key. At least now we know what we’re looking for! Knock the Toad off the sign on the right and he’ll inform you that the gate key is in the staff room. Let’s finish up searching everything on the left. Walk directly to the left and enter the first house you see. Hit all the lights in the room to reveal four different Toads who just can’t.


Since you can’t get past the giant Koopa shell, go south and pull off the tape from the blocked door we tried to use earlier. Enter the Dress-Up Photo Studio and help Toad off the photo on the left wall. Outside, make sure to patch up that hole by the jail cell.


In the next pathway there’s a Toad stuck in clothing in the left room along with a chest. If you have a Royalty Pass, you’ll get a collectible treasure. A sandpit that spits out coins when hit can be found in the room on the right. The hallway itself has a hole that needs to be repaired. Use that spot to listen in to the folded Goombas on the other side. Use the wheelbarrow on the left to reach the roof. Smack the sign to fight a Goomba!


Walk along the roof and make a quick stop on the roof of the Photo Studio. Smack the sign on the right to reveal a Toad. Enter the tower and climb up to find a bell. Smack it to bring the paper Macho Koopa Troopa to life! Before you head over to it, climb all the way down and battle the two Goombas harassing the Toad. Save him, peel the tape off the door, and listen to him tell you about a hidden entrance to the staff area in the northeast corner. Not much to do in the area where the Koopa Troopa came from but you can walk to the end of the path and jump to reveal a hidden block containing a collectible treasure!


Return to the castle entrance and head down the path on the right. Rip off the tape holding back the gate, then hit the block for a 100-Coin. There’s a dragonfly Toad up ahead as well as a hole to patch up. Fight off the two Snifits, then grab another dragonfly Toad and two more holes. There’s also a hidden block above the wooden crate. Tail inside.


Enter the courtyard in the northeast section and immediately patch up the giant hole. Speak with the Ninji and trade him your Straw for Shuriken. There’s a Toad hiding as one of the lanterns up on the roof. Before doing anything major, let’s enter the room on the bottom right. Smack the sand to reveal three Toads. In the second room, hit the sand to find three folded Galoombas. It’s just a fight, so optional.


Hit the glowing lantern to reveal a magic circle. Use it to smack the other fake lantern. These dang Toads! On your way out of the area with the diving Ninjis, by jumping over the crates in the bottom left corner. While on top of the last crate, jump to reveal a hidden block holding an Ice Hammer.


Now for the hidden entrance. Leave the courtyard and walk to the right where the fake green bushes are at. On the right side is a secret door. Pop the sucker open and fill in the hole on the other side and open the chest in the left corner.


Enter the staff area to find a folded Toad on the left and the Dojo Master sleeping in the left locker. The Toad in the trash can will reveal that the keys are missing. Dang. There’s another Toad stuck in the mouth of the Goomba mask. Yank him out and he’ll let you grab the Jungle King Mask, the Goomba Mask, and the Space Warrior Mask. Definitely not Donkey Kong and Samus.


Give the Shuriken to the Dojo Master and you’ll be able to play his minigame. Beat Normal to get a Baseball and beat Expert to get the collectible treasure. When playing Normal, you have to get exactly 21 points. You can use the negative points to adjust your score if needed. Once you have the exact amount, the game will end. For Expert, you just need to get over 80 points.


Now head over to the building with three doors:
- Right Door: Whack all four crates to reveal four folded Toads. The fifth crate has a Mushroom. Break the cracked wall in the back.
- Middle Door: Locked, enter from the room on the right. Save the fish Toad, then unlock the door.
- Left Door: Has an exit to the backyard where you can trade your Baseball for the Bone from the two Dry Bones playing catch. Hit the hidden block under the flower, then use it to jump and knock the Toad down. There’s also a hidden block in the backyard floating on the left side.


Give Princess the Bone and she’ll be so happy she gives you an +20 MAX UP Heart. Not bad, not bad at all! Past Princess are two holes and tape that can be peeled off to create a shortcut with the bridge. The block near the House of Tricky Ninjas has Shiny Boots in it. And there are two more holes to repair here.


There’s a fishing spot south of the ninja house. Pay up 300 coins and look for the origami shaped fish to get that extra Toad. There’s also a collectible treasure here, just look for the golden shine of the “fish.”
Head inside the Ninja Attraction to start the next level!
| Paper Mario: The Origami King (Guide Hub) |
|||
| Walkthrough | |||
| Toad Locations | Not Bottomless Holes | ||
| Treasures & Trophies | Question Blocks | ||
| Accessories List | Heart Locations | ||
| Boss Guide | Unlockables and Secrets |
||