Overlook Mountain is the fifth Red Streamer level in our Paper Mario: The Origami King Walkthrough. Our complete level guide also includes collectibles.
ADVERTISEMENT
Just looking for collectibles? Check out our Overlook Mountain collectibles page for simple lists and locations for every collectible:
| Overlook Mountain Collectibles Guide | |||
| Toads | Holes | Treasures | Blocks |

Neat mountain. First things first, whack the sign and reveal a Toad, then fill in the nearby hole.

To your left is a chest and another Toad hiding in some tall grass. Careful, the Shy Guys are there to ambush you! There’s also a block with Iron Boots on the actual path. Make sure to equip these, you’ll want to use them against the Spiny enemies.


Reach the area with the blue roof and fill in the hole in the bench. Get on top of the blue roof and jump at the center to find a hidden block with Iron Boots. On the other side of the roof is a Toad, a hole, and a second block.


Up on the next level, watch as three grasshoppers move about the bushes. Watch their individual patterns and try to predict where they’ll land. Hit all three to rescue three Toads. There’s also a hole on the path, a block in the back with a 100-Coin, and a bug Toad crawling about.


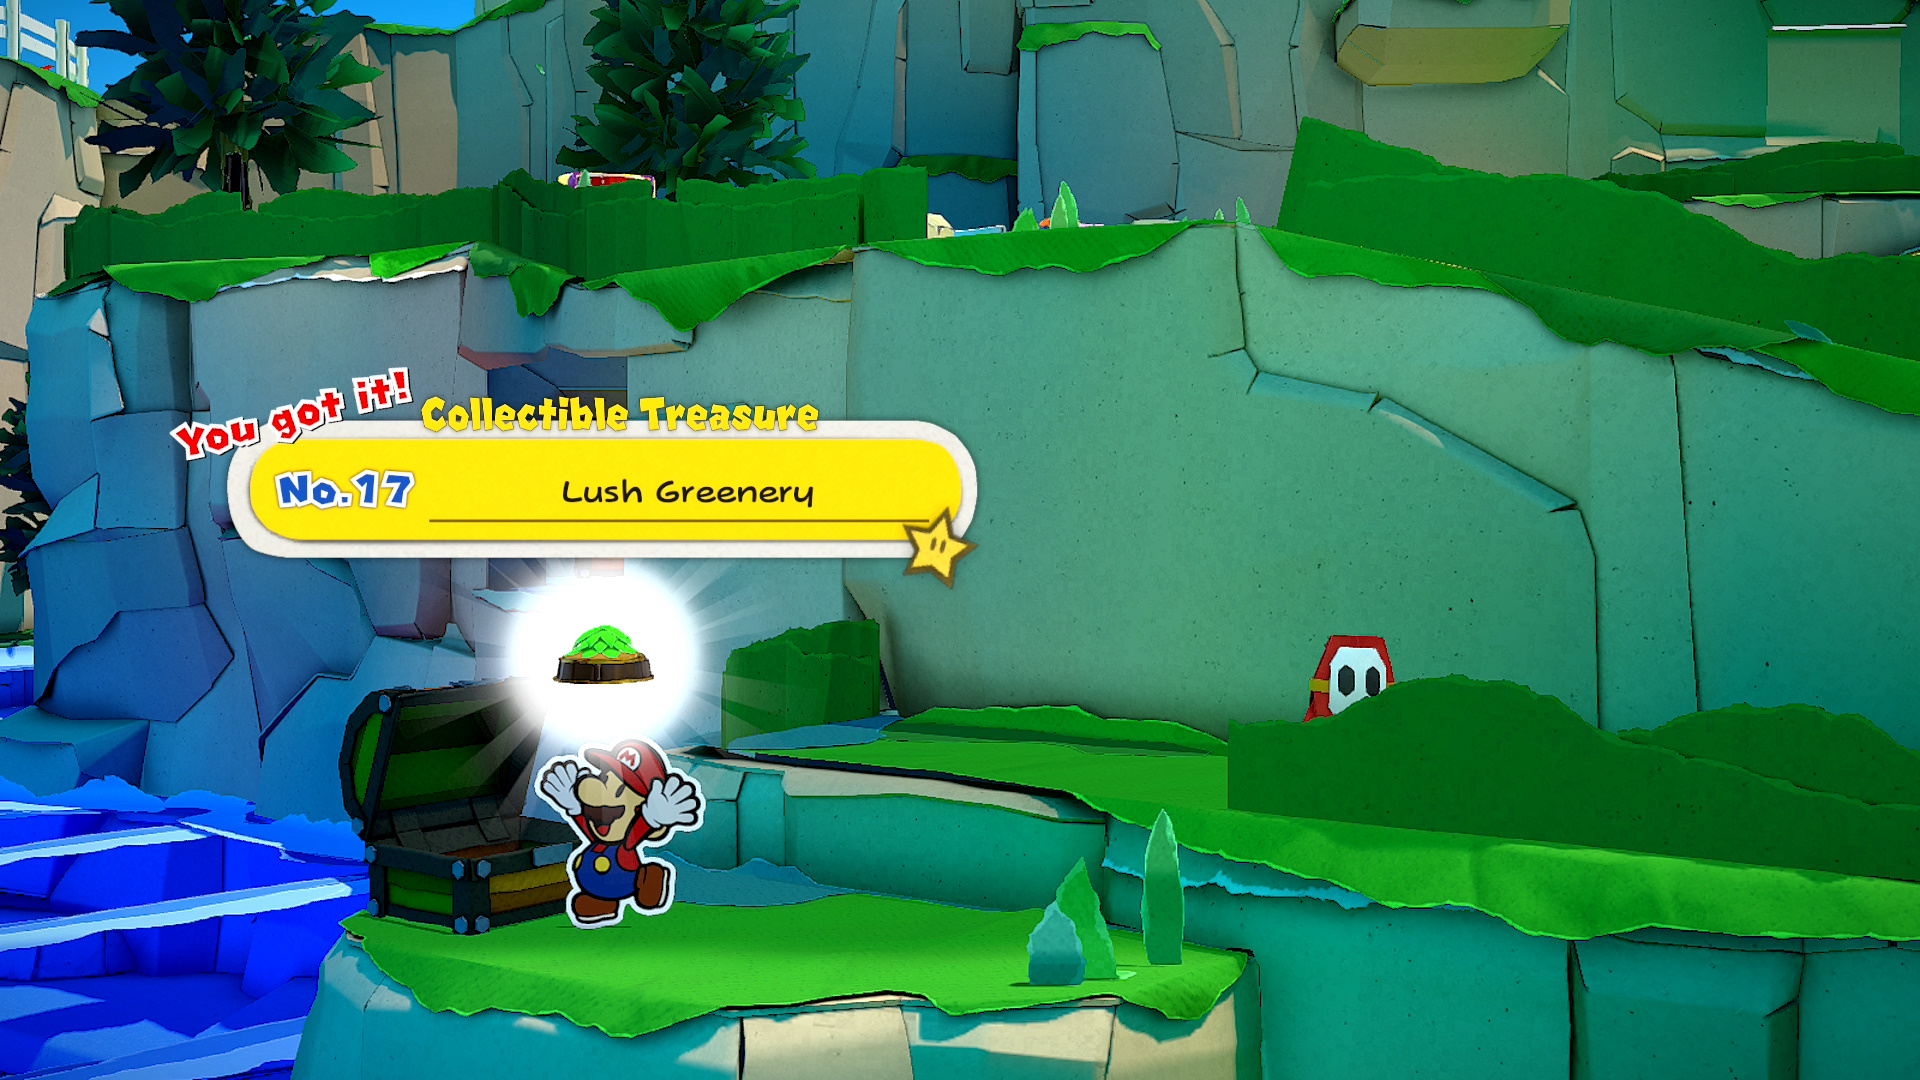
First fill in the hole on the wall to the left of the Monty Mole auction, then walk through the hidden tunnel to the left of the hole to reach a chest with a collectible treasure.

Chat it up with the Monty Mole and Koopa Troopas. It’s an auction for the Green Shell Stone. Refuse his first offer of 10,000 coins, then refuse the 5,000 offer, don’t budge for 3,000, say no to 2,000, push your luck by turning down the 1,000 offer, and turn down the measly 500 coin offer. When he offers it for 300 coins, you can still say no but this will prompt the Koopa Troopas to purchase the stone. Speak with the Koopa Troopas and they’ll charge you 1,500 coins for the stone without budging on the price.


Up ahead is a red warp pipe, specifically a pipe that leads to the warp pipe room in the museum. Use this pipe along with the other numbered pipes to quickly get back to Toad Town. You gotta unclog the pipes first though. The rock near the pipe hides a Toad while the tree on the left is missing a chunk and needs to be filled in. Another Toad and hole can be found on a ledge behind the bushes between the nearby trees. And there’s an obvious hole here too.

Step onto the bridge to summon a Paper Macho Goomba. You can’t get around it so you’ll have to let it charge towards you before you hop off the bridge. As it’s walking back, whack the weak spot and take care of it like you did the rest in Toad Town.


Across the bridge, make sure to repair both holes in view. The hole around the cliff will also get you a Toad. Walk up the path and save at the Save Block. Attack and fight off the Goomba hiding in the pushes, then use the magic circle it drops to pull back the fake cliff wall revealing a Dry Bones holding the Yellow Shell Stone.


First things first, patch up that hole on the steps to the right of the Save Block. Follow that path and pluck out all five Toads from the ground. That’s not all! Follow the path behind the white fence and patch up the hole so you can get the block with a 100-Coin in it. Follow this path through a hidden tunnel to get to a chest and another hole.


Speak with the Koopa Troopa at the pier and he’ll teach you how to fish. Your goal is to grab onto the folded Cheep Cheep. Once you do a battle will start. With three moves, you’ll first want to slide the two Cheep Cheep in one lane down one, then use the other two moves to shift the rings of the other Cheep Cheep to fall into a single line. Once defeated, the very considerate Cheep Cheep will leave behind a Blue Shell Stone.


Look out for an origami shaped Toad to fish out as well. If you see a Cheep Cheep with a golden shine to it, catch it to find out it’s actually a collectible treasure.


Return to the main path and attempt to go through the log spear path. Yeah, I say attempt because several giant Thwomps come crashing down and you’ll have to quickly backtrack to stay alive. And then bam! A Super Star appears above the tree. Knock it down, grab the star, and use your invincibility to knock out all the Thwomps. Use your temporary powers to take out the nearby Spiny enemies too!


When you reach the top, take a left to fill in the hole in the wall to get to the crumpled Toad at the end of the path. A second hole in the wall can be found on the main path. And yup, there’s a third hole too, this time at the end of the path and below a block.


Walk up to the mountain tramway and chat with the slightly irked Green Toad. Fill in the hole near the sign, then smack the block on the ground in front of the stairs. Walk behind the steps to enter an area where you can find a stack of ten Toads. Just pull them apart and set them free! There’s a big ol’ hole in the wall as you reach the top of the mountain. Make sure to pass it first so you don’t get ambushed by the three Spiny enemies dropping in from above.

The tower at the top of the mountain is uh, lifted up a bit too high for some reason. There’s a green magic circle here that’s connected somehow to the Earth Vellumental, so let’s take the path down the mountain and continue looking for that last stone. Before you leave, hit the back of the sign to reveal a crumpled Toad.


Before you head into the sports park with the two Shy Guys, take a right and follow the path to a block holding a Coin Bag. Keep an eye on the Shy Guy that tries to follow you down there. There’s a grasshopper Toad hiding behind the farthest bush just before the path to the block. Also, look for an opening in the white fence along the edge of the cliff. Drop down to find a block on a ledge. Contains a Toad!


At the sports park, stand in the middle of the green circle to put an end to the mean little game the Shy Guys are playing at the expense of the crumpled Toad. They aren’t too enthused you rescued the Toad so get ready for a fight. With the area cleared up, avoid the green pipe for now and follow the path. Three giant Paper Macho Shy Guys are playing keep away with the last Shell Stone. Before engaging, walk through the hole in the white fence on the south end to find a chest.


To get the stone, stand between the Paper Macho Shy Guys and try to stop the stone as they pass it to one another. Staying the middle won’t get you anywhere and getting too close will make it easier for them to pass it. Try to find that sweet middle ground! Once the stone is in your hands, the Shy Guys will charge at you. Slip out of the way, then whack their weak spots as they slowly retreat back to their positions. Now it’s just a few whacks of the hammer to take them all out. You get to rescue three Toads as a result.

Now you can take that green pipe over to the Vellumental Temple. Slap all four Shell Stones into the front of the temple entrance to unlock and open the door. Now head into the Earth Vellumental Temple!
Use the links below to jump to different sections of our guide.
| Paper Mario: The Origami King (Guide Hub) |
|||
| Walkthrough | |||
| Toad Locations | Not Bottomless Holes | ||
| Treasures & Trophies | Question Blocks | ||
| Accessories List | Heart Locations | ||
| Boss Guide | Unlockables & Secrets |
||