
Bowser’s Castle is the fifth Green Streamer level in our Paper Mario: The Origami King Walkthrough. Our complete level guide also includes collectibles.
Just looking for collectibles? Head over to our collectibles page for simple lists and locations for every collectible, including every Toad, every Not-Bottomless Hole, every Collectible Treasure, and every Question Block.
ADVERTISEMENT


With all five spas visited and the Boss Sumo Bro in Shangri-Spa defeated, head inside the doors of Bowser’s Castle. Walk through the first hallway and enter the daunting double doors.

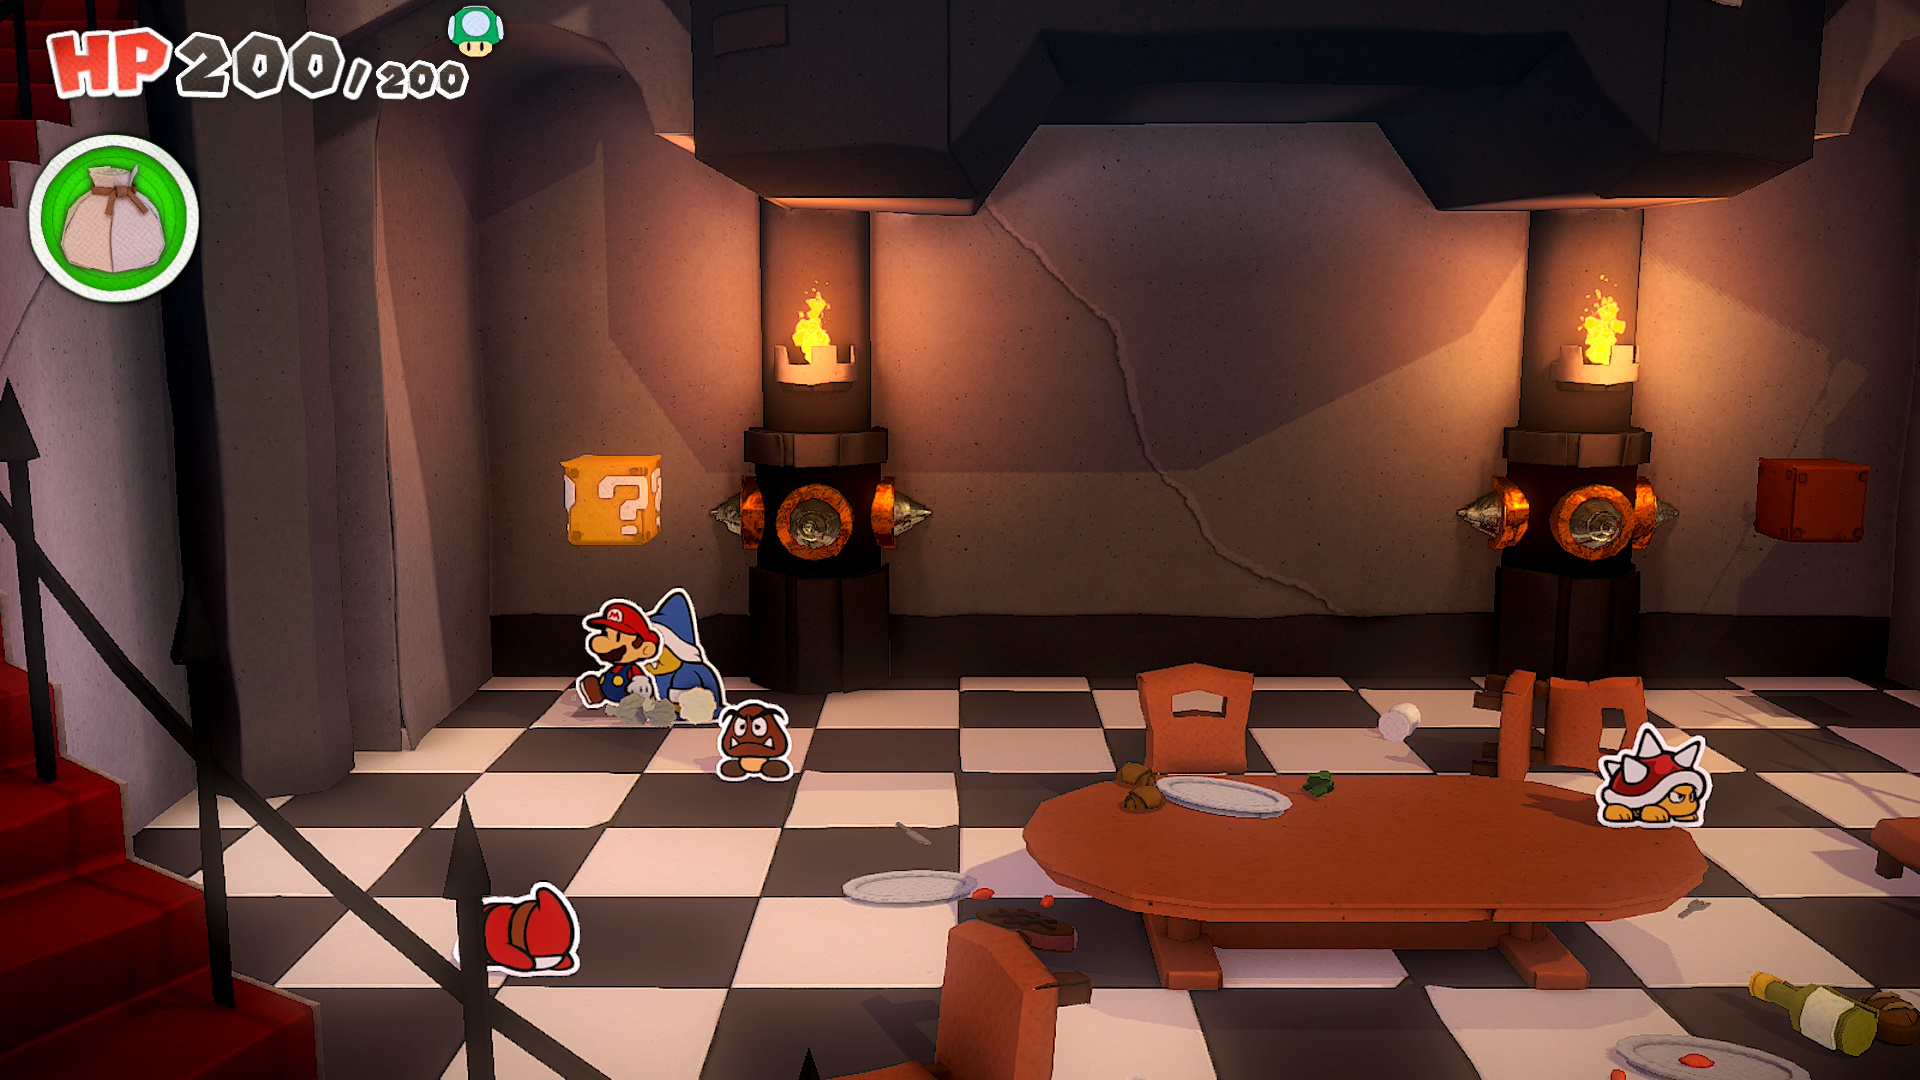
The dining room! It’s full of folded soldiers feasting on food that isn’t theirs! A few text messages later and the normal lot of Bowser’s minions will storm the castle and start a full on brawl. Now is your chance to go up the stairs and follow Bowser Jr!

Before you do that, lots of things to collect! In the main room, you can whack folded enemies to get rid of them and help your paper allies. A lot of them will even reward you with a Coin Bag. Remember, if you accidentally get into a fight in this room, you only have to defeat the folded soldiers! Any regular paper “enemies” can be ignored.


There’s a block containing a Legendary Hammer on the right side, along with a hole in the wall. Another block with Legendary Boots can be found on the left side. The doors are inaccessible at the moment, so head up the stairs.
On the second level, fight through or pass the enemies fighting near the single table and fill in the two holes in the back. There’s a block with a Flashy Mushroom on the right, but there’s also a hidden block on the left side with Legendary Iron Boots.


Continue going upstairs. Take the stairs on the left so you can fill in the giant hole. There’s another hole to the left of the doors Bowser Jr is banging on. Speak to him to find out the door is locked. Time to get Kamek’s spare key! Exit through the stairs on the right and patch up the hole on the right wall.


Make it back to the main floor of the dining hall and enter the door on the right. There’s a hole underneath the middle painting. Walk over to the right and Kamek will use his magic wand to remove the rubble.


Walk past the statues and fallen pillars and look for a hole to fill on the left. Fill it up, then hit the block to find Legendary Iron Boots. The nearby pillar with the Confetti Bag nearby has a hole on it. Another hole on the left wall!
Reach Kamek at the end of the hallway and watch him vaporize the next set of rubble. Three holes in this area! One on the broken pillar, one on the painting, and one on the floor. Head inside the next door.


There are five rooms in this hallway. Goomba’s room, Koopa’s room, Kamek’s room, Hammer Bro’s room, and Spike’s room. Before you head into Kamek’s room, let’s check out the other four first
- Goomba’s quarters: Hole on the right side and a Flashy Mushroom behind the three crates.
- Koopa’s quarters: Chest on the bed with a collectible treasure. Watch out for the folded Goomba hiding behind it!
- Hammer Bro’s quarters: Patch up the hole on the door. There’s a hidden block floating in the air between the chair and the crate. Shiny Hurlhammer inside.
- Spike’s quarters: Patch up the hole on the door. Walk behind the chest to find a collectible treasure. If you open the chest you’ll have to fight a folded Spike!


Now it’s time to enter Kamek’s room. Look through the window to see a worried Luigi on the other side. Whack the spot where Kamek’s door should be several times to reveal a magic circle. Use it to pull back the wall hiding the door. Once inside, get the Key to Bowser’s Castle from Luigi and return to Olivia out in the hallway.


After Olivia’s disappearance, return to the previous room with all the rubble to get ambushed by… Bug Cutout Soldiers?? Creepy. These guys don’t do anything vastly different from other enemies so you shouldn’t have to worry about fighting them. There are more of them throughout the room, including Li’l Cutout Soldiers who come joined by the hands in the battle arena. You can’t slide them when they’re in formation but you can twist them so that they fold into one single panel. Don’t worry about defeating them all, just get to the next room!


The dining hall is empty. Spooky. The door on the left is open but you can’t complete that room until the green streamer is gone. So up the stairs you go! Ah yes, another ambush. More Li’l Cutout Soldiers, and it’s a wave battle too. For the first wave, fold them into a single jump line. While the second wave may seem impossible, take note that you can infinitely twist rings and the folded cutouts will follow. If you do this enough, you can eventually line all three of them along the line with the single cutout.


With that finished, head upstairs. Grab the Shiny Mushroom off the table and save at the Save Block. Use your newly found key to open the door, then head down the hallway. Cut up pieces of paper enemies line the floor. As you get closer to the end, a giant cutout hand will grab you and start a boss battle!


Handaconda. That’s it’s name. Magic circles won’t work right now! Even though they are activated, Olivia is captured and you won’t be able to use her powers. Avoid the magic circle panels! You’ll have to rely on the battle panels instead.

The distance of where you attack from is important! Selecting a path to a battle panel on the innermost ring will cause Handaconda to flick it off the arena. Using a battle panel on the two outermost rings will allow you to attack with a jump attack but Handaconda will have the time to counter it. The ideal ring to use is the second innermost ring. That means not the one closest to Handaconda but the one second closest. Make sure the battle panel is placed on this ring and use a hammer attack to deal damage. Jump attacks will still be countered!


Deal enough damage to set Olivia free! Magic circles are back on the table! Er, until they’re changed into signs for rock, paper, and scissors. The game changes here and you’ll have to pick one of the three panels at random. You can get a hint of the move Handaconda will use by watching its movements while you set your path during your turn. Don’t rely on this too heavily as Handaconda won’t stay committed to a move forever and may change to another hand if you take too long.


If you lose, Handaconda will attack. If you tie, Handaconda’s hand will grow and deal additional damage. Not that it matters in the end but rock beats scissor, scissor beats paper, and paper beats rock.

If you win, you’ll be able to use your 1,000-Fold Arms to do a series of bash attacks. Take note, the closer you are to Handaconda, the more damage you do. On the flipside, you’ll have less reaction time when it comes to blocking attacks. You should be able to finish Handaconda with two solid 1,000-Fold Arm attacks.


Walk through the next set of doors and grab the Healing Heart to restore your health. There’s also a Save Block! Enter the next door to find the throne room and folded Bowser strapped to another clothespin near the chair. Approach Bowser who will quickly warn you and save your life (!!) as Scissors, the Duel-Bladed Duelist, comes swooping down to slice you in two.


A Paper macho Buzzy Beetle made of… paper enemy parts, will drop down into a newly formed arena. The beast will use several attacks and some you can use against it to deplete itself of paper. The first is a Dry Bones head that chases you around the arena. Once it drops down to your level, turn around and whack it with your hammer. A second and larger Dry Bones head can be defeated once it stops moving.


Watch out for the Kamek-like magic attack too. In fact, after taking out a decent amount of Dry Bones heads, the Paper Macho Buzzy Beetle will charge up a powerful spell. Head to the back of the arena and move when the attack is launched in your direction. While the Buzzy Beetle is dazed, walk over to the Kamek cutout and try to rip it off.

You’ll get some of it off, but not enough. Do it again, this time dodging two magic spell attacks. Do it a third and dodge three spell attacks, then a fourth time. With Kamek off, it’s just a normal Paper Macho Buzzy Beetle. Let it bounce its shell around the arena, then whack the sticker off its underside when it falls over. From there, repeat the process two more times but whack it anywhere to finally destroy it.


Grab the Healing Heart and head up the stairs to face off against Scissors! To make it a fair fight, according to the boss itself, a sheath if placed on the blades of Scissors. If you attack the sheath, Scissors will take that as a direct challenge and… well, it won’t end nicely for you.


When Scissors is standing upright with its blades towards the ground, use jump attacks to only hit the actual scissors, the green part. Do not use your hammer! If he flips over and has his blades in the air, use hammer attacks to attack the green section again. No jumping!

Whatever you do, don’t activate the magic circle to use your 1,000-Fold Arms. This will attack both parts of Scissors and destroy the sheath. Once that irreversible moment happens, Scissors will remove all the magic circles in the arena and prepare his ultimate attack. Getting hit by this attack is an instant kill, but it’s possible to avoid it by jumping at the exact moment you are about to get sliced. If you jump too early, you still get a chance to jump one more time during the right moment! Either way, you’ll have to fight Scissors in this manner eventually. If you successfully avoid destroying the sheath, Scissors will remove it once you leave it at around half of its health. Now you’ll continue to fight Scissors but you’ll have to dodge the extremely powerful attack for every round you don’t defeat it.

Continue using your attacks to bring its health down and make sure you’re passing over the chests to bring back the magic circles and On panels. Once Scissors has a little past a third of its health left, activate an Ice Vellumental magic circle to freeze and damage it.


In the next turn it’ll still be frozen, giving you the perfect opportunity to use the 1,000-Fold Arms via a magic circle. Lift the chunk of ice to smash, leaving Scissors dazed and allowing you to smash all its health away.


After Scissors is destroyed, hop over to the magic circle to destroy the green streamer. Peach’s Castle is now free and Bowser is here to help you get there. After you yank him down, of course. Head back to the dining room and enter the door on the left.

Inside the artillery room are nine pillars with Buzzy Beetle statues on top. Whack the red light on the left to activate a laser. Your job is get the laser to shine onto the Bowser panel to the right of the door by hitting the pillars to twist them. Ultimately you’ll want to go for a “S” formation and you can use our image above to see what that looks like. This will only work if the green streamer has been destroyed as it blocks the final laser!


With the next door open, head inside and go to the right to find the Shy Guy that saved you from Peach’s Castle waaaay at the beginning of the game. Open the treasure chest for a collectible treasure and climb the crates to find a block with a Coin Bag inside.


Walk over to the left and hit the red light to reveal Bowser’s massive airship! After a short introduction to the crew, save at the Save Block and board the airship.


As you journey through the sky, an army of origami planes will arrive. Bowser will set you up at the ship’s cannon where you’ll be able to aim and shoot them down as they approach.


Using Bob-ombs as ammunition, move the cursor over any incoming planes and shoot them down before they can reach you. Try to attack the ones that arrive first. They’ll be the first ones to reach you so simply follow their order of arrival. When the large ship arrives, focus your repeated attacks on it only stopping to shoot the small planes it drops.


Eventually a giant plane will crash into the side of the airship causing it to crash into the volcano, leaving you in Hotfoot Crater.
| Paper Mario: The Origami King (Guide Hub) |
|||
| Walkthrough | |||
| Toad Locations | Not Bottomless Holes | ||
| Treasures & Trophies | Question Blocks | ||
| Accessories List | Heart Locations | ||
| Boss Guide | Unlockables and Secrets |
||