Bonehead Island is the second Purple Streamer level in our Paper Mario: The Origami King Walkthrough. Our complete level guide also includes collectibles.
ADVERTISEMENT
Just looking for collectibles? Check out our Bonehead Island collectibles page for simple lists and locations for every collectible:
| Bonehead Island Collectibles Guide | |||
| Toads | Holes | Treasures | Blocks |


In order to gain access to Bonehead Island, you’ll have to have completed the Temple of Shrooms and rescued Captain T. Ode. Return to Toad Town and enter the museum. Captain T. Ode will already be at the Super Marino in the main lobby and it won’t be long before it’s transported over to the pier. In exchange you’ll get the Sea Chart! From here you can hop onto the ship sail through the foggy waters of The Great Sea.


Once you reach Bonehead Island by sailing to quadrant F5 in The Great Sea, hop off the boat and onto the pier. Right from the start there are four holes to fill in. Do so, then chat with the Accessories Snifit Merchant for a chance to purchase the Gold Time Plus for 4,999 coins or the Coin Step Counter for 14,000 coins. Grab the Fire Flower on top of the unlit campfire too.


Walk up the steps on the right and head towards the block off in the distance. Once around the corner, hit it to get a Shiny Ice Flower, then fill in the hole to find a coffee shop. All the way out here! This must be the undead version as it features two Dry Bones and a Bone Goomba. Order the Morbid Mocha for 100 coins for a full heal.

Back outside, walk up the steps and head inside the hole in the skull. There’s a barrel in the corner of the room inside. If you whack it, you’ll have to fight a Goomba. Take note of the fire pillars in this room, particularly that the third from the left pillar is the only one lit. With nothing left to do in this area, exit where you came from.
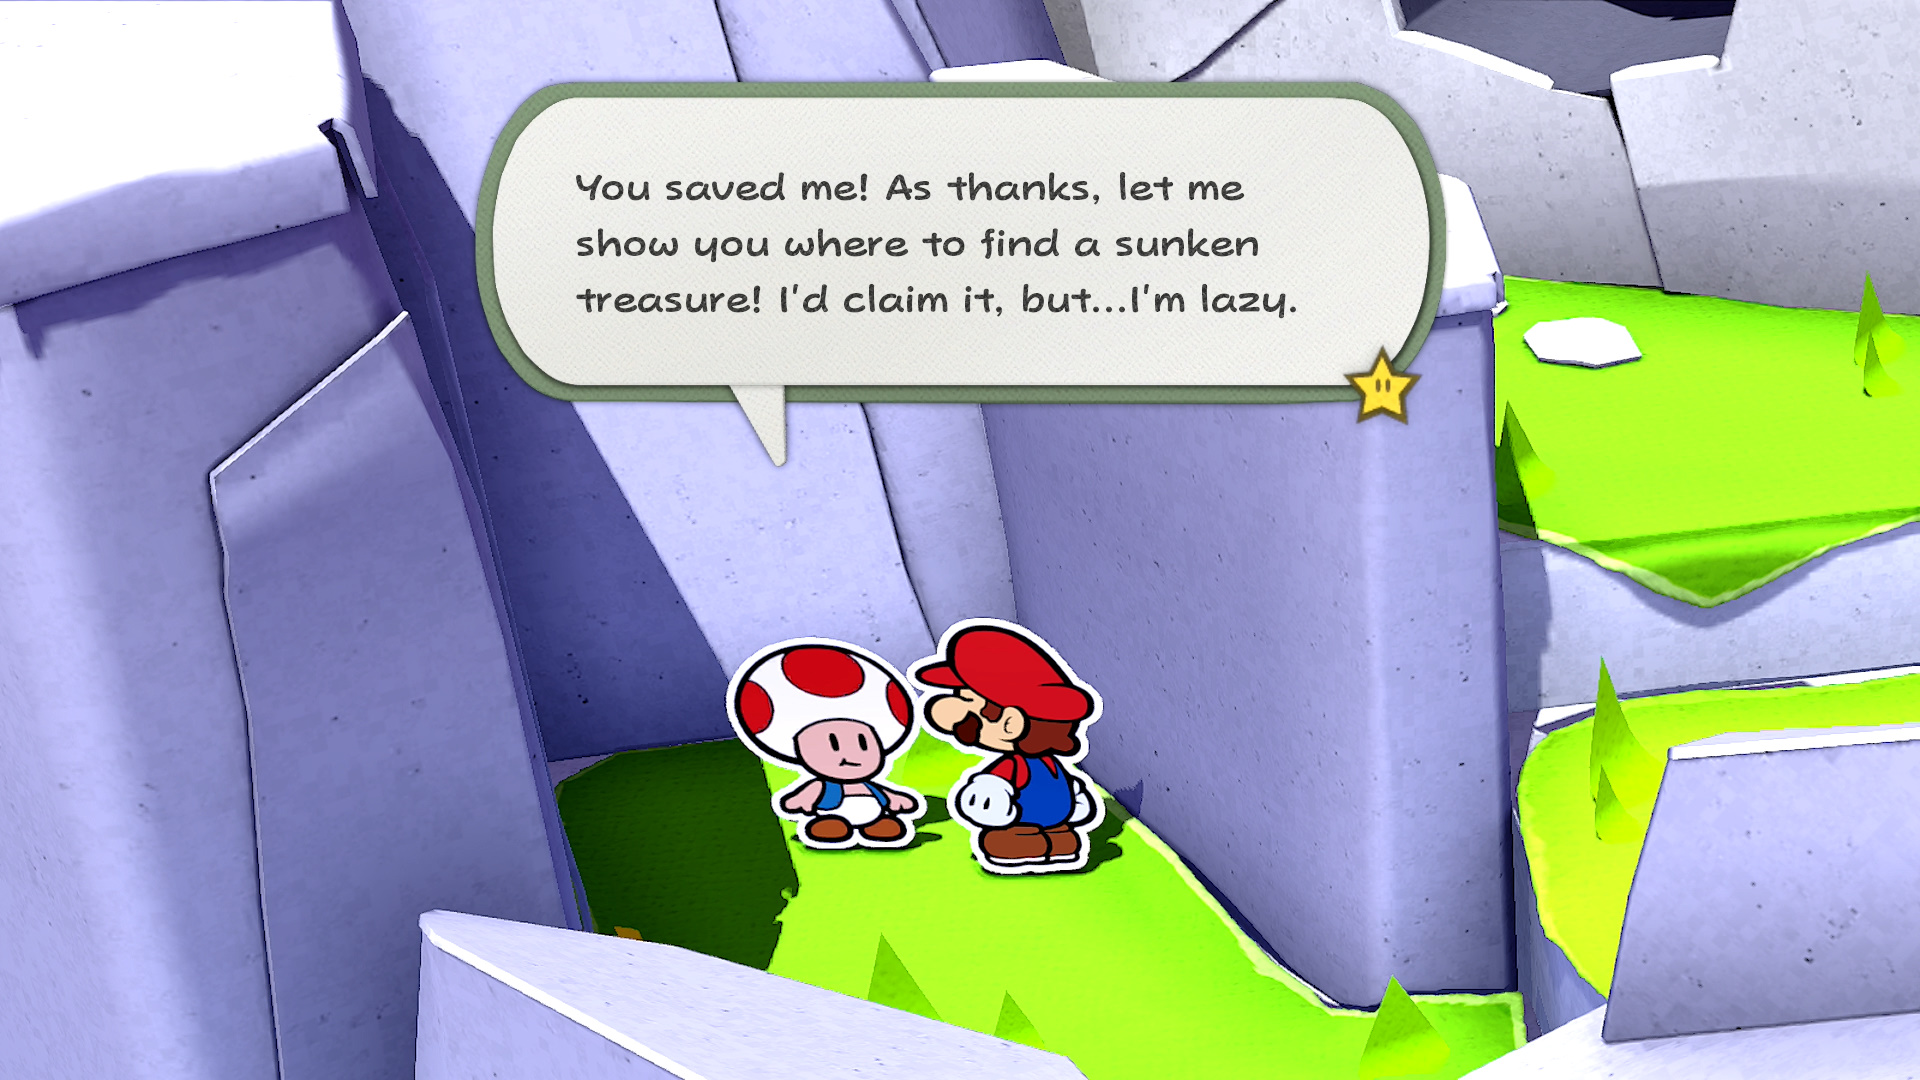
Walk around the ledge lining the skull to get to the left side of the island. On the left is a small alcove with a crumpled Toad. Smack him and he’ll draw out a treasure marking on your map. From there, enter the hole on the left side of the skull.

Inside is another barrel in the corner of the room inside. If you whack it, you’ll have to fight the Bone Goomba. Smack the fire pillars to activate and deactivate them. This room should be the opposite of the room you saw previously. That means the first, second, and fourth pillars from the left should all be lit.


Once that’s done, a switch will appear in the center room. Break down the wall and whack the switch to open the skull door. Go upstairs and open the chest to find a collectible treasure, now exit through the next door.


Now at the top of the skull, walk forward to slide down into the nose of the skull. Hit the winged Toad statue with your hammer and read the plate in front of it. Apparently you need to find three orbs on Diamond Island.


As soon as you’re done reading, a gigantic fan will appear in the background and clear out all the fog. The fan makes its grand return!

Return to your boat and you’ll get a notification that a new part for your ship is available at the dock. Once there, speak to the Toad with the Monty Moles and he’ll sell you an engine for 5,000 coins that doubles the speed of the boat.
With everything on Bonehead Island complete, return to The Great Sea. If you’re following our guide order, head to Heart Island next.
Use the links below to jump to different sections of our guide.
| Paper Mario: The Origami King (Guide Hub) |
|||
| Walkthrough | |||
| Toad Locations | Not Bottomless Holes | ||
| Treasures & Trophies | Question Blocks | ||
| Accessories List | Heart Locations | ||
| Boss Guide | Unlockables & Secrets |
||