Big Sho’ Theater is the seventh Blue Streamer level in our Paper Mario: The Origami King Walkthrough. Our complete level guide also includes collectibles.
ADVERTISEMENT
Just looking for collectibles? Check out our Big Sho’ Theater collectibles page for simple lists and locations for every collectible:
| Big Sho’ Theater Collectibles Guide | |||
| Toads | – | Treasures | – |


Once you obtain the Master Key in Shogun Studios and use the Goomba Mask to get past the horde of enemies in front, you’ll be inside the Big Sho’ Theater.


Reading the posters on the red entrance room reveals the theater has four floors, each with a different type of show. Save at the Save Block and head for the big read doors. Listen to the announcement, then head inside. Although we don’t see their faces, the entire place is packed with Toads occupying almost the entire theater. Lots of rope too. Sit in the three seats in the front row to get the show started.

Yeah, they’re all tied up. The show will begin and a Paper Macho Goomba wearing an appropriate cowboy hat shows up. With the spotlight on you, save at the conveniently placed Save Block and hop on stage. No weak points or hammers, just a quick draw duel. Only hit A once you see the words Fire on screen. You’ll see a Shy Guy pop out of the saloon door in the center with a sign that reads Fire.


Start walking away and a cowboy hat wearing Paper Macho Spike appears. Same deal! This time the word Fire will appear on the left side when the sign above the door slides to the left. And now a Paper Macho Snifit. After the tumbleweed passes from the right to the left, watch the sign on the left fall over to reveal the Fire you’re looking for. Be mindful of the fake outs.


Before heading back to your seat, walk to the right of the stage to find a Green Toad that’s been recast as a cactus. Walk to the left of the stage to find a treasure chest.


After the theater rolls up to level two as if it were an elevator, watch as Birdo takes center stage. She’ll invite you on stage and you’ll have to dodge the Paper Macho Koopa Troopas while they spin across the stage in their shells. Stay in the center of the stage so you have an equal view to see when a shell appears. The goal here is to jump on an incoming shell, then whack it with your hammer to shatter it. Every so often Birdo will drop down a heart.


In the next phase you’ll be up against both Koopa Troopas wearing the sunglasses. After moving for a bit, they’ll stop and give you a chance to bounce and whack them. Do this to each Koopa Troopa twice to defeat them. And with that, wrap up your scene with Birdo and take your seat once again. If you’re low on health, go to the left of the stage to find a Heart.


And now for the third performance! Ah yes, a Shy Guy ballet, the natural next performance. Step up to the invitation and perform a majestic routine with the center Shy Guy. Right up until you end up bursting the Shy Guy into confetti. Fight time! Shy Gus will pour in from every angle, dancing to their routines and damaging you by eight points if you make contact. Keep your distance but get close enough to dissipate them with your hammer as they swing by. Once enough are defeated, grab the heart on the right side of the stage and take your seat one more time.


After the curtain call on the fourth floor, Mario will be called up to take a bow of his own. While on stage, the elastic entertainer known as Rubber Band will appear. It’s boss time!

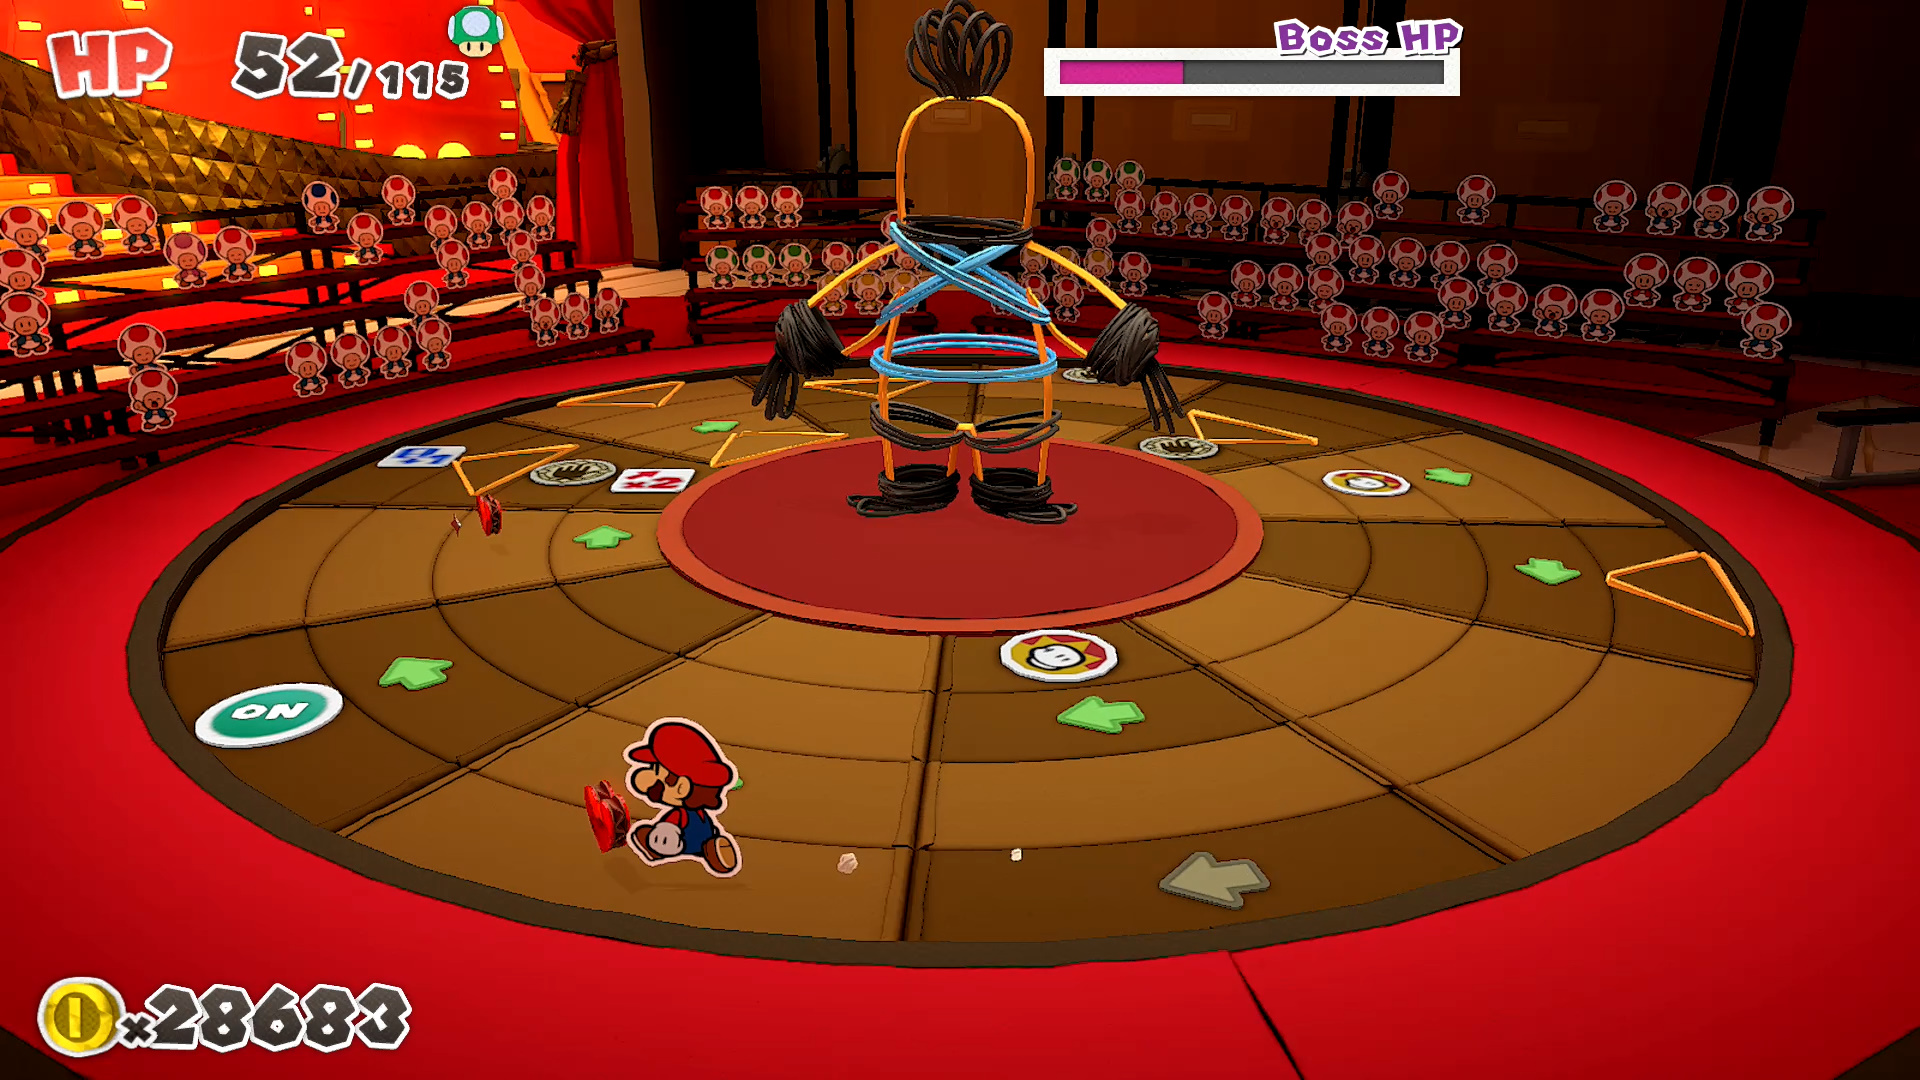
Rubber bands get thrown on the arena, some of which will wipe out already placed panels. Touching these bands will force you in the direction they are pointing at but for that one spot. You’ll continue moving in the direction you were heading previously. Any rubber bands left after the turn is over will return to Rubber Band and heal him a little bit so make sure to pass over as many as you can!


Rubber Band’s standard attack is Rubber Bind where it spins three rubber bands your way rodeo style. If you don’t block each attack, the rubber band will get stuck on you, allowing Rubber Band to do a second more powerful attack known as Trapped Snapback.


Your standard attacks like your Boots and Hammer actually do a lot of damage, the problem is the rubber bands that fall off will rejoin the main body and heal its health. As you plan your route, try to pass over as many rubber bands as you can. Try to avoid standard attacks as well.

When you get the chance, activate and use the magic circle to grab and pull onto a chunk of Rubber Band, then let go and have it smack itself for a powerful attack. The closer you are, the more rubber bands you can grab! The rubber bands lost from this attack do not return.


Once you reduce Rubber Band’s health to the bare (ha!) minimum, the seemingly weak boss will strike back with an attack that can do over 50 damage. Now go for the 1000-Fold Arms one more time but be careful as Rubber Band will sway from side to side and even attack while it dodges your grabs. Once it pauses, grab it, smash it on the floor a couple of times, then pull back and fling it against the wall.
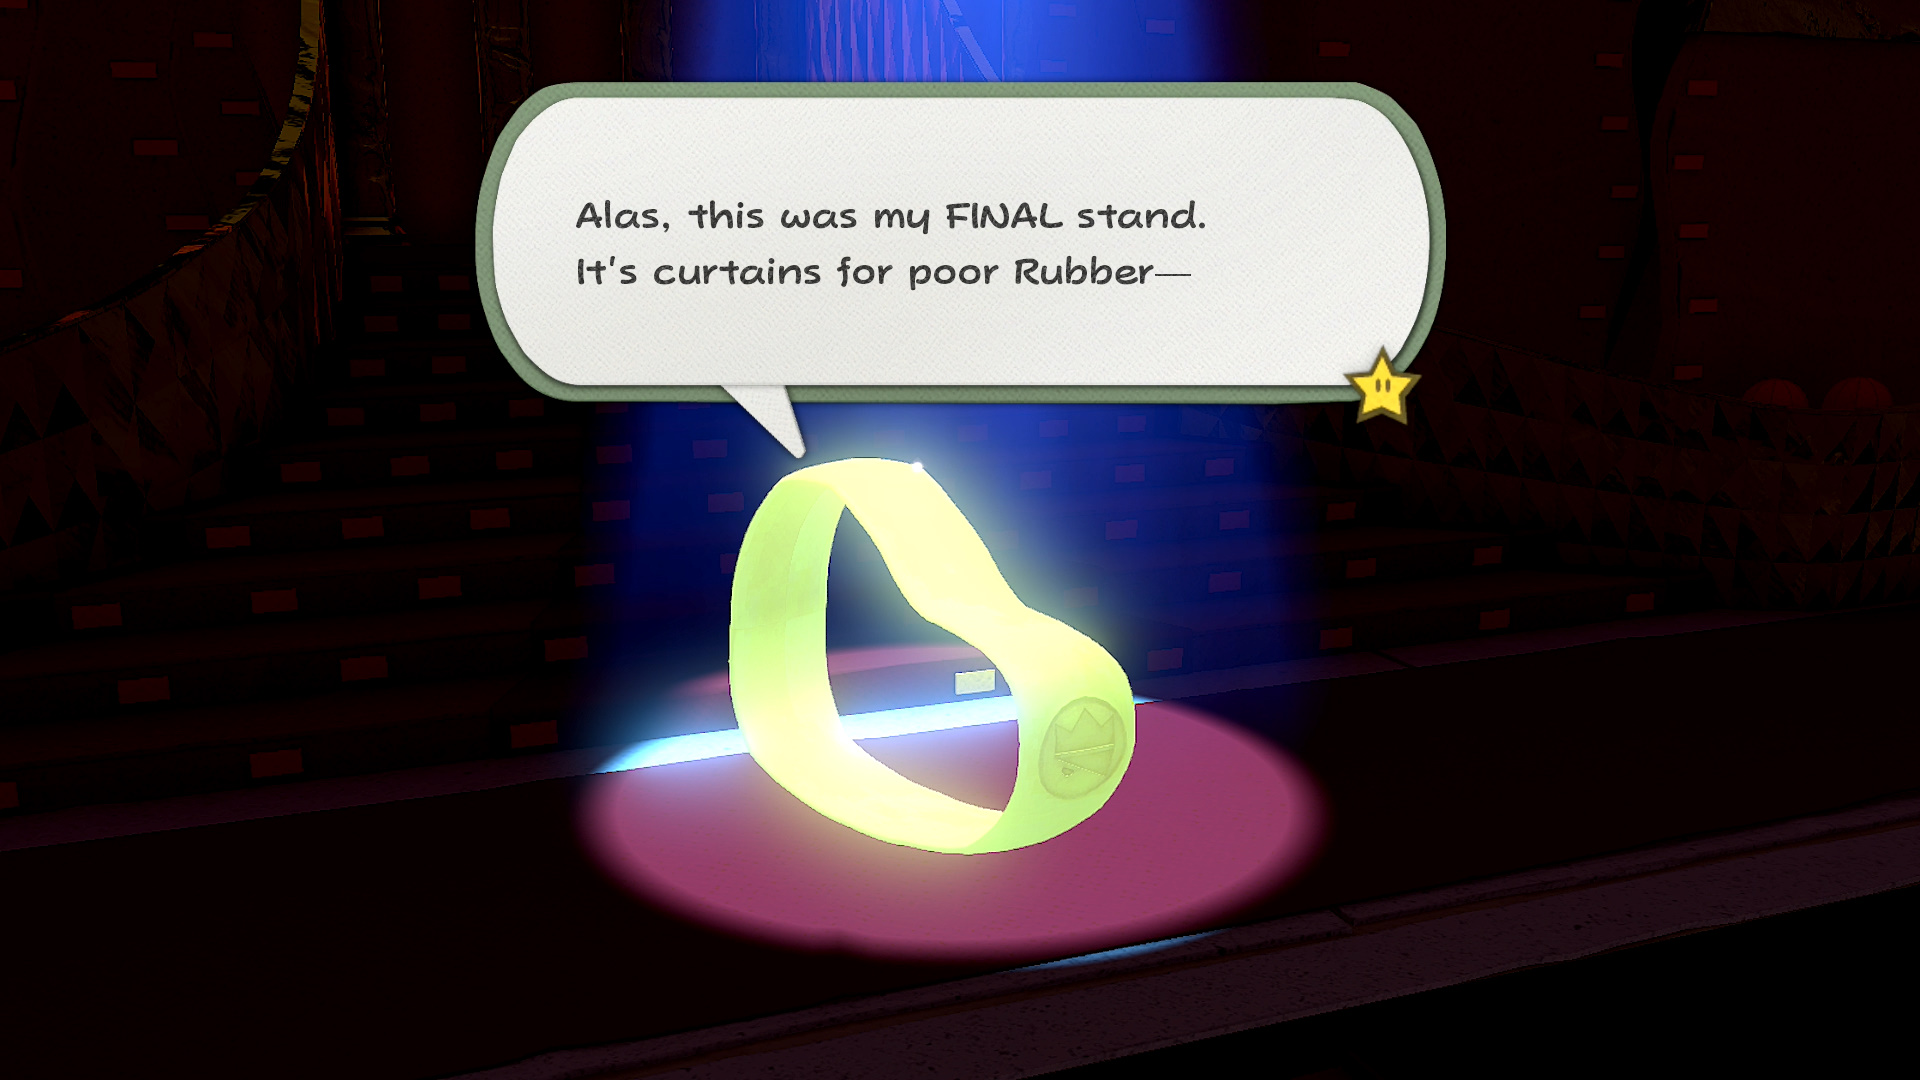

Boss over! Watch Rubber Band’s dramatic exit before it bursts into flames. Walk over to the blue streamer and use the magic circle to rip it to shreds. For your troubles, your Confetti Bag capacity increased! After getting dropped back down, all the Toads will leave the theater, completing your Toad rescue percentage for this level.


Leave the theater and step back into Shogun Studios. The entire park is out here celebrating your victory! Confetti, fireworks, it’s all here! Bobby will also get his memories back. Convince him to stay with the group and you’ll automatically board the boat ride again towards Sweetpaper Valley.
We’ll detail new items and things to do in other locations in our Sweetpaper Valley guide since the level is short and you’ll have the chance to return to other locations quickly.
Use the links below to jump to different sections of our guide.
| Paper Mario: The Origami King (Guide Hub) |
|||
| Walkthrough | |||
| Toad Locations | Not Bottomless Holes | ||
| Treasures & Trophies | Question Blocks | ||
| Accessories List | Heart Locations | ||
| Boss Guide | Unlockables & Secrets |
||