Our Ricco Harbor shines guide is part of our Super Mario Sunshine walkthrough and features all eleven Shine Sprites and their locations.
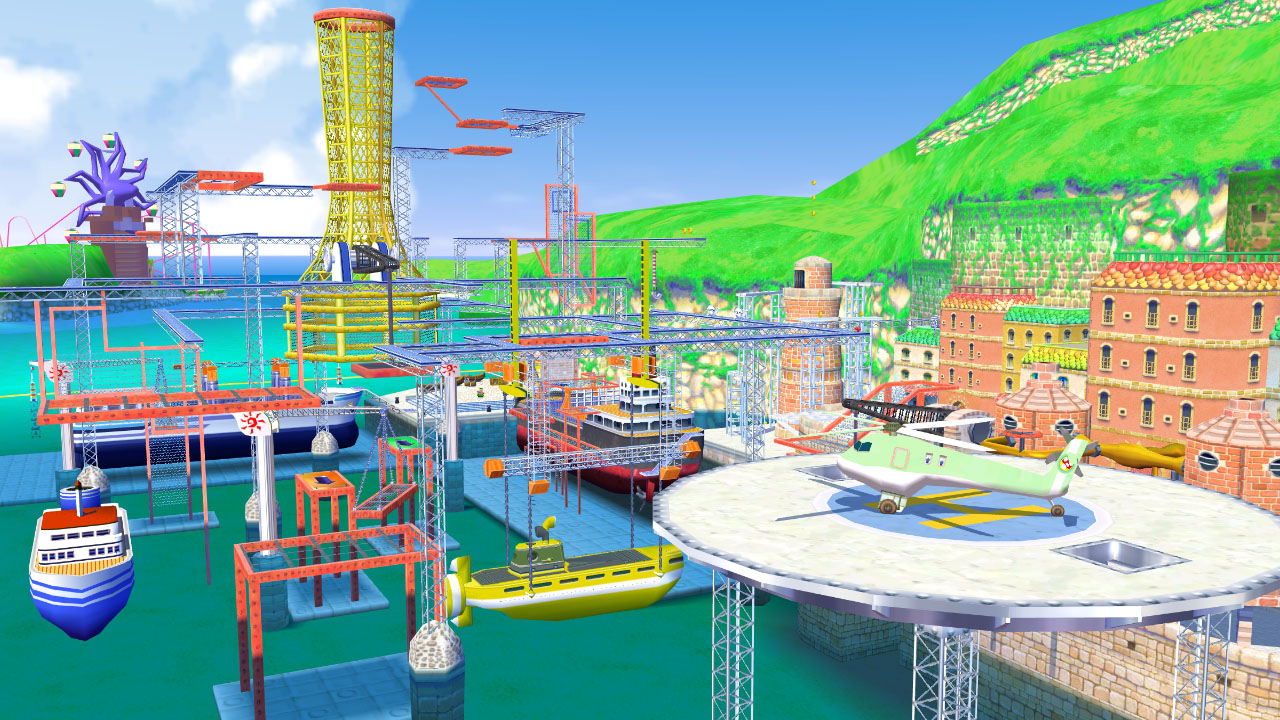
Like every world in our Super Mario Sunshine walkthrough, Ricco Harbor has a total of eleven shines to collect. Seven are obtained through the level stages, an additional three are hidden somewhere in the world, and a final shine is earned once you collect 100 coins in a single run.
ADVERTISEMENT
In order to unlock Ricco Harbor, collect three Shine Sprites and defeat the Proto Piranha on the docks. Looking for those dastardly hidden Blue Coins? See our Ricco Harbor blue coins guide for a complete list! There are 30 Blue Coins in this level.
Jump to each of the Ricco Harbor shines with the links below!
- Episode 1 – Gooper Blooper Breaks Out
- Episode 2 – Blooper Surfing Safari
- Episode 3 – The Caged Shine Sprite
- Episode 4 – The Secret of Ricco Tower
- Episode 5 – Gooper Blooper Returns
- Episode 6 – Red Coins on the Water
- Episode 7 – Shadow Mario Revisited
- Episode 8 – Yoshi’s Fruit Adventure
- Secret Shine 1 – Red Coins in Ricco Tower
- Secret Shine 2 – Blooper-Surfing Sequel
- 100 Coins Shine
Episode 1 – Gooper Blooper Breaks Out
Your goal is to get to the town section in the higher portion of this level. There are several ways to get there including shortcuts like using the smokestack of the ship to get up to the blue railings or bouncing off the Pianta near the tower to get high enough to hover to the ledge.
If those methods aren’t doing it for you, take the official route by following the arrows from the start. This will take you to the ship, then to a moving crane platform, and then to a yellow grate you can climb. Hit the blue squares on the grate to flip onto the other side. Reach the area with the two Piantas and spray the propeller to raise the yellow submarine that leads to a ledge near the wall. Wait for the red platform to rise out of the goop, then use it to reach the town section.
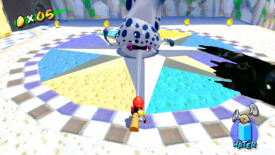
Grab the nasty tentacle squirming near the pile of crates and yank on it to start the Gooper Blooper boss fight. Spray the big baddie’s face until it gets sick of it and slams its four tentacles in your direction. Move out of the way and jump on a tentacle to squash it. Now that it can’t move, grab it and yank it until you rip it right off. SICK. Repeat this until no tentacle remains. Grab its mouth and yank it far enough to send it flying! You can try to grab its mouth earlier but be aware you can get attacked by the tentacles.
Episode 2 – Blooper Surfing Safari
Blooper racing! From the starting area, hop onto any of the three colored Bloopers to start gliding over the water. Follow the trail of coins to tunnel under the town section. Each Blooper has a different speed. Green is the slowest, yellow is average speed, and purple is the fastest.
Inside the tunnel is a neat blooper surfing minigame. To get the shine, you’ll have to complete the course within 45 seconds. Picking the purple blooper is recommended as it’s the fastest but not necessarily required. Yellow will do if you use shortcuts! If you crash into any obstacles or walls, you’ll instantly lose. See those turns and bends near the end of the course? Try jumping over them to save time, just make sure you jump while you’re still in the water and make sure you land in the water too.
Episode 3 – The Caged Shine Sprite
Like the first episode, you can skip a few steps by using the smokestack of the nearby ship to reach the blue railing above. Otherwise…
Follow the arrows from the start. Hop onto the boat and ride the striped pole to reach the other side. Ride the crane platform to reach the climbable grate, then flip to the other side by hitting the blue square. Ride another striped pole to a second grate, then do the same for the next striped pole. Finally, a flat platform! From here, take the rising platform up to the blue railings. Spray Bloopers from a distance so they don’t knock you off as you continue to follow the arrows. Break the wooden crate and ride another striped pole to an additional grate. Jump off the grate to land on a second grate to get to a higher level of blue railings.
Okay, almost there! The nearby red rocket nozzle is not required but it is handy in case you fall down and need to get back up. Use the trampolines to continue jumping higher until you finally jump through the top of the yellow cage. Try to be constantly on the move so the gust of wind doesn’t knock you down! One down in the cage, the shine is yours!
Alternatively, if you manage to get underneath the yellow cage by standing on the green platform, you may be able to reach and grab onto the underside. Just flip through the blue square and you’re in! This is a great place to use the rocket boost!
Episode 4 – The Secret of Ricco Tower
There’s a tower south of the town and the secret course is inside the hole at the top! There are several ways to reach it:
- Get to the tower and start climbing u using the scaffolding.
- Take the underground tunnel system over to the town and hover from there.
- Use the rocket nozzle to boost your way up.
- Get onto the smokestack of the nearby ship and spin jump plus hover to reach the top.
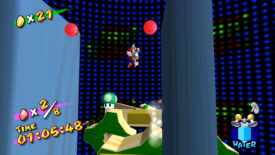
Bye FLUDD! This levels is quite the challenge but at least it’s consistently the same. The long wooden rotating blocks always rotate in the same direction. As you run across, run forward but also move in the opposite direction of whichever side the block is rotating towards. As you prepare to jump, make sure you land just as the next block and your landing spot is about to be a flat side.
For the gears, try to keep it simple with simple movements and jumps when necessary. They move on their own so always try to be at the top, don’t lag behind. The final stretch of wooden blocks can be a nightmare but try to keep in mind the tactic of always land on a side that’s about to become flat. Pulling back the camera and giving more of a top down view can help keep with the perspective. There is a good amount of leeway for standing on steep sides but once it goes to far, it’s over and there is no going back.
Episode 5 – Gooper Blooper Returns
Yup, Gooper Blooper is back, this time on a new platform in front of town. It’s actually quite simple to reach him. Get to the area underneath he boss arena and grab the red rocket nozzle. Blast up onto the grate and flip yourself over to the top by smacking the red square.
Same thing as last time! Spray the face, squash the tentacle, tank the tentacle, rip off the tentacle. This time he is more aggressive so you’ll want to try and squash all the tentacles at around the same time before trying to yank on anything. But wait there’s more! The tentacles have regrown and… you just have to do it twice, basically. Enjoy the shine!
Episode 6 – Red Coins on the Water
Red coin switch over by the bloopers near the start. Hit it and start a timer for two minutes. The red coins are scattered over the water and you’ll need a Blooper to get them within the time limit. We recommend grabbing the green Blooper. It’s the slowest so you’ll be able to be more precise with your movements and jumps. Pull back on the Blooper to slow down even more. As for the coins, you’ll get them all if you follow the trail of coins. The Ricco Harbor red coins:
- Three are lined up nearby three green bayous.
- Underneath where you fought Gooper Blooper the second time.
- One by the outskirts of the level, the section closest to Delfino Plaza.
- Jump near the yellow submarine to grab this one.
- Underneath the green platform under the yellow cage.
- Between two smaller boats near the Blooper selection area.
Now the annoying part. You can’t get off your Blooper which means you still can’t crash into anything. You’ll have to jump onto the wooden area where the shine is at to get it. To help, there is a lot of room in front of it where you can adjust your positioning and aim.
Episode 7 – Shadow Mario Revisited
It’s a Shadow Mario challenge! The goal is to spray the blue pest with enough water to cause him to trip. Shadow Mario will run up to the smokestack of the nearby ship and use it to reach the blue railings up above. Once there, chase and spray and you should get him easily since he can’t move left or right. If you lose track of him, try to listen for his theme song. That means he is close!
Episode 8 – Yoshi’s Fruit Adventure
Yoshi required! Complete Episode 4 of Pinna Park first! Reach the town area to find a Yoshi egg requesting a durian. Hit the two switches of the nearby fruit machine continuously until you get the durian. Be careful! You can’t pick up this fruit so you’ll have to push it towards Yoshi to get it there. Once you have Yoshi, walk over to the arrow sign by the wall.
Spraying Yoshi’s purple juice at the Cheep Cheep will cause them turn into blocks that move forward. Take note, these platform will eventually disappear. Also! Yoshi can’t touch water. If you fall off, you’ll have to restart the entire process. Once you reach the first platform, turn to your left and do a double jump and flutter jump to get to the ledge with the palm tree. Eat the coconut to turn Yoshi pink. Now enemies will turn into pink blocks that raise up. Return to the previous platform and start making your way to each platform by using the Cheep Cheeps as extra blocks. Once you finally get to the last platform, spray the yellow gunk off so you can access the shine.
Is this too frustrating? This is minor, but if you can at least get Yoshi to the third platform, you can spray the gunk off the cage securing the shine. That way you aren’t required to bring Yoshi to the very top. There’s a rocket nozzle underneath the Goober Blooper arena that can help too. Speak to the brown Pianta near the brown submarine and he’ll hurl you over to the ledge with the palm tree. You can also try doing spin jumps before doing a flutter jump as you typically go higher with these. What a nightmare.
Secret Shine 1 – Red Coins in Ricco Tower
Go back to Episode 4 and head back into the secret course. As if this level wasn’t hard enough, now you can do it while collecting eight red coins! But you do get FLUDD so shouldn’t be too annoying. Hit the switch, you got 90 seconds. The Ricco Harbor red coins:
- Above the second rotating block.
- Above the fourth rotating block.
- Two along the two blue walls. Wall jump to get them!
- One above the middle gear.
- Above the second rotating block in the second section.
- Above the fourth rotating block.
- Above the fifth and very large rotating block.
Secret Shine 2 – Blooper-Surfing Sequel
Return to the Blooper surfing minigame in Episode 2. This time you have to complete the course in 40 seconds. Make sure to use the purple Blooper and learn to skip at least the biggest bend near the end of the course by jumping over the short wall dividing the two parts of the track. It’s still possible to do this with the yellow Blooper but you’ll have to use the shortcuts!
100 Coins Shine
The Ricco Harbor 100 coins challenge. Collect 100 coins without dying or leaving a level to earn an additional star. Collect all the coins you see laying around but do keep in mind the following tips as you play. Remember, red coins and blue coins do not count to your total! Try going to either Episode 3 or Episode 8!
- 38 coins in the underground tunnel system.
- Crane near the yellow cage has about a dozen coins.
- Wooden crates typically have a coin hiding inside.
- Lots of coins on the ship the with the striped pole.
- Spray the wall to the right of the tower for a few extra coins.
- Jump on the Bloopers up on the blue railings, don’t spray them off. One coin each.
- Seven coins on the metal rail above town.
- Use a rocket above the tower to get a line of coins.
Need a different world? Jump to any of the seven worlds in our Super Mario Sunshine blue coins guide and walkthrough below:


